Ears

cute halloween crafts

DIY: Pretty Halloween Crafts

Halloween is just two weeks away (how did that happen?!?!?) and the season is in full swing. Now, while I am all about fall and Halloween, I am so not into the gore and monsters and yucky stuff that sometimes come along with the holiday. I am much more into the pretty and cute side of Halloween (you can’t separate me from my pink!). So today I have two cute Halloween themed crafts to share with you for those of you who also may want to skip out on the blood and guts. Here’s what we’re making!


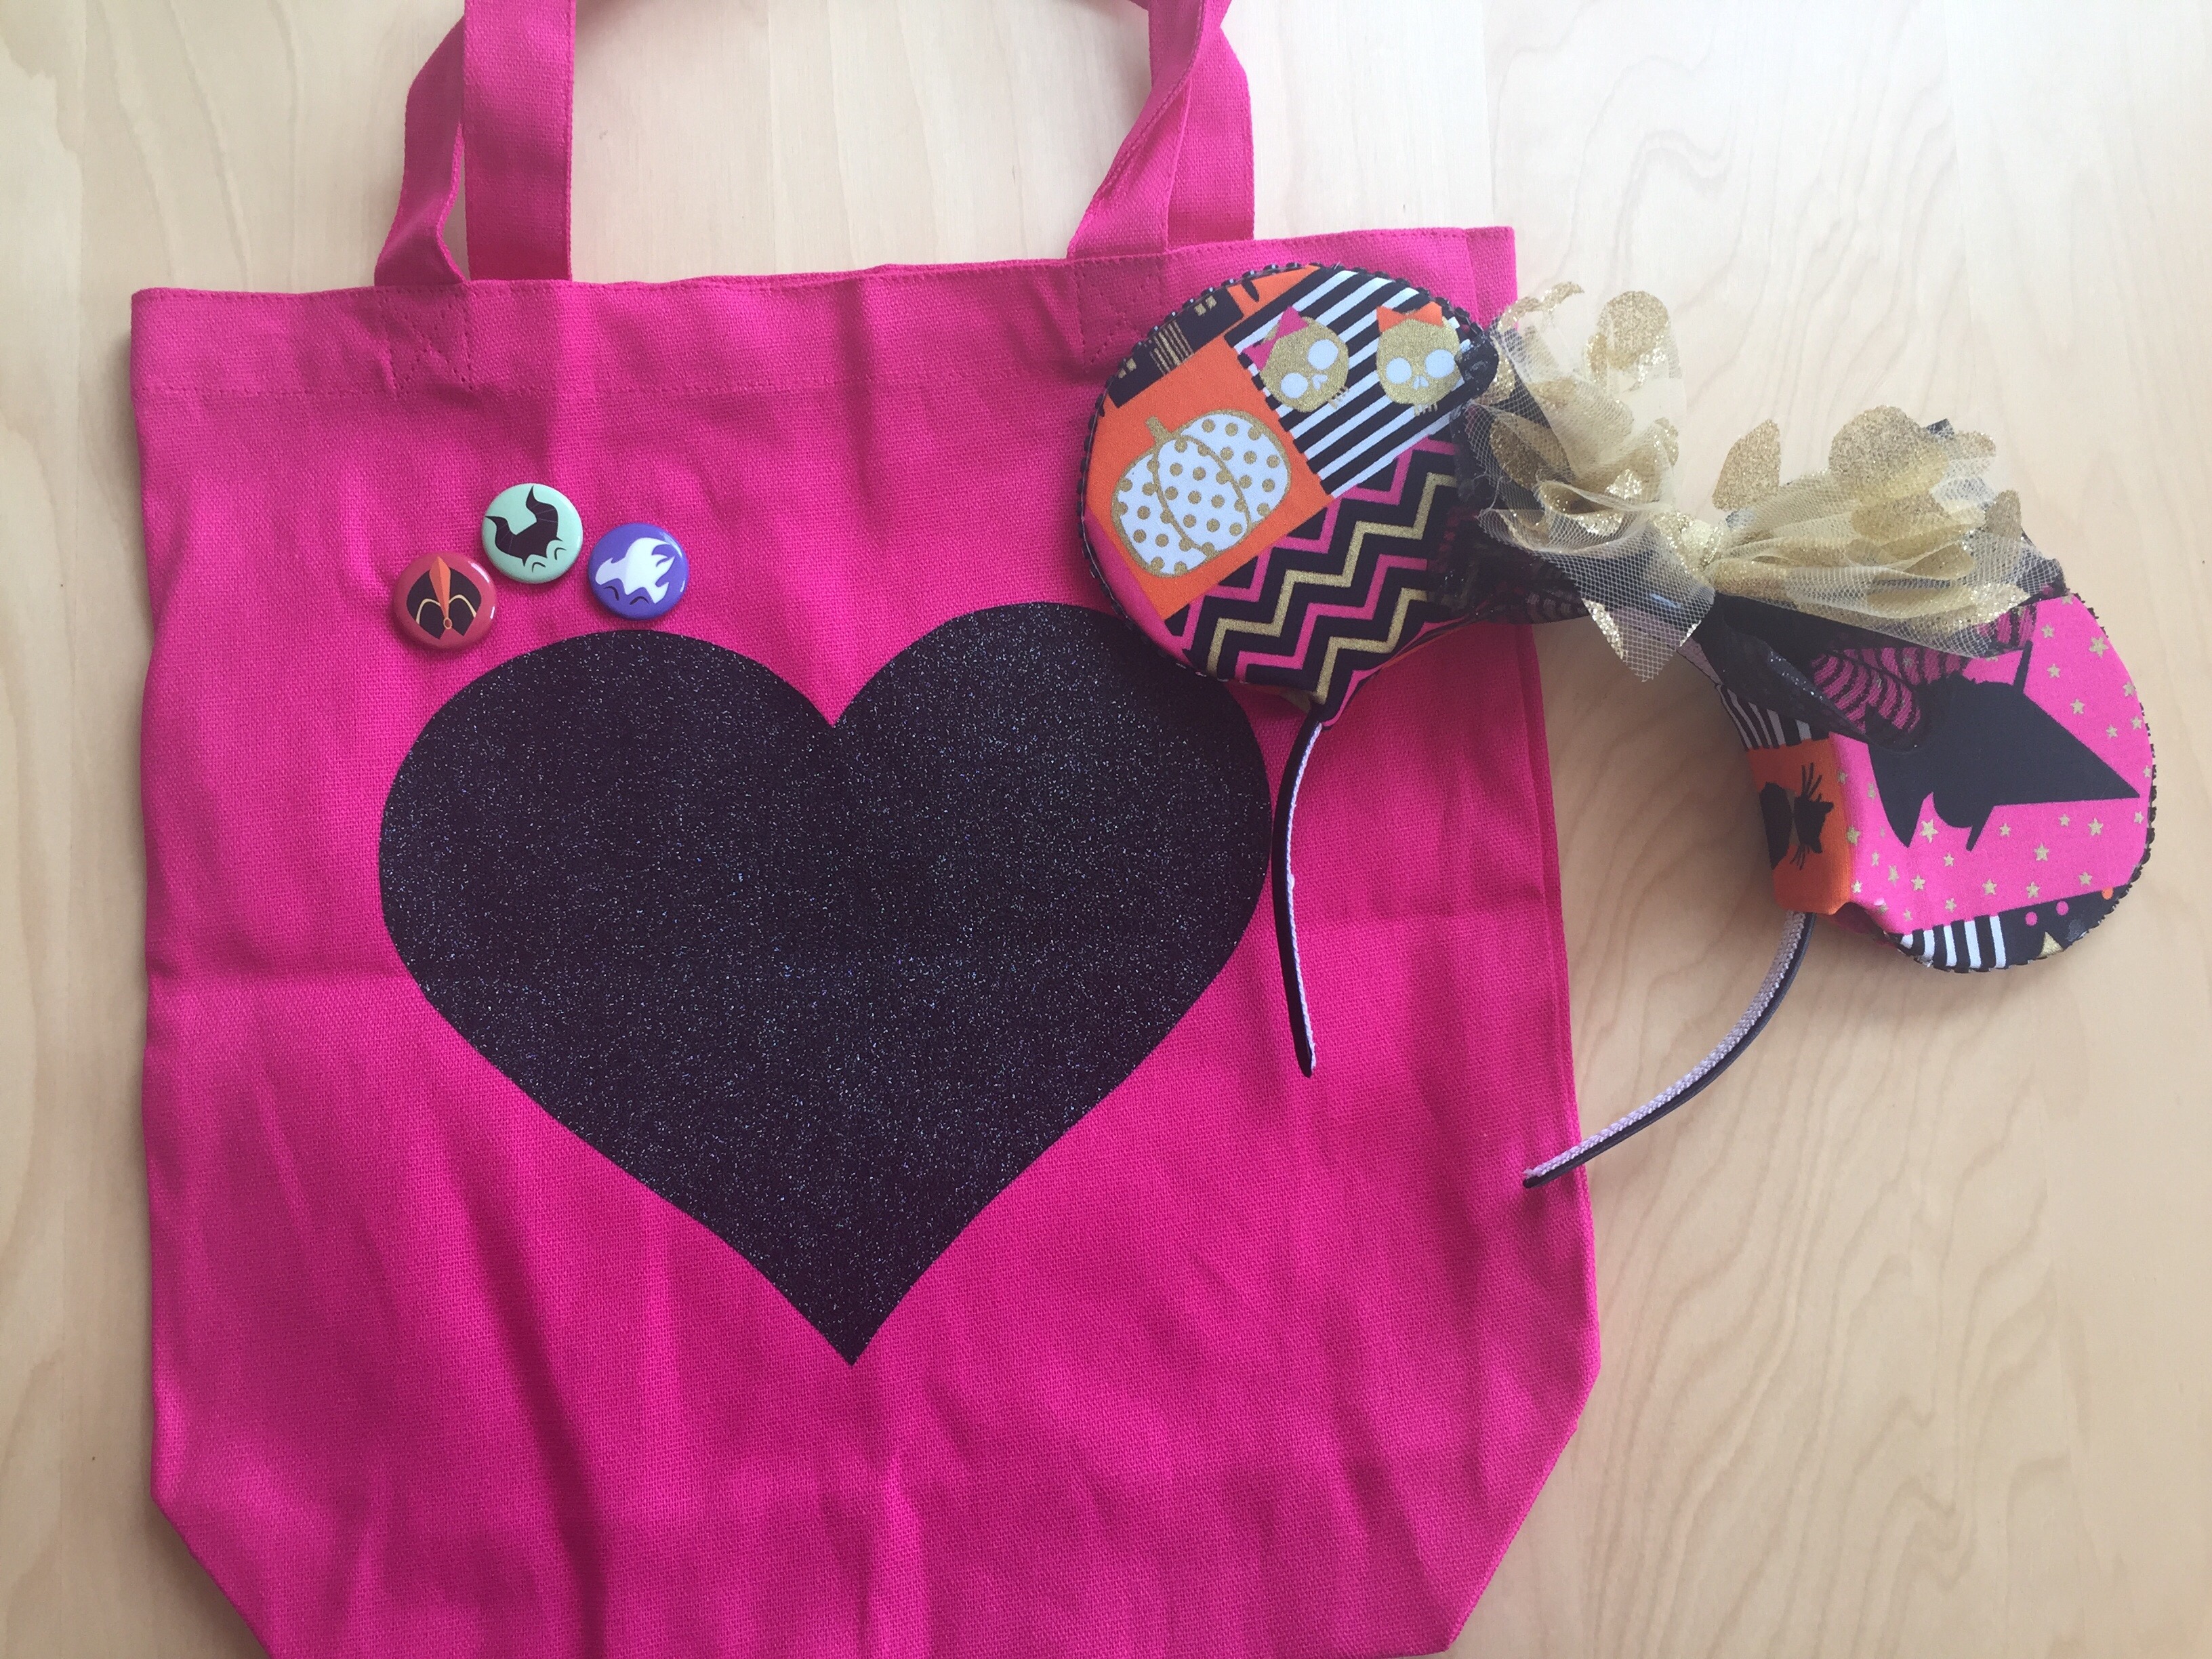
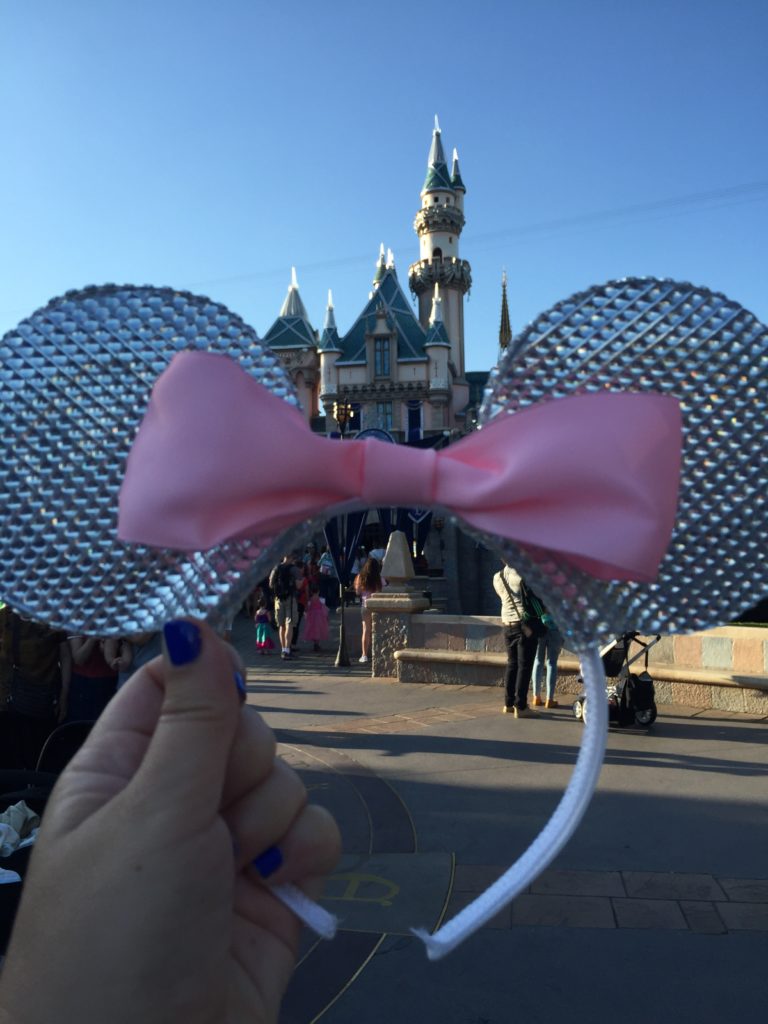
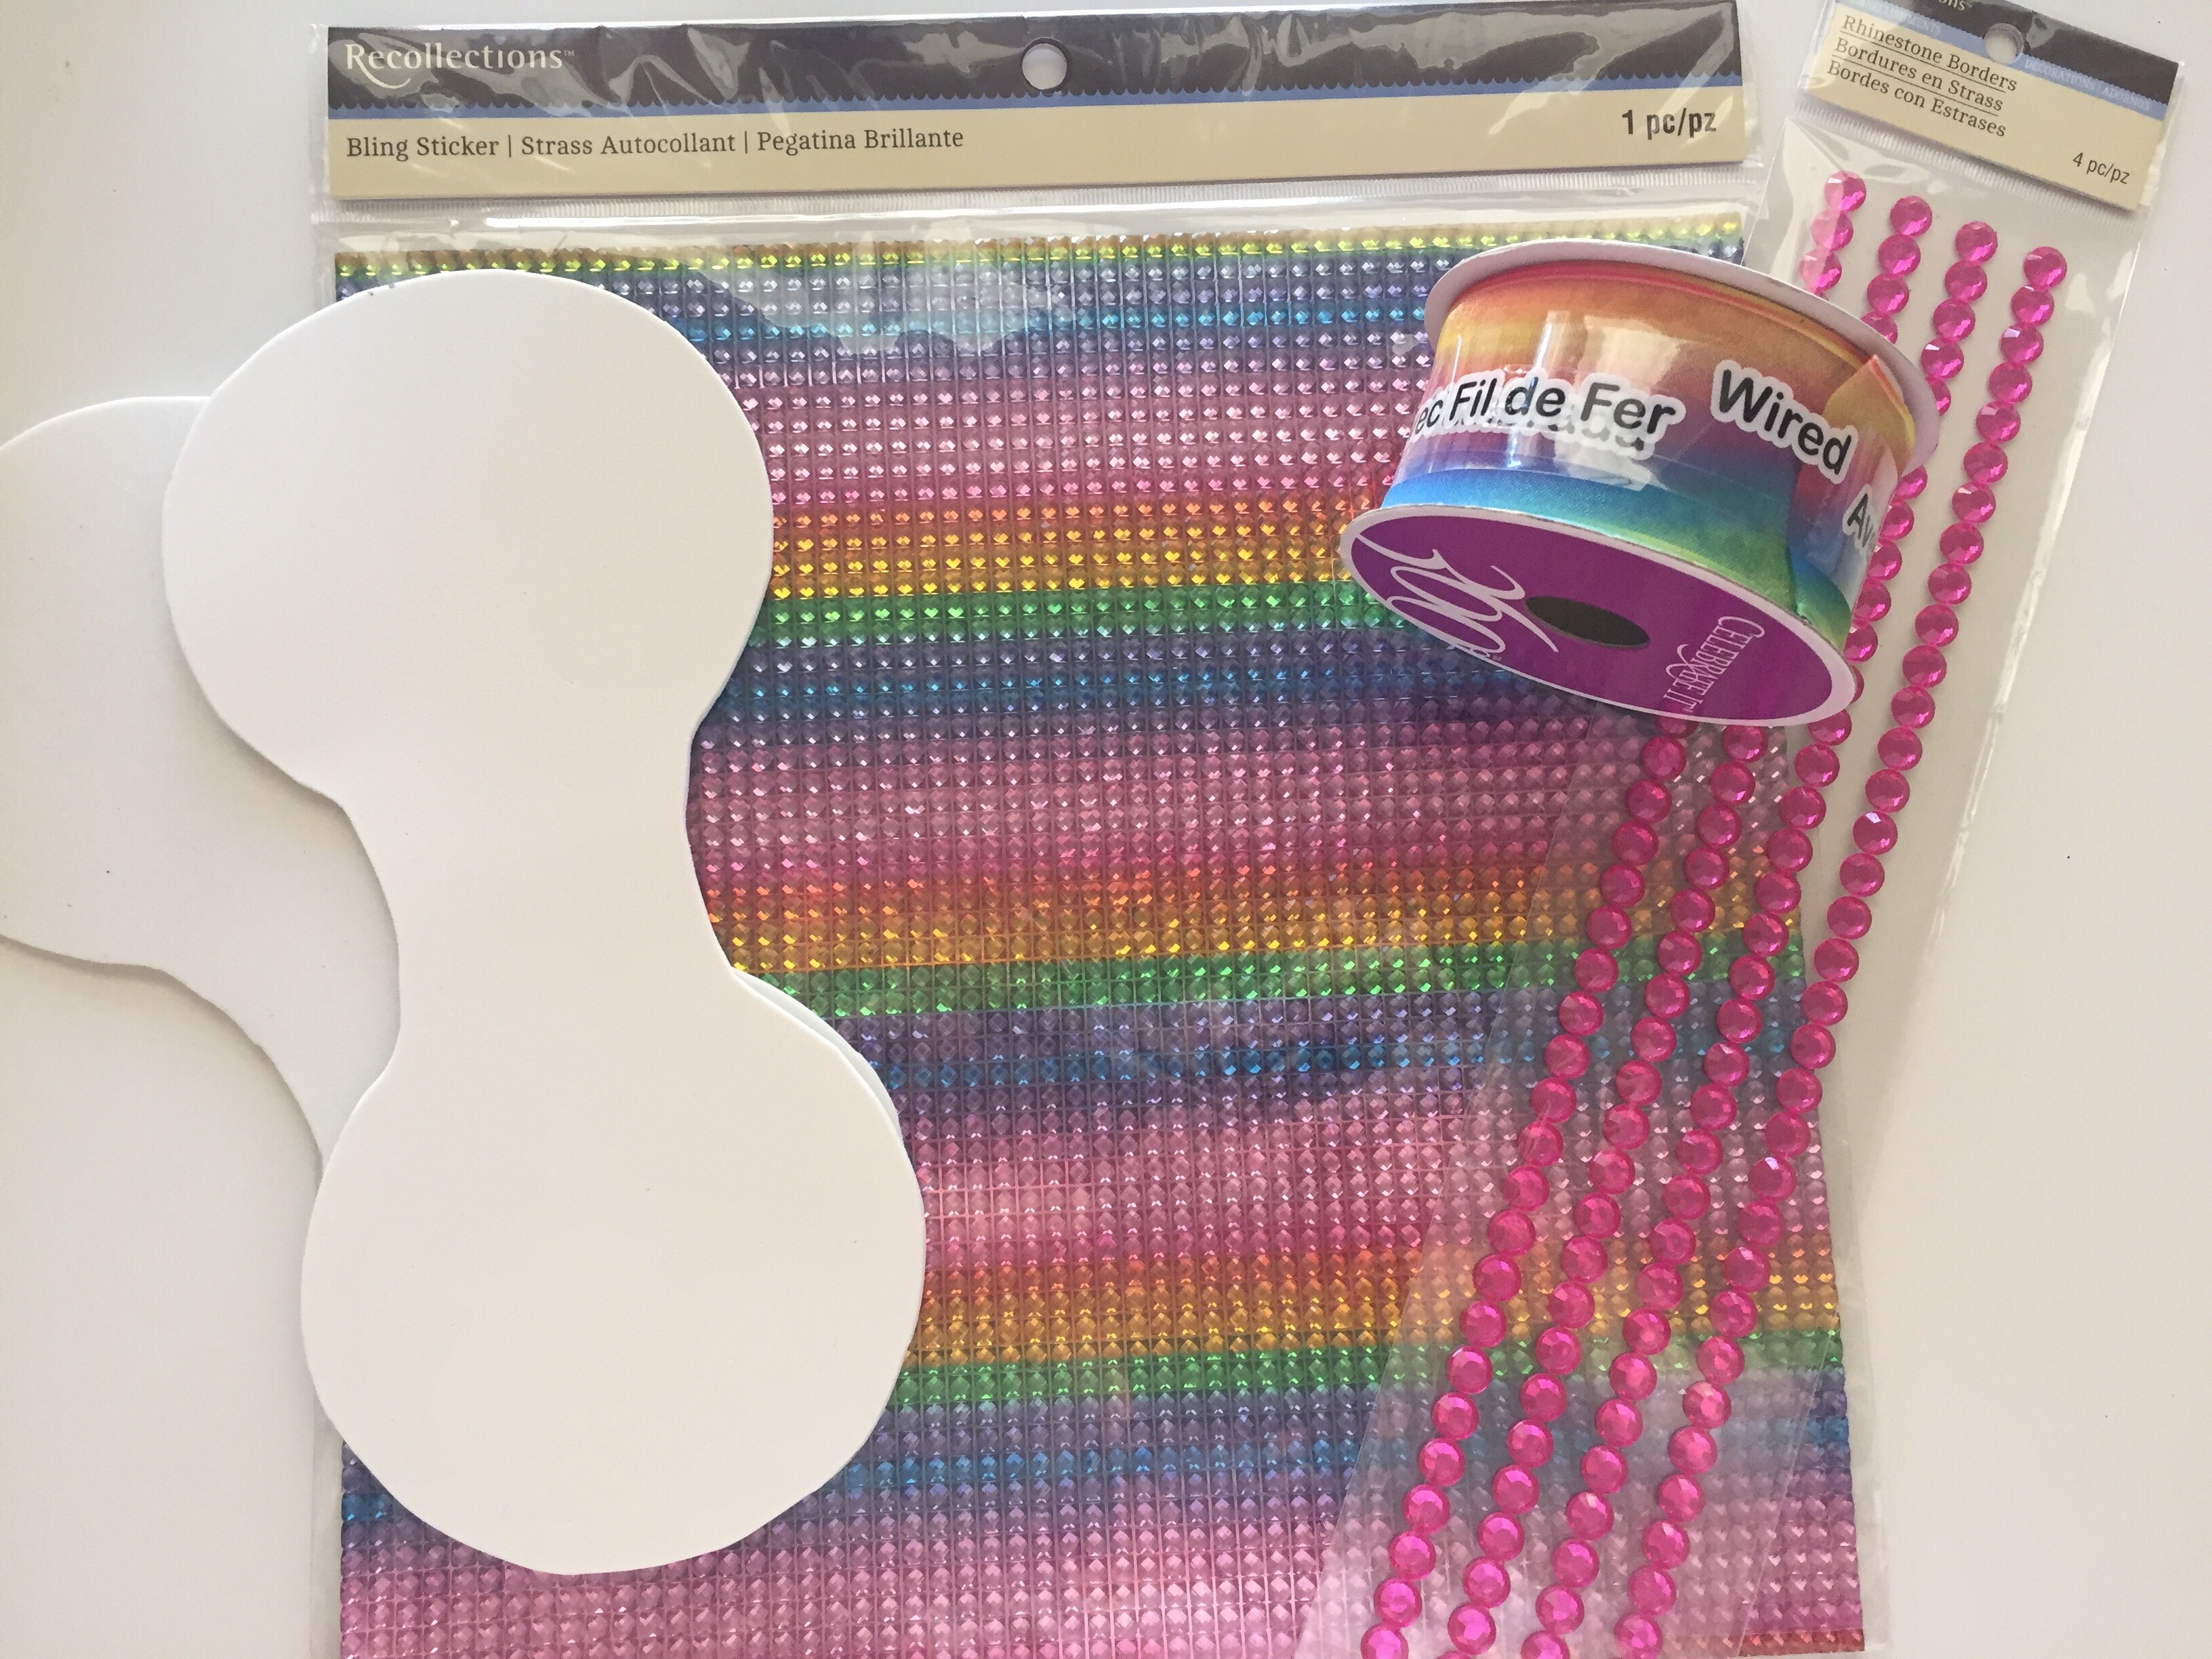
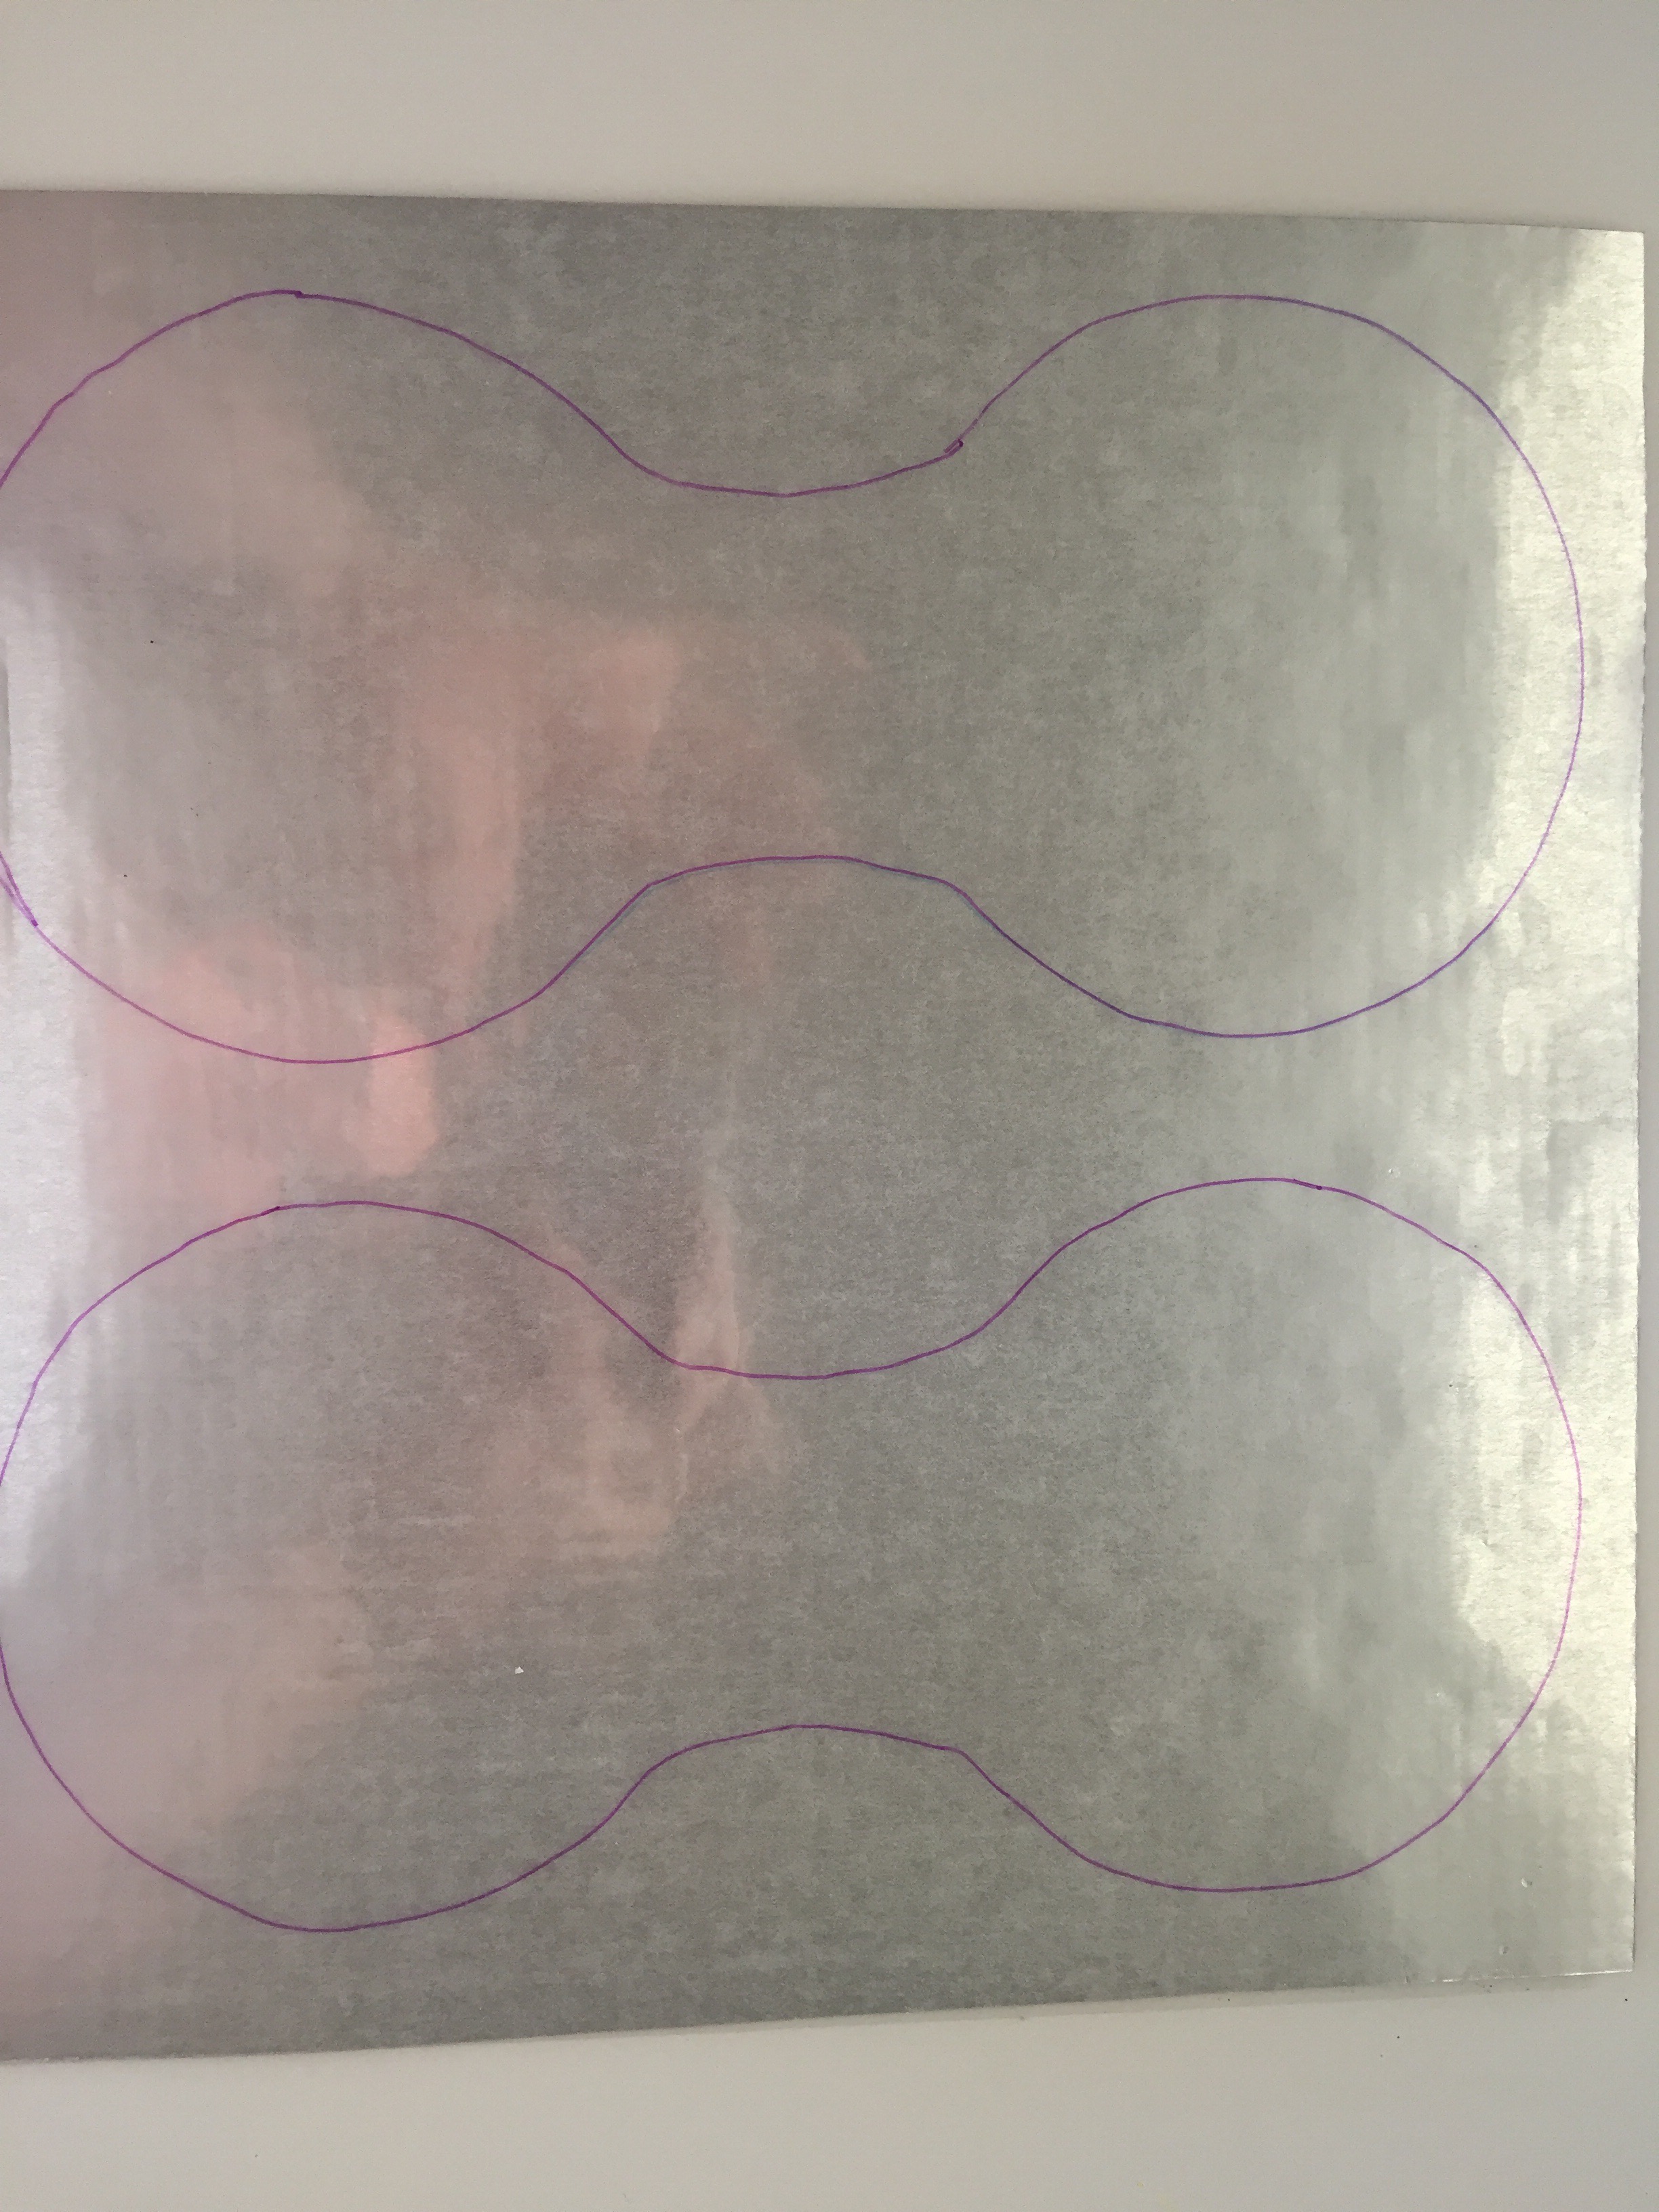
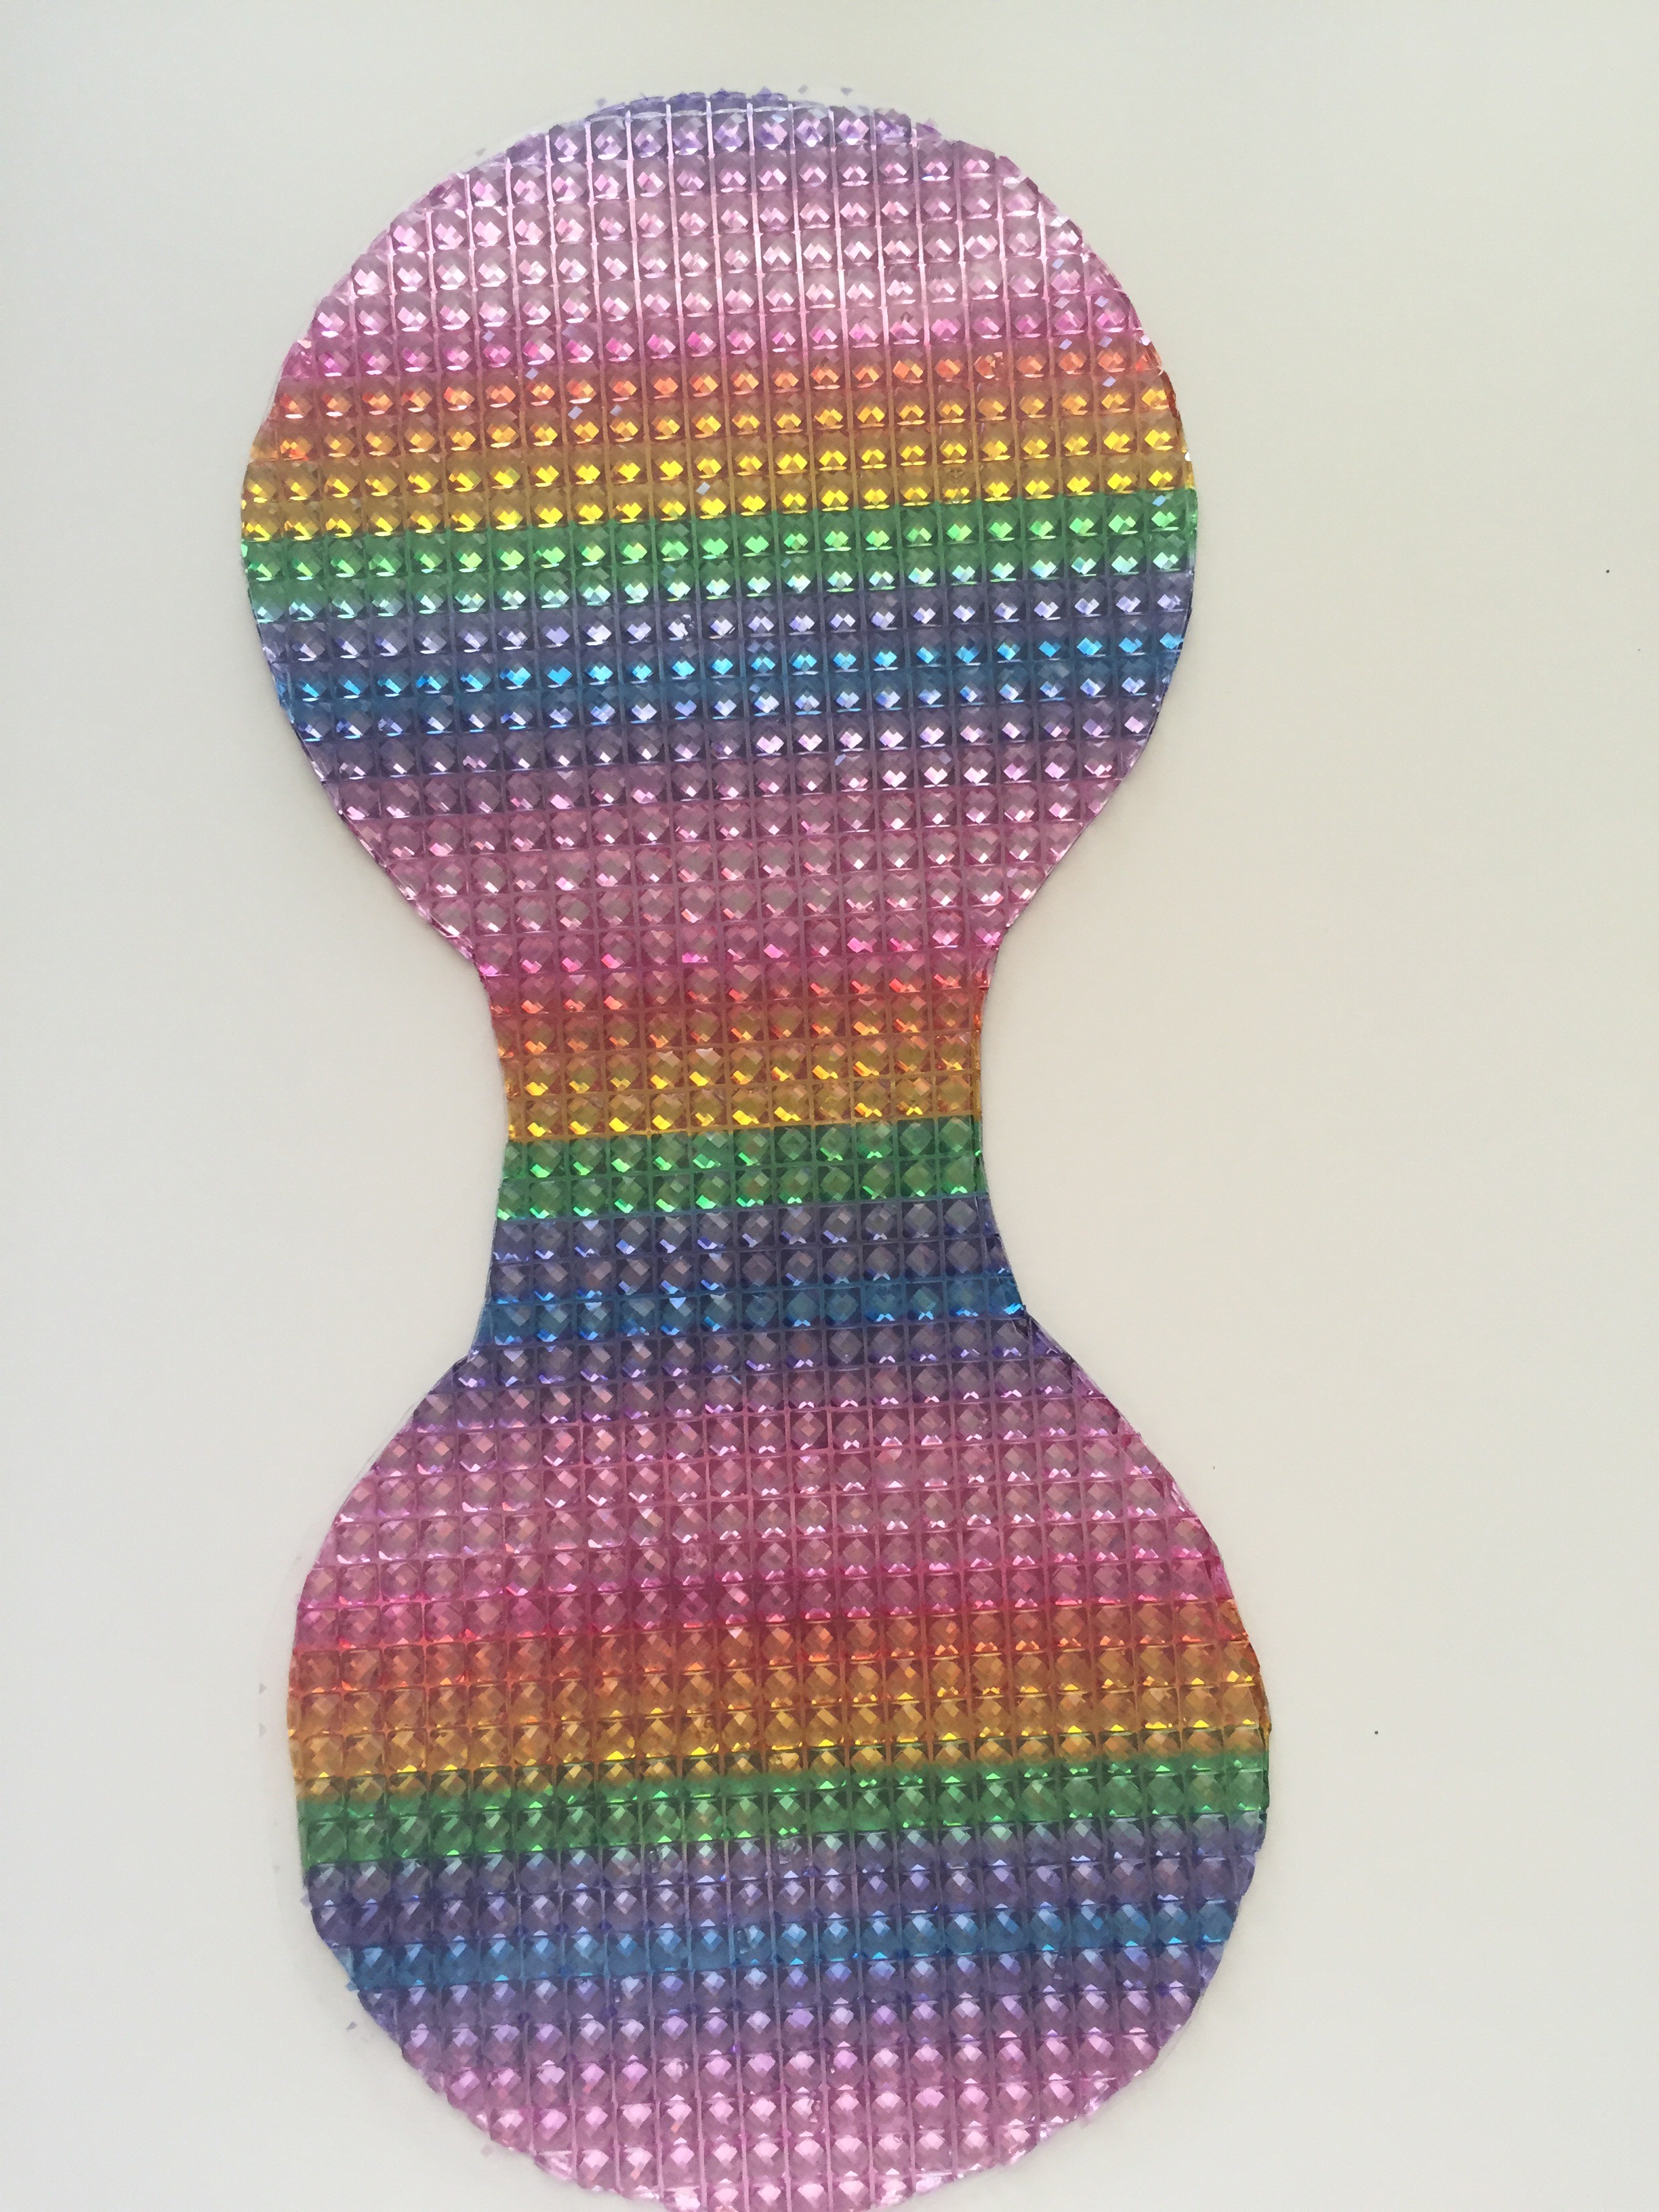
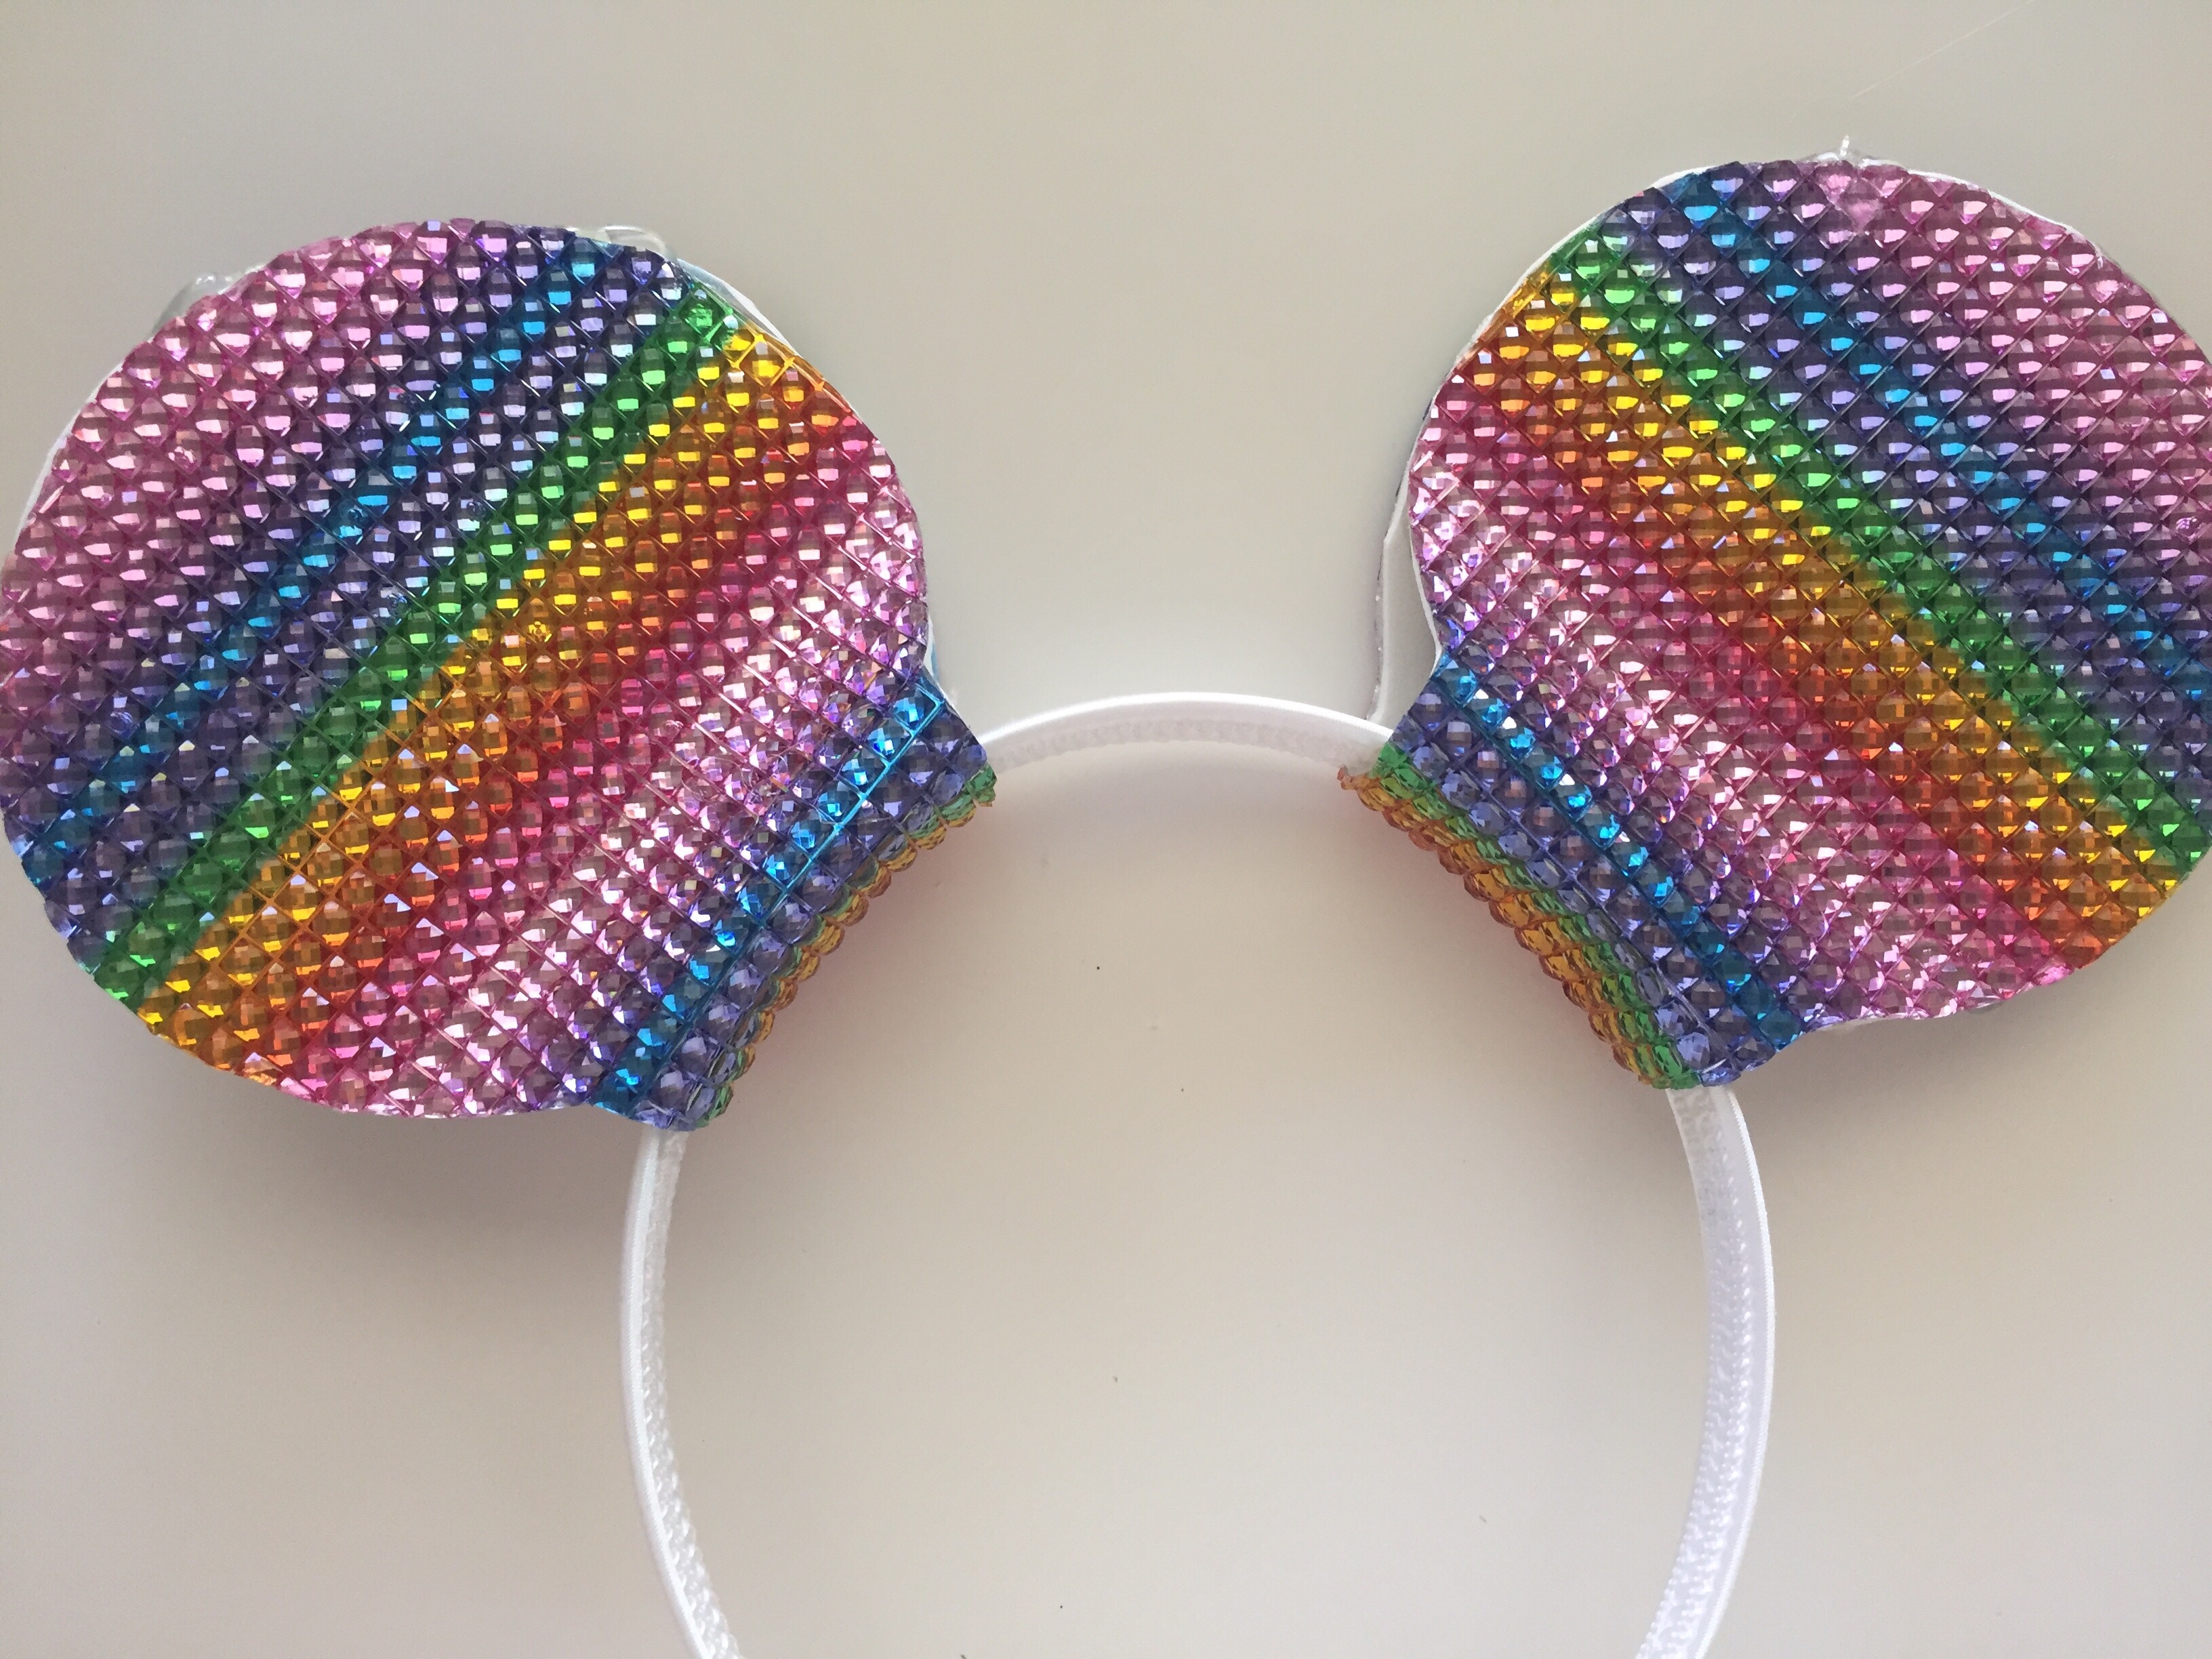
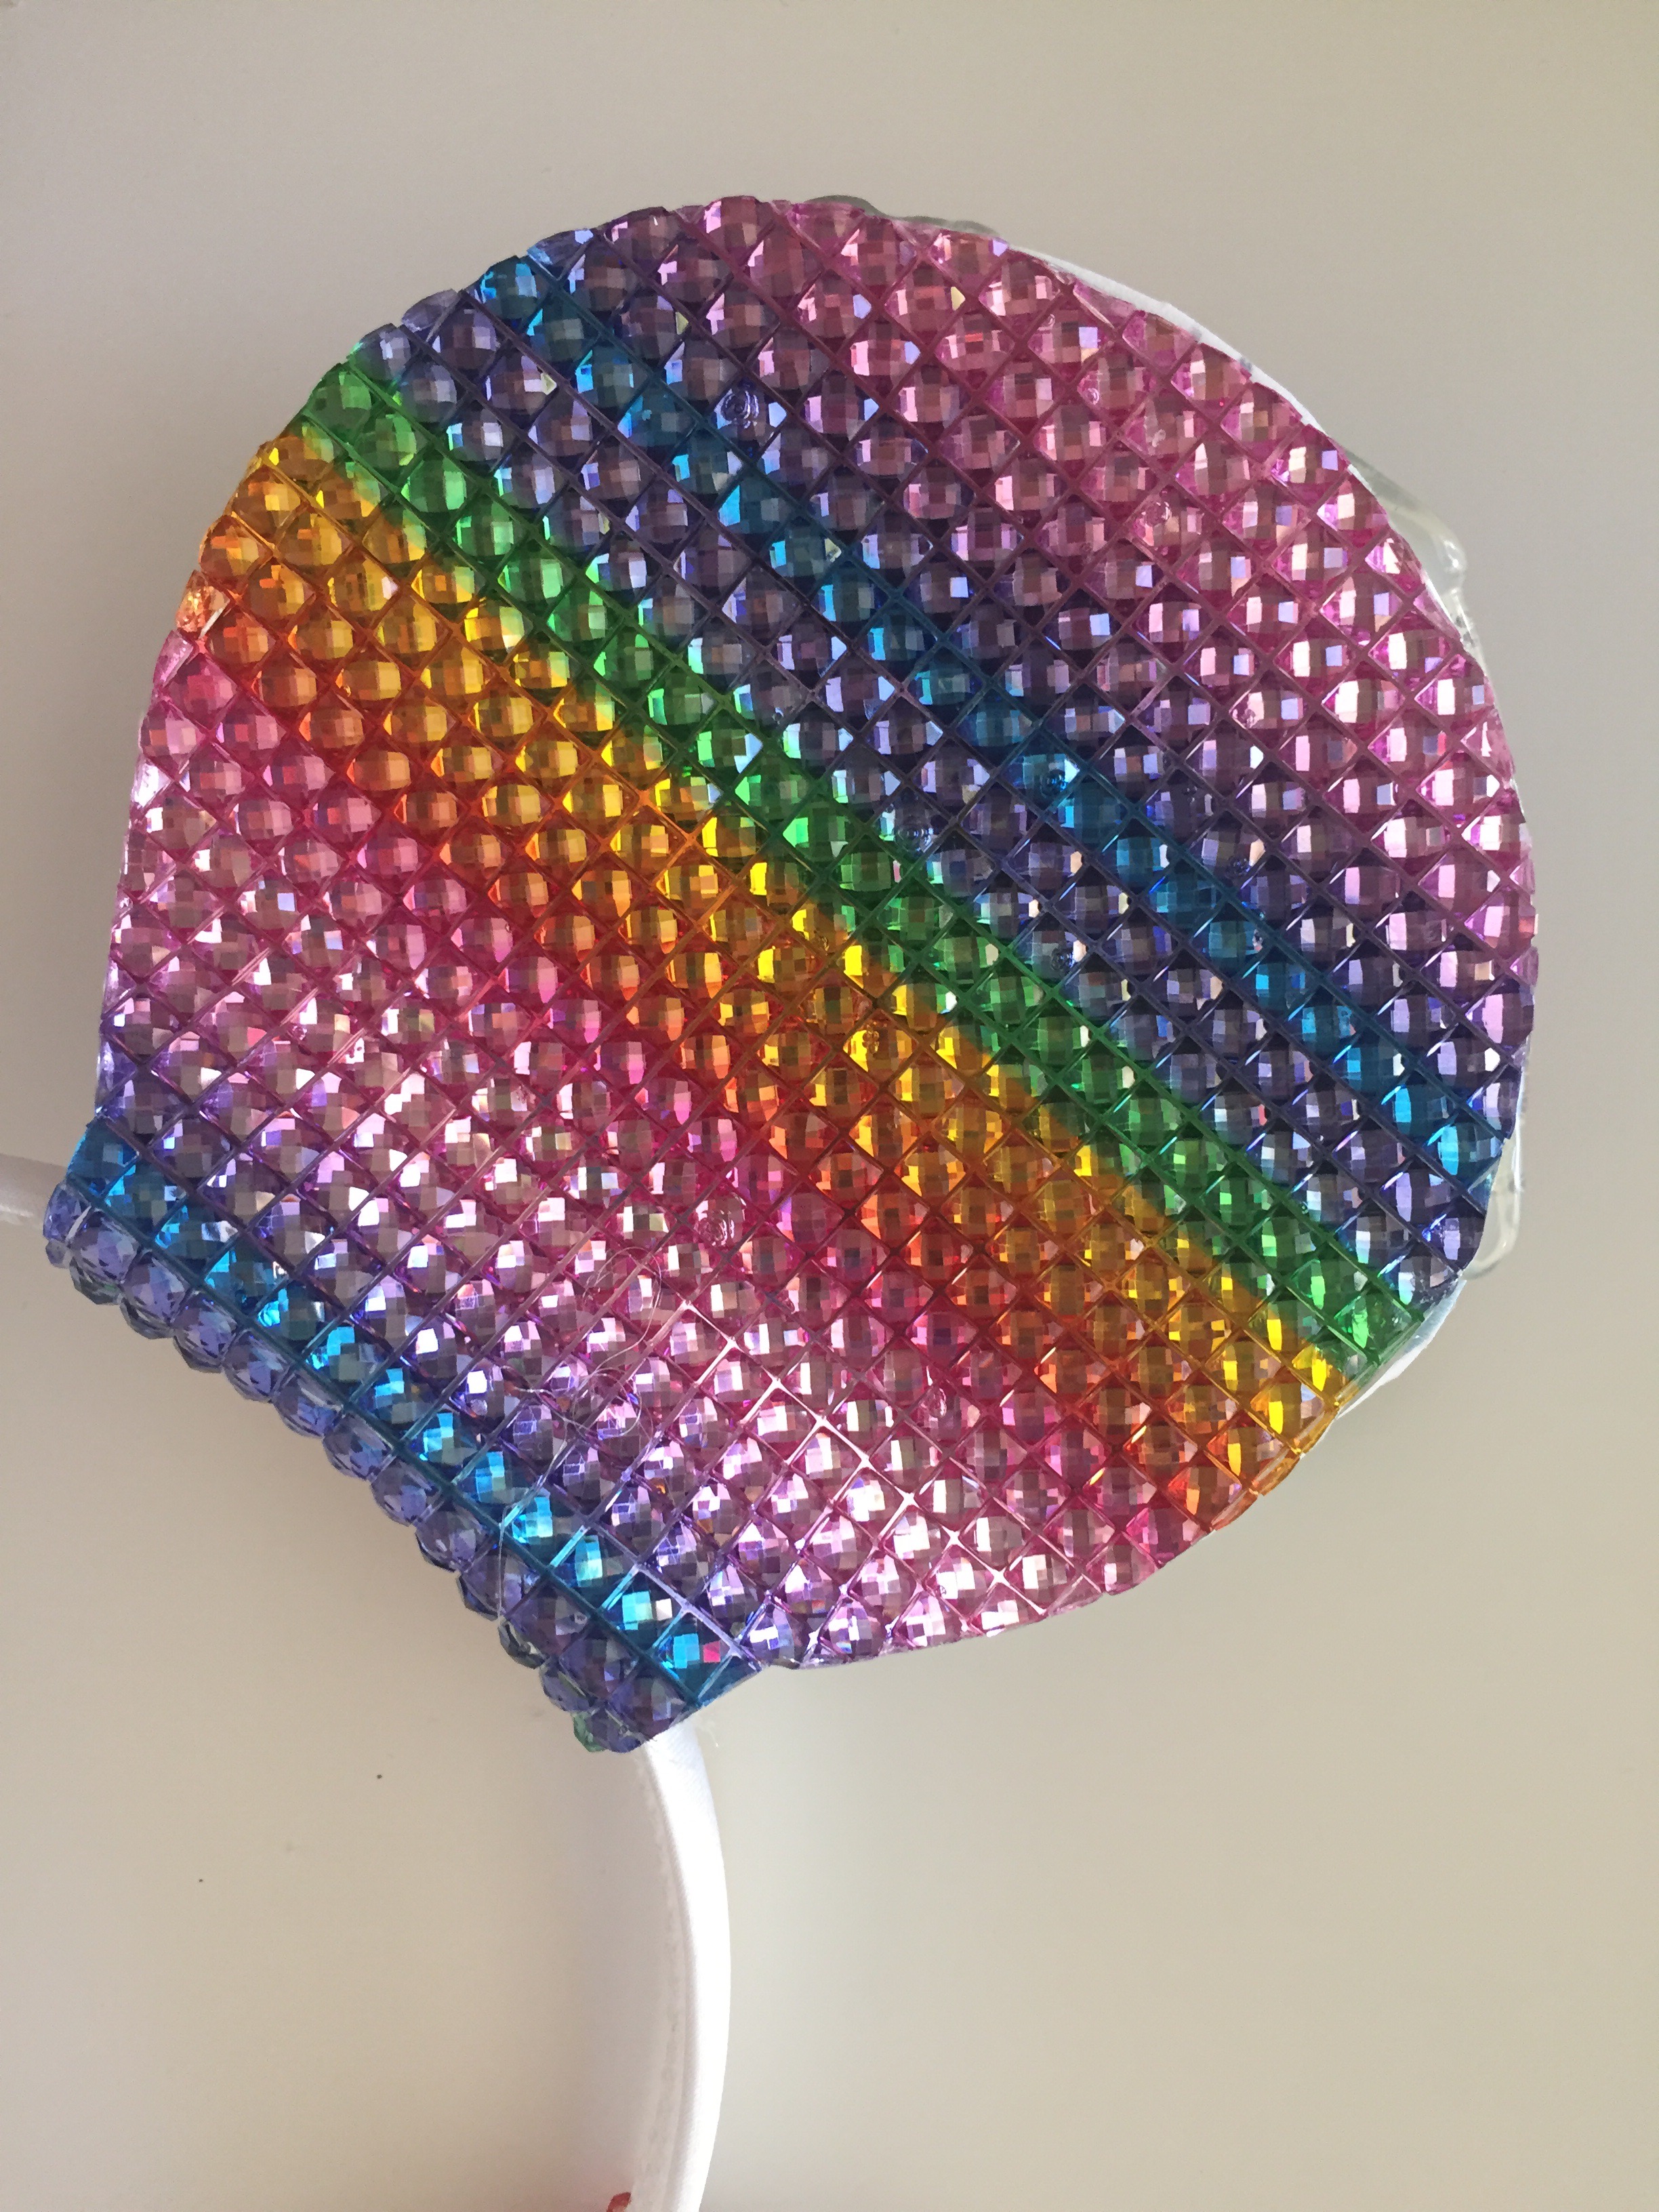
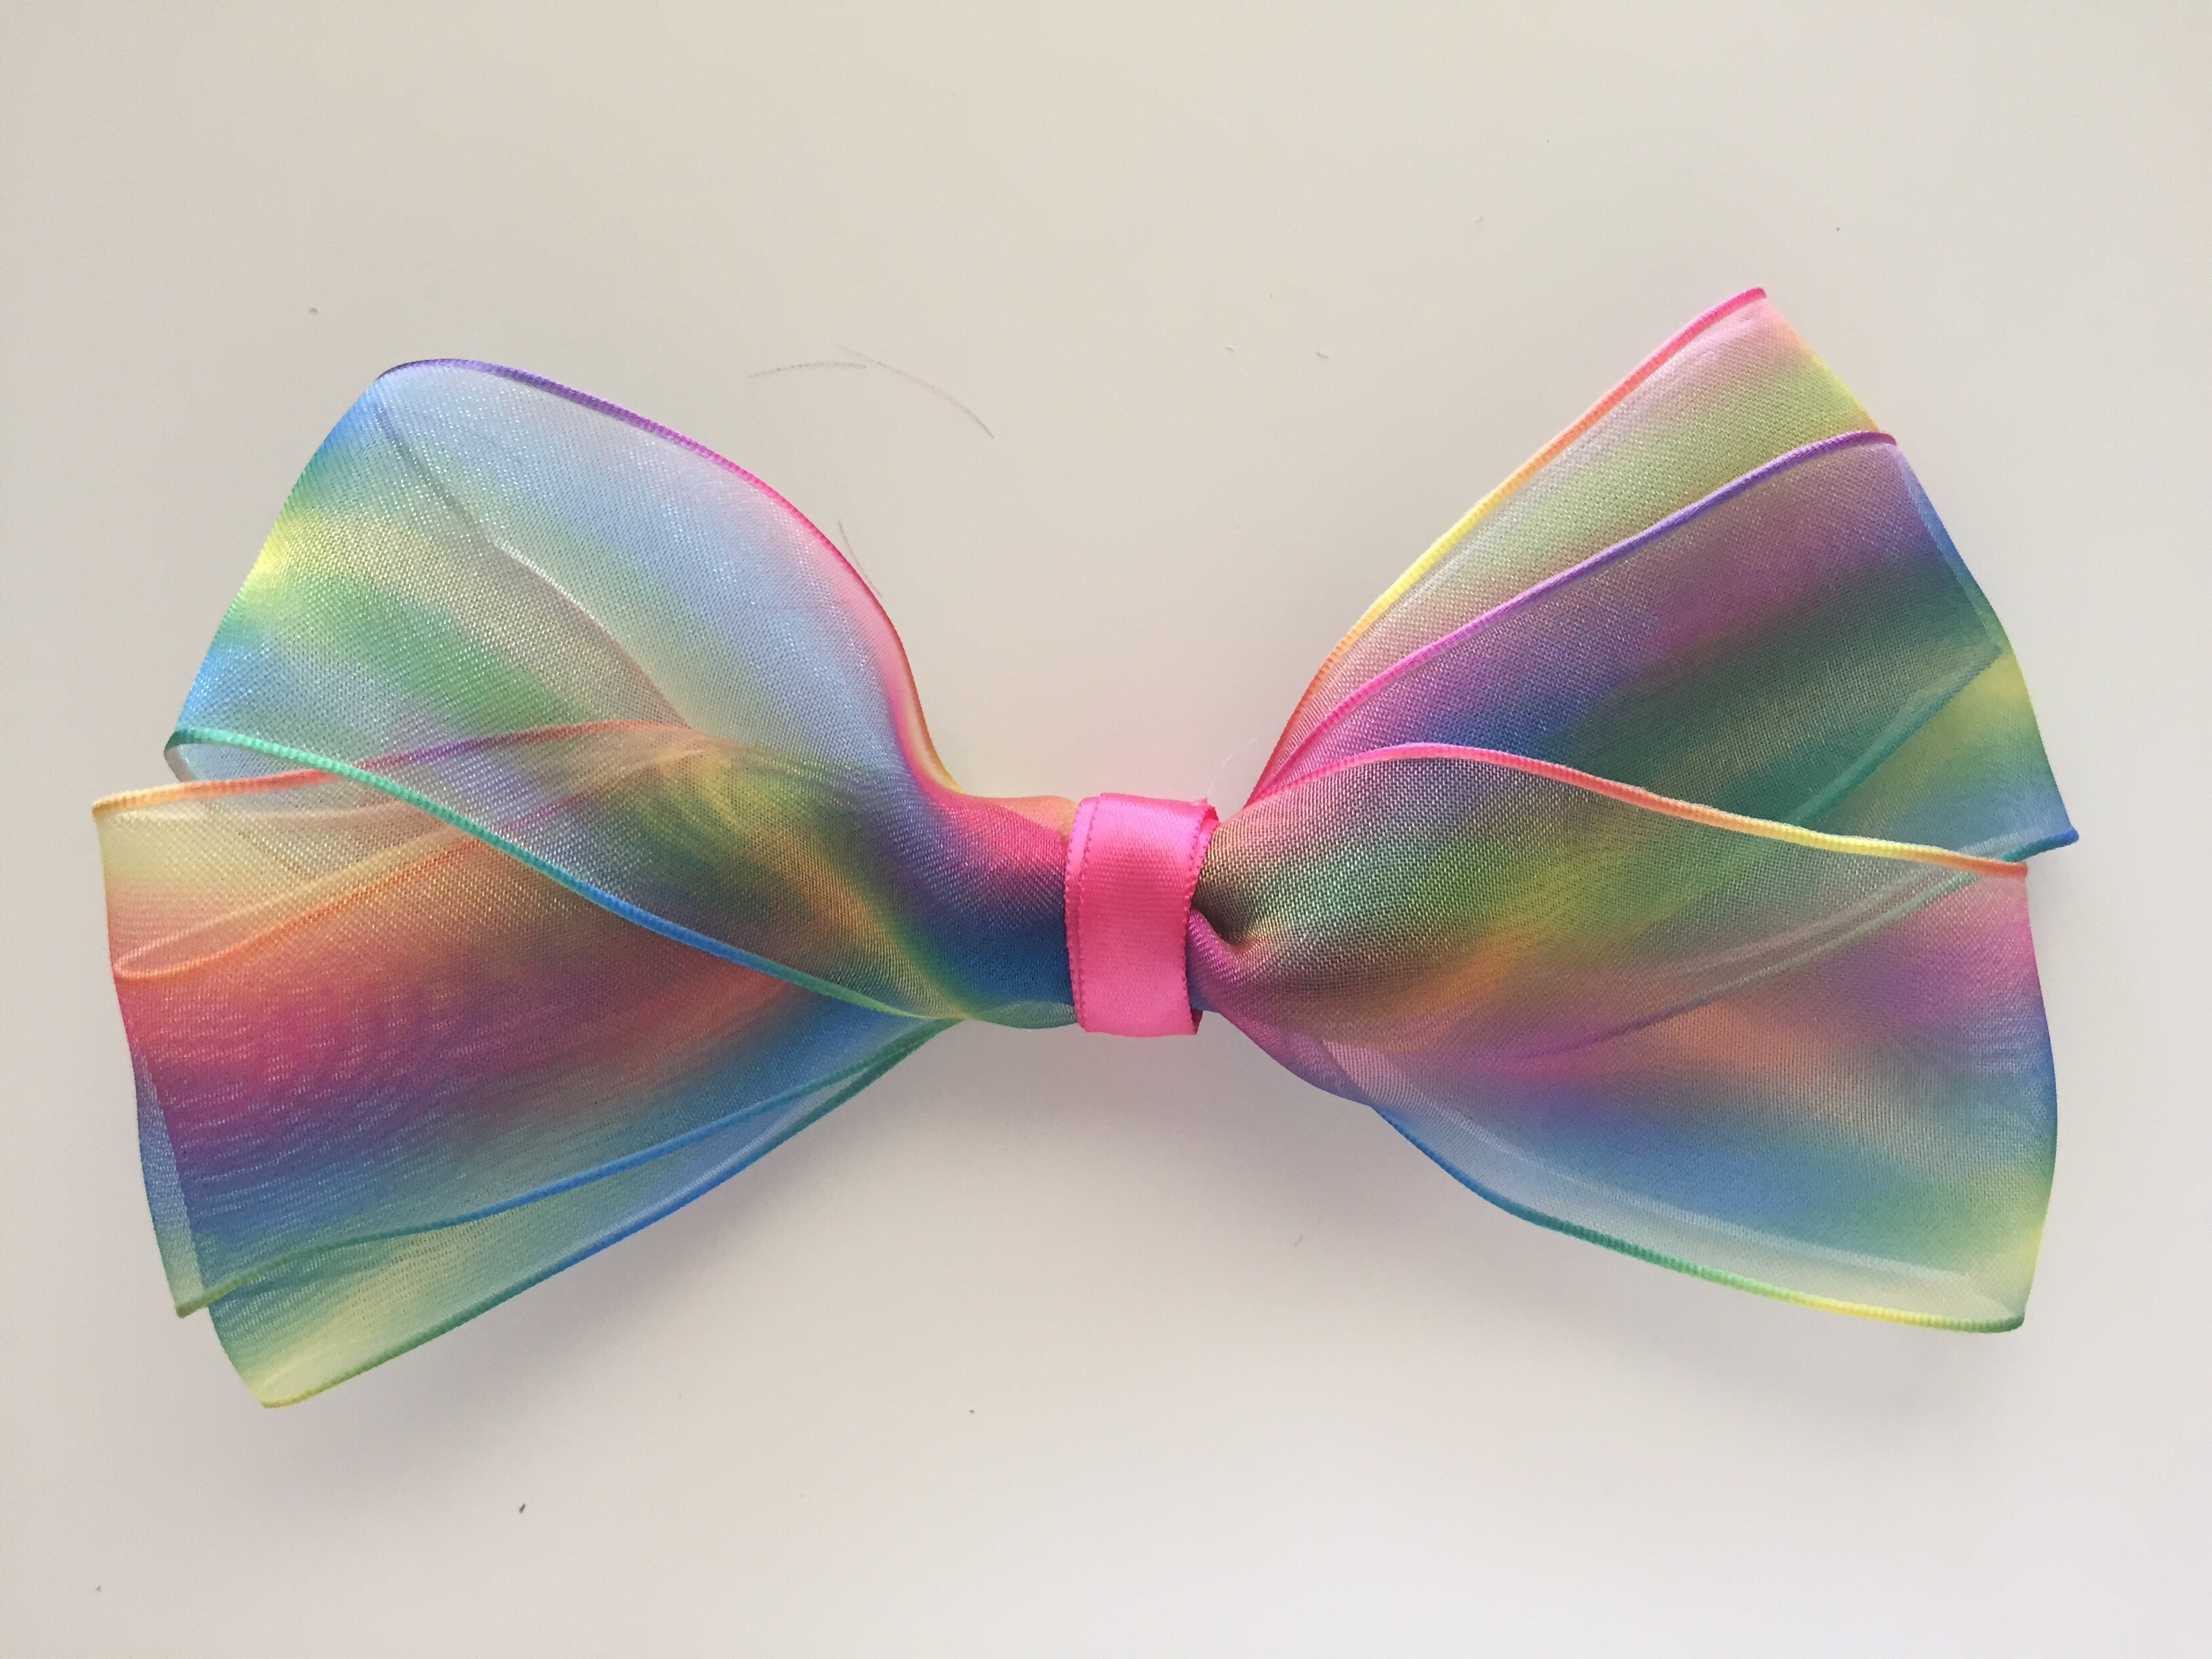
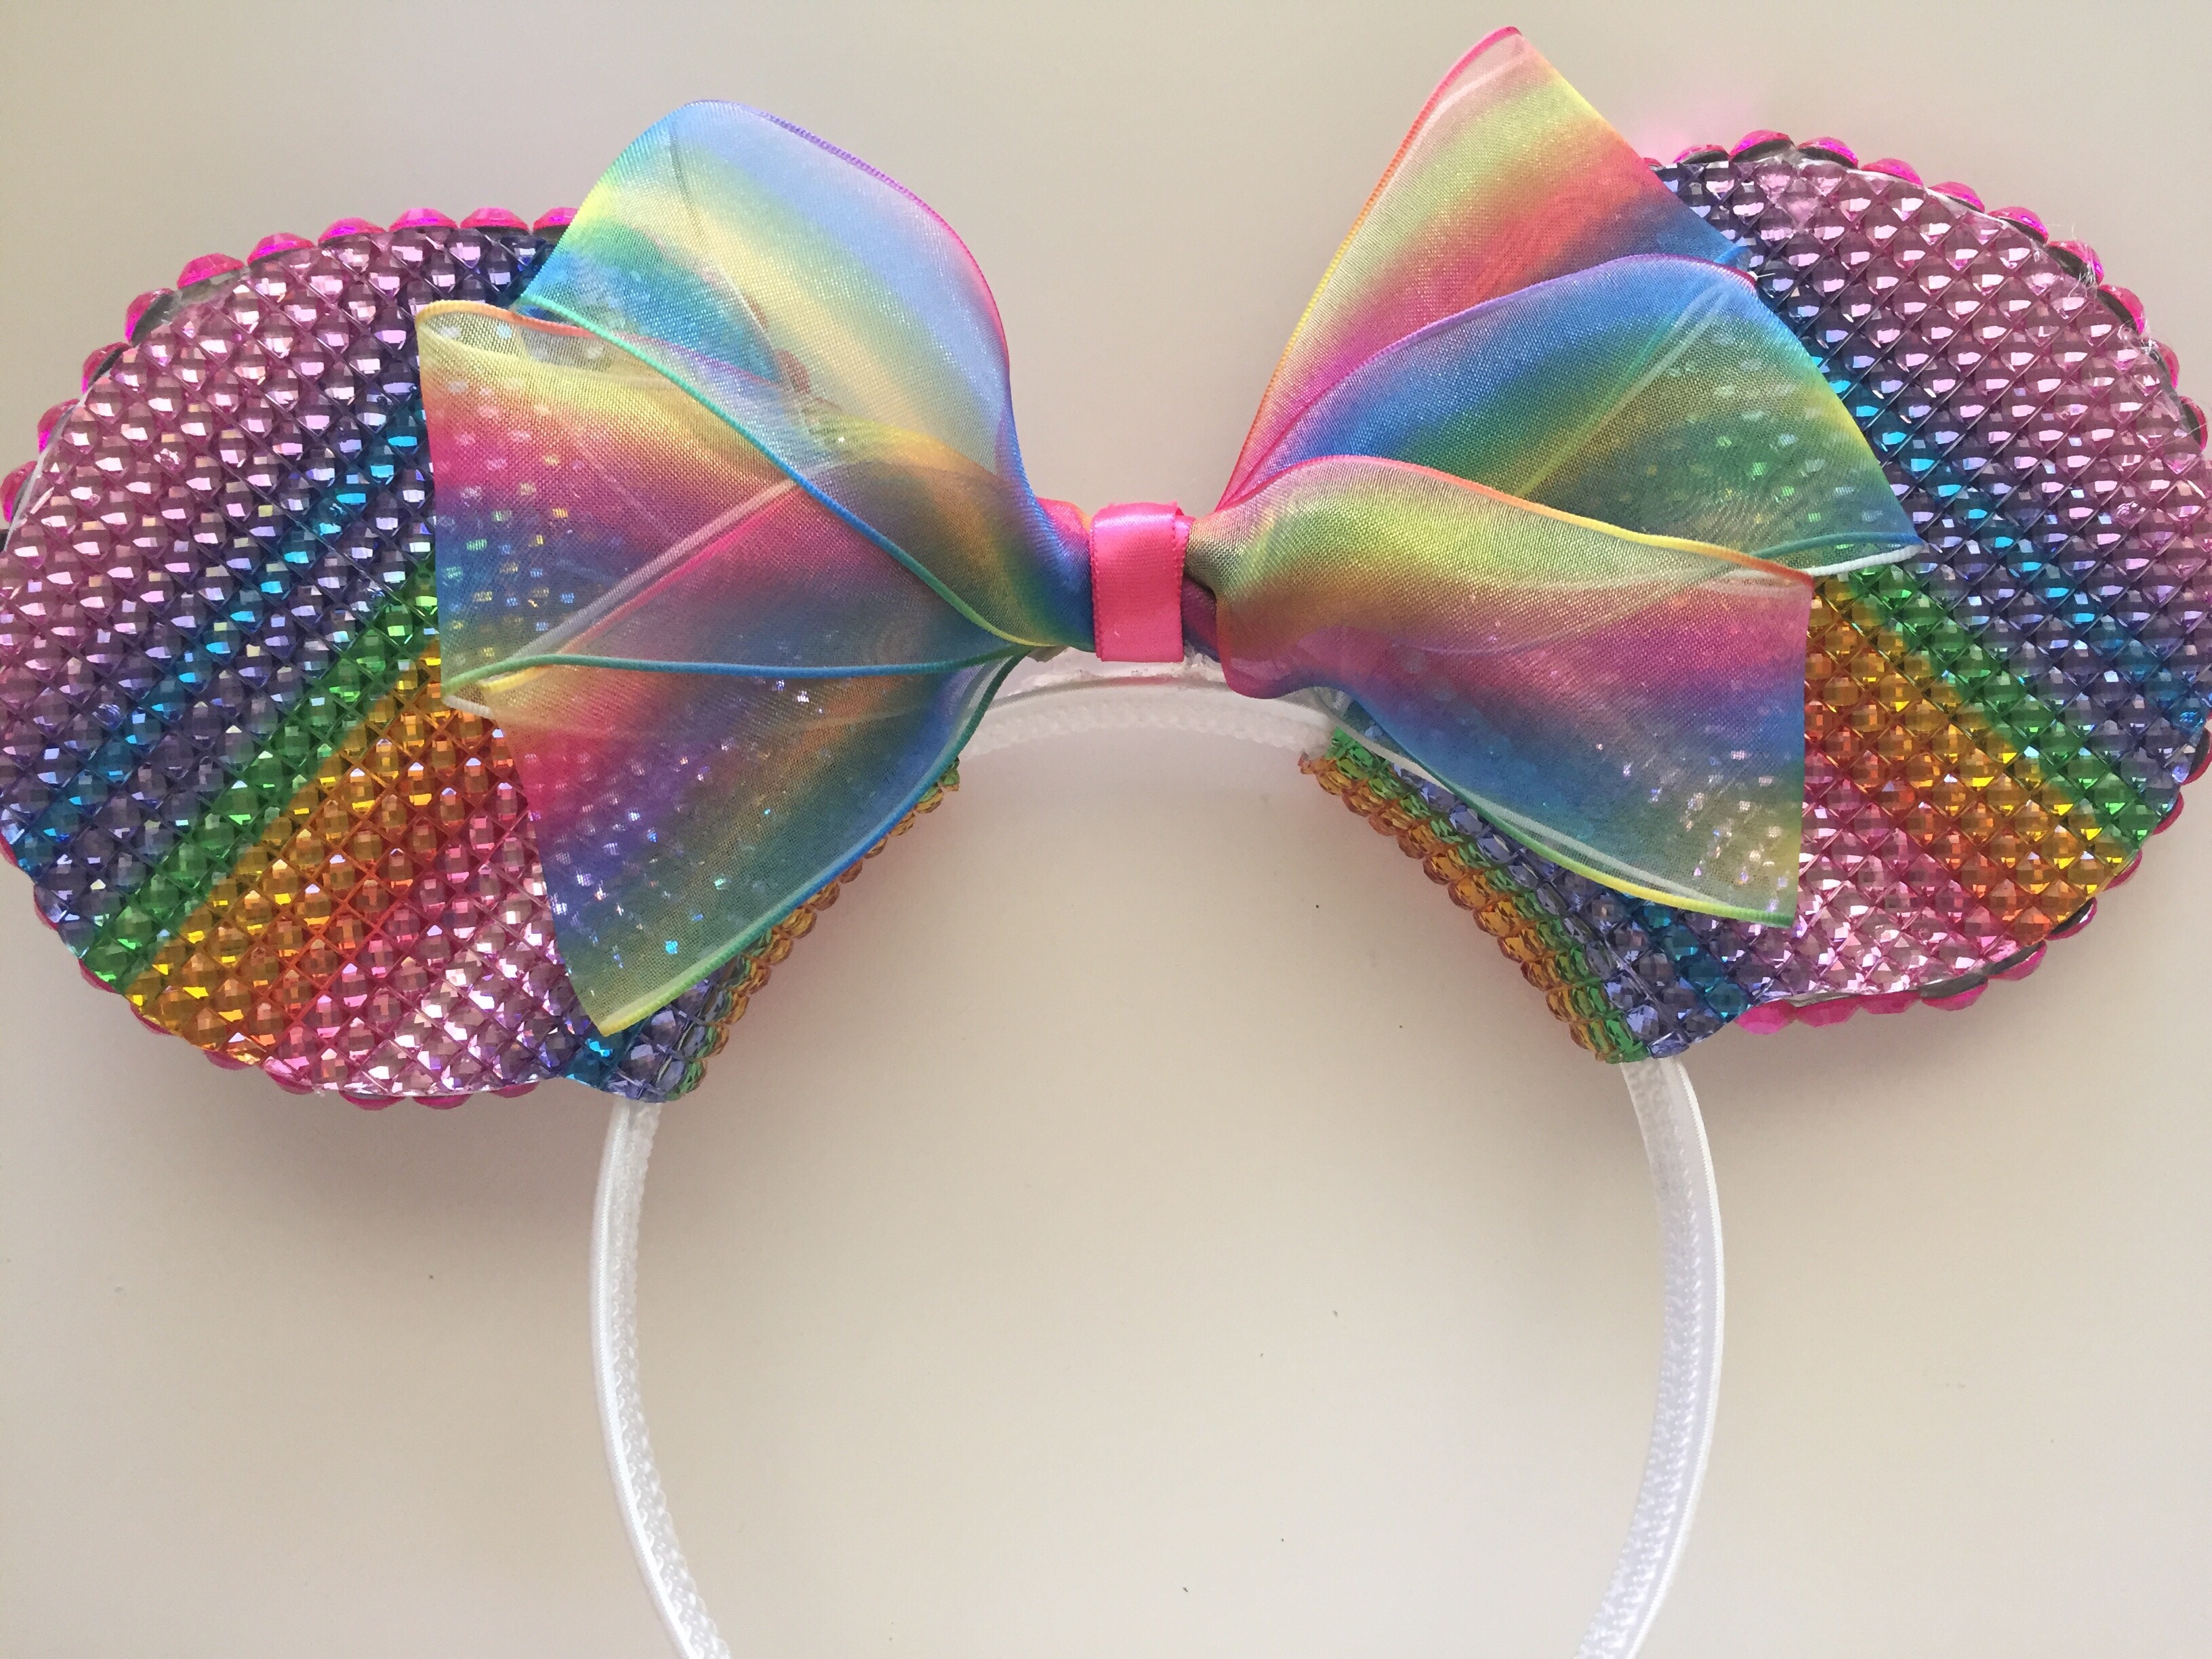
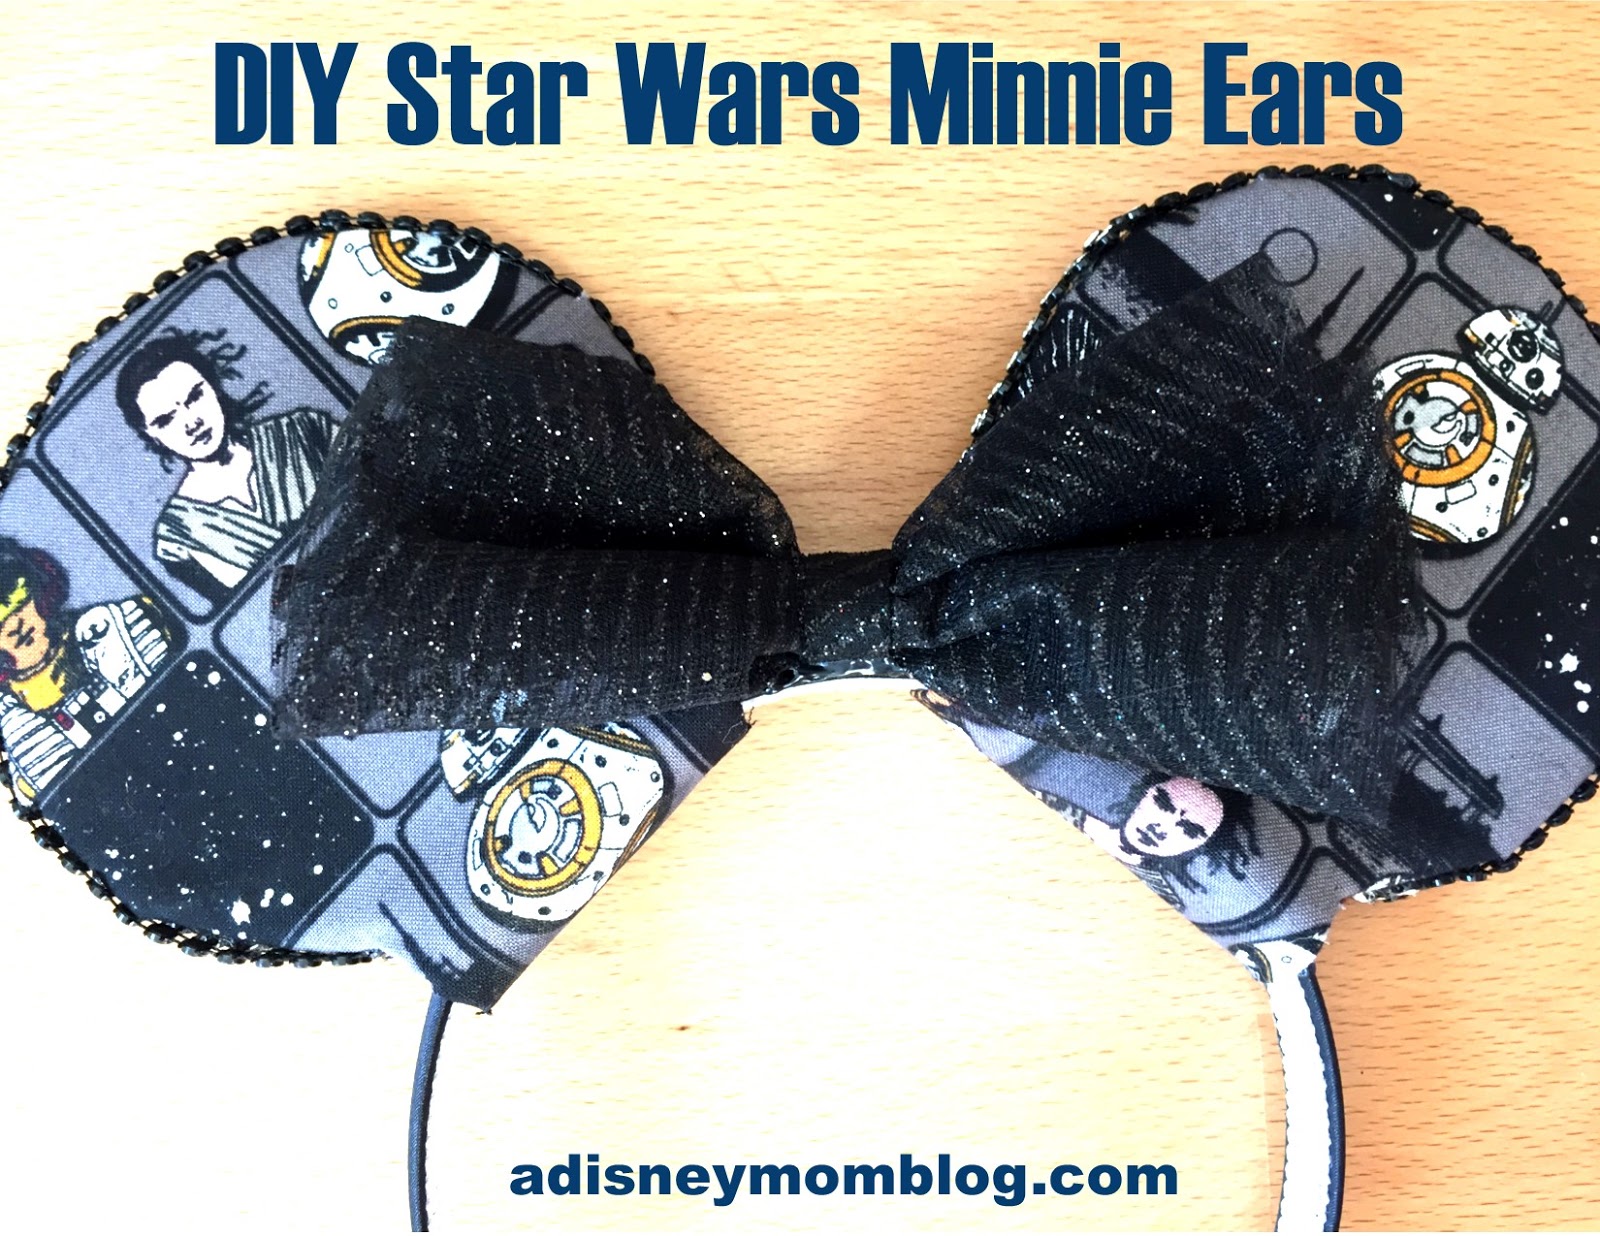
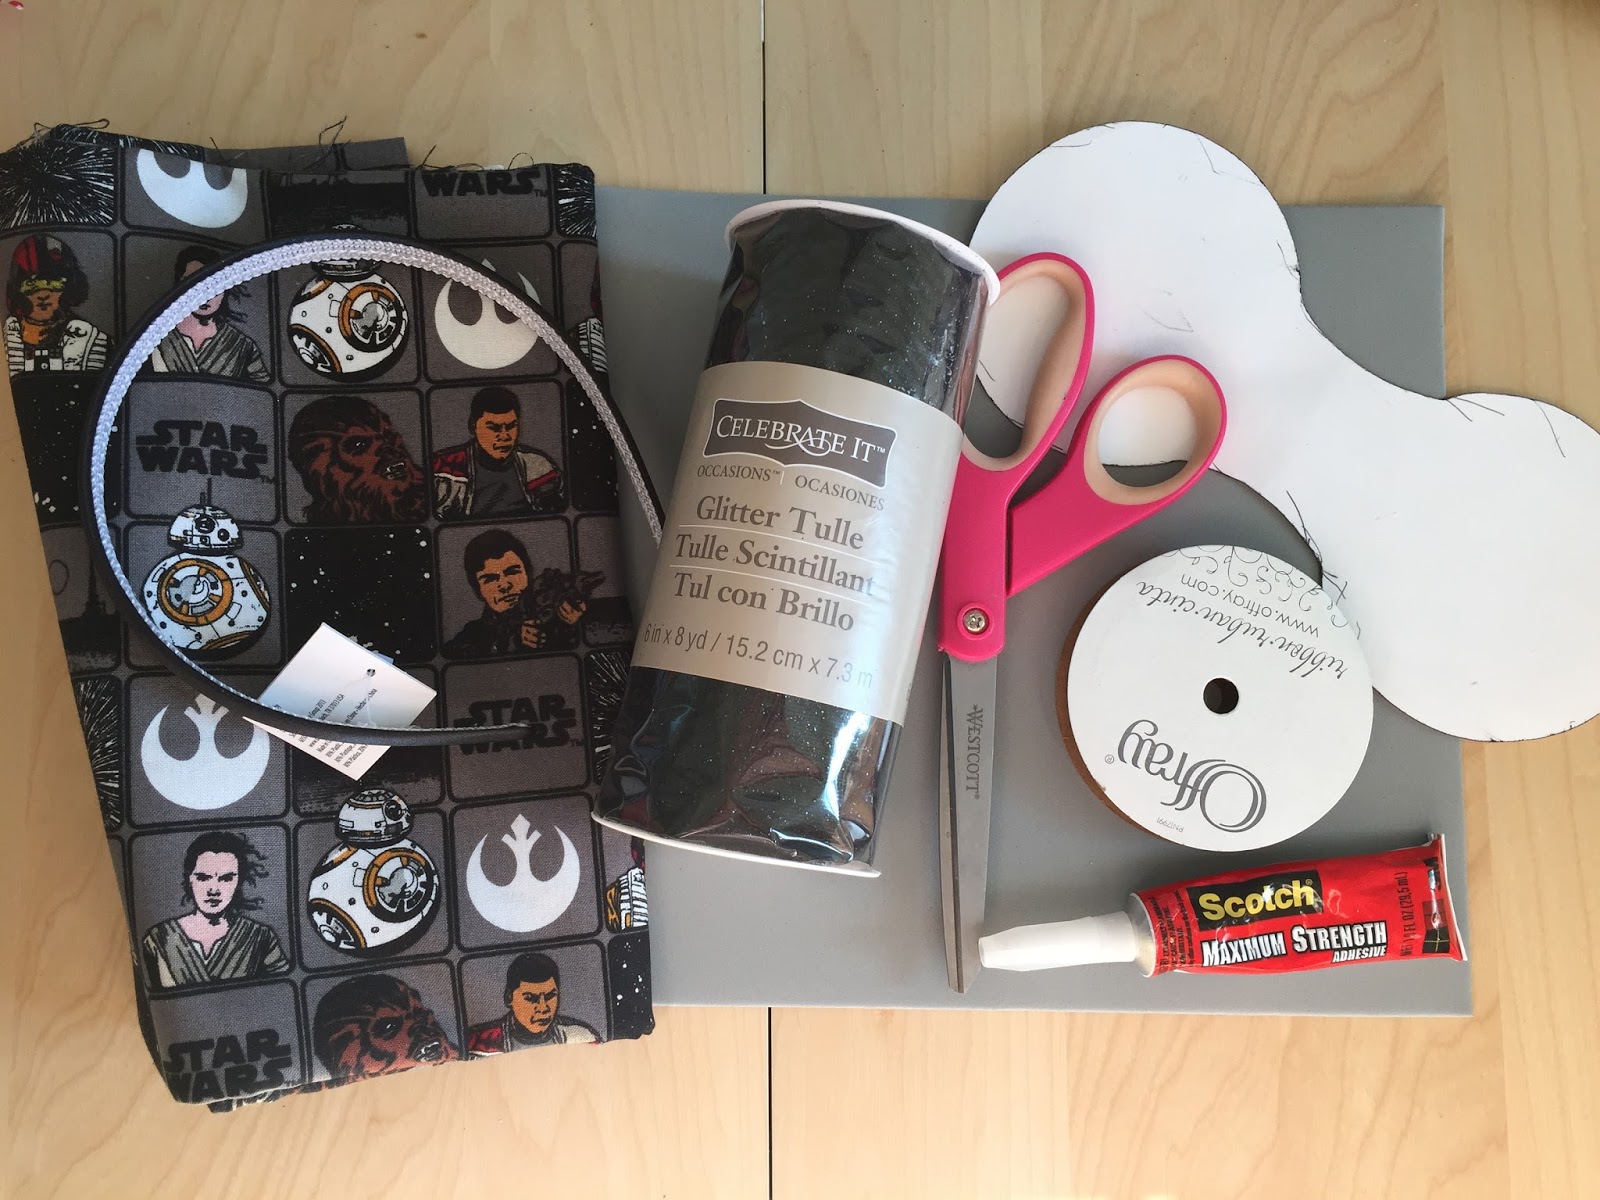
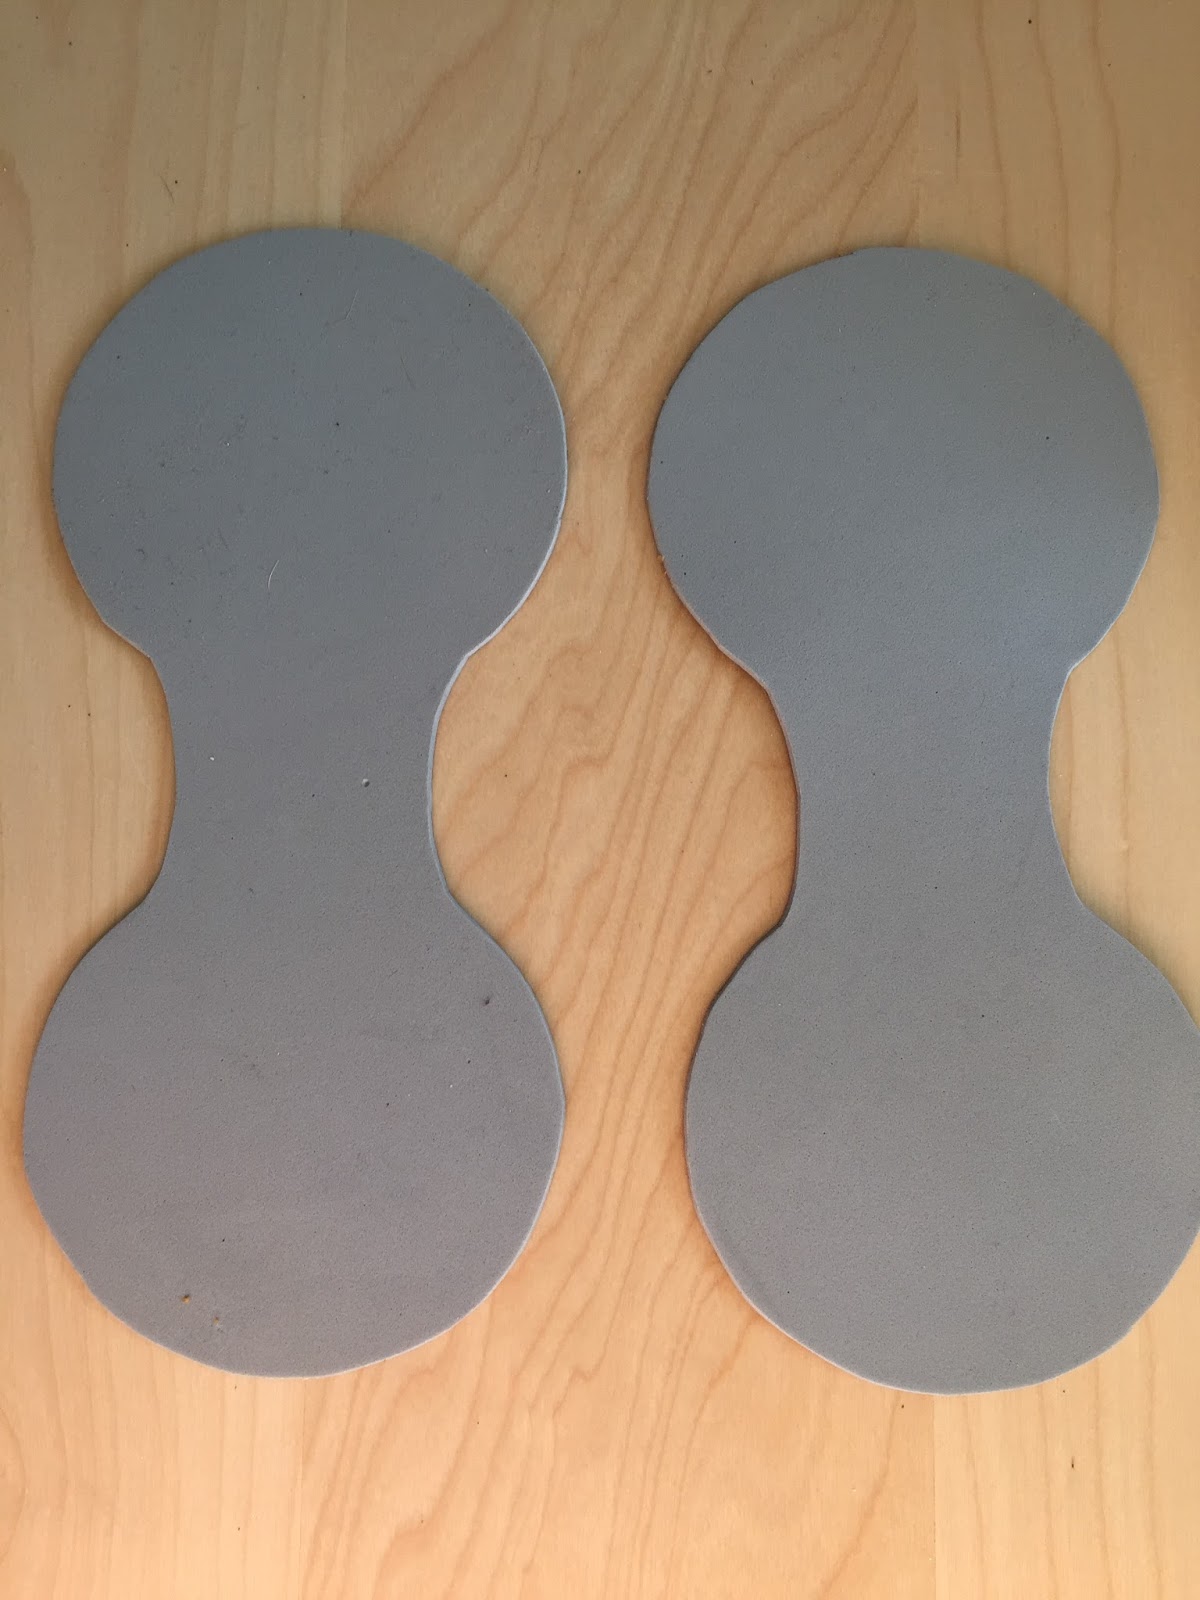
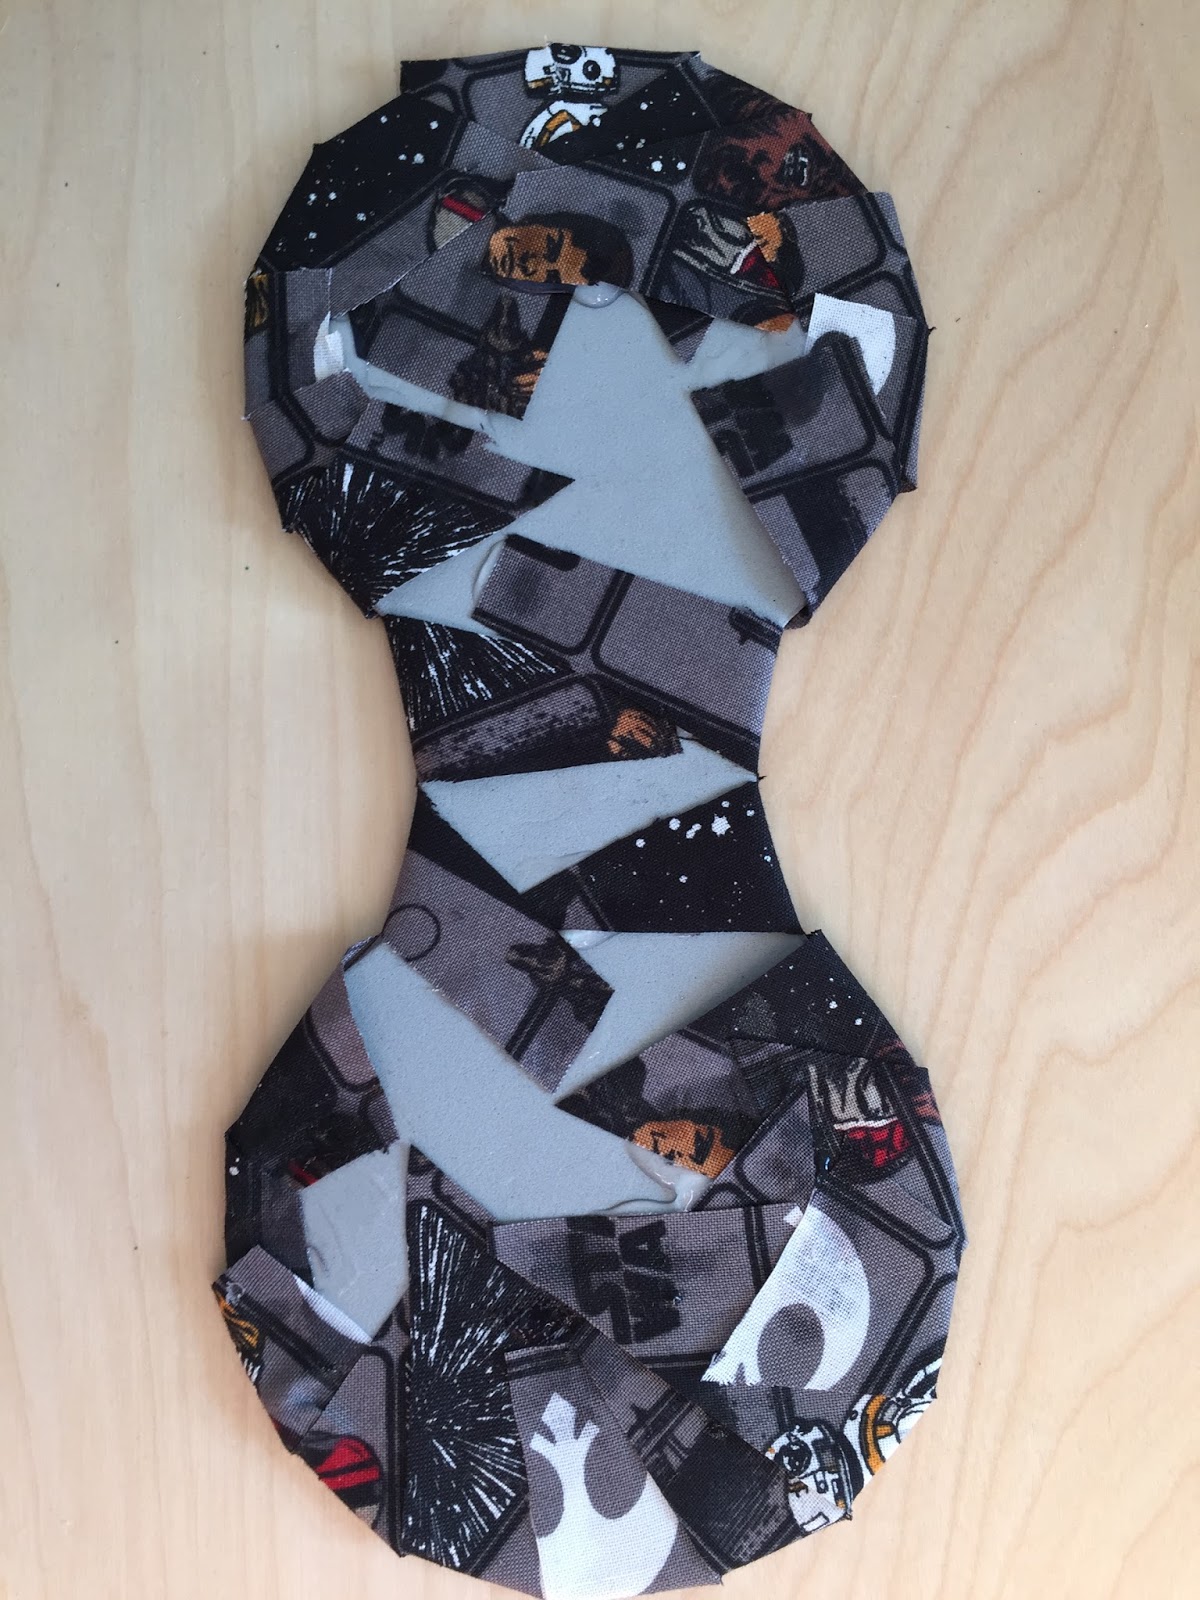
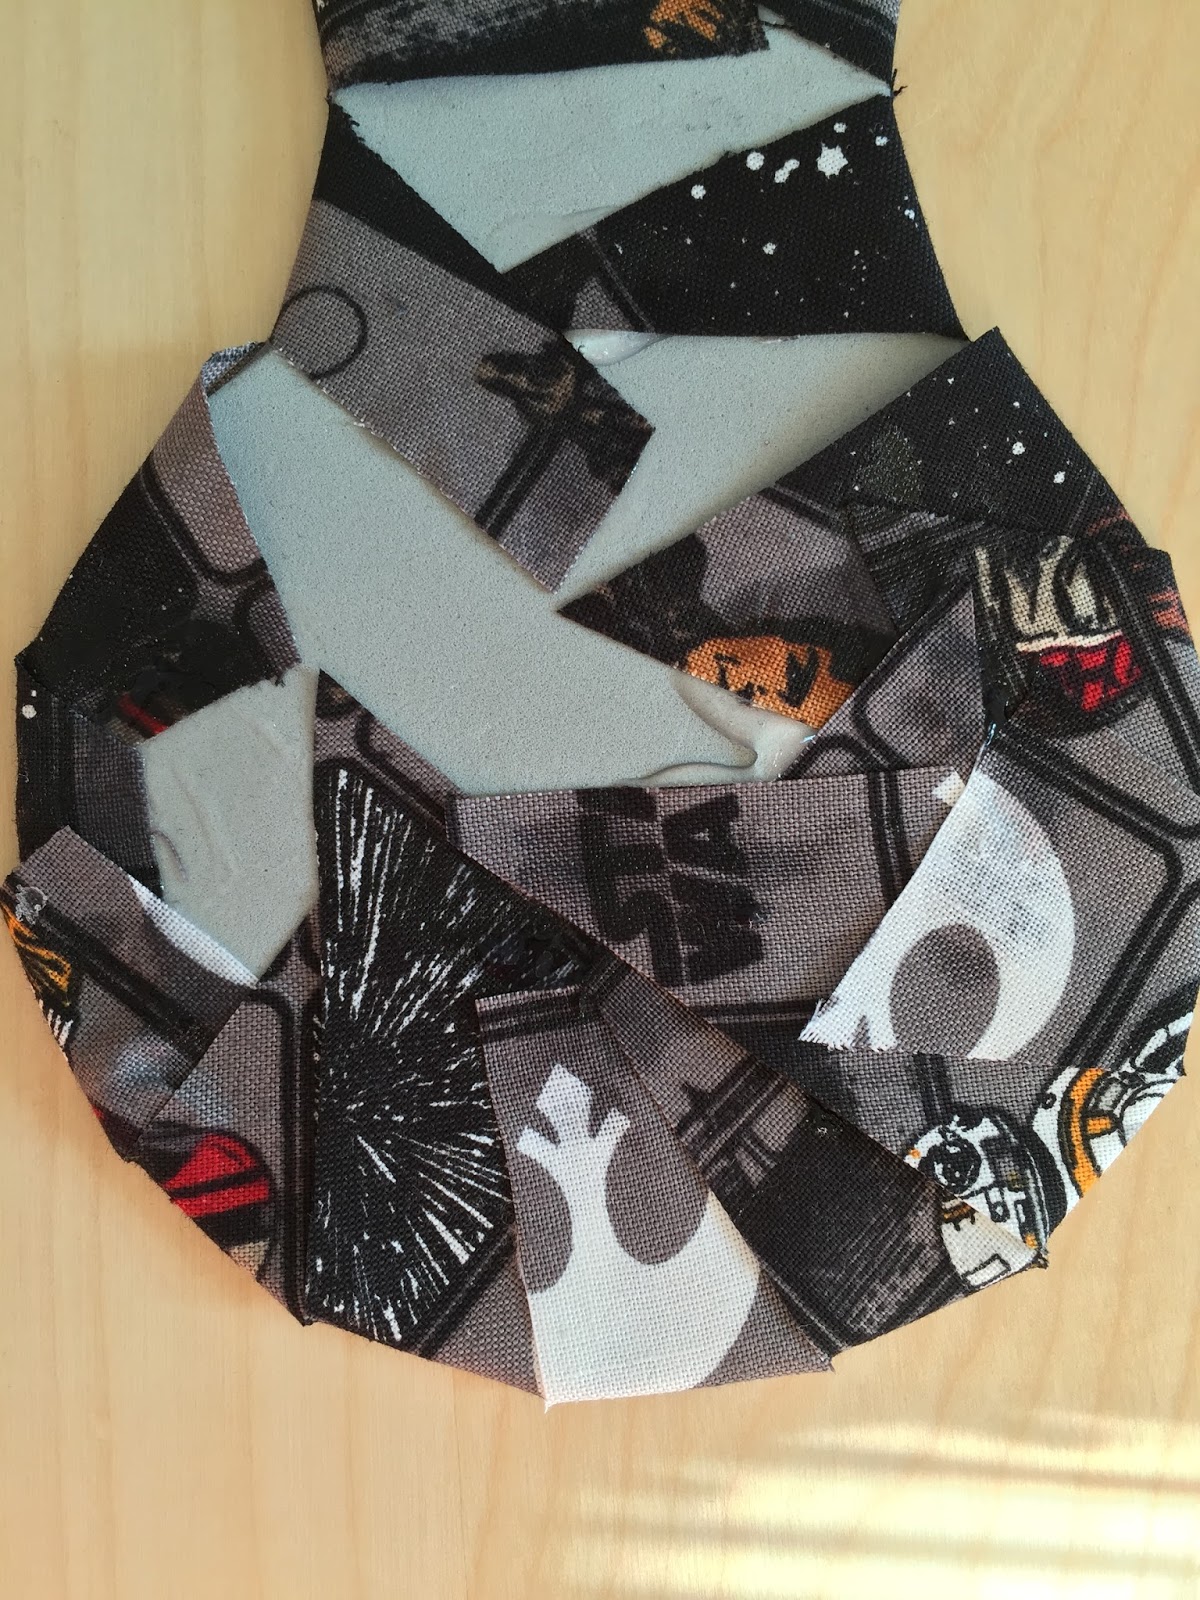
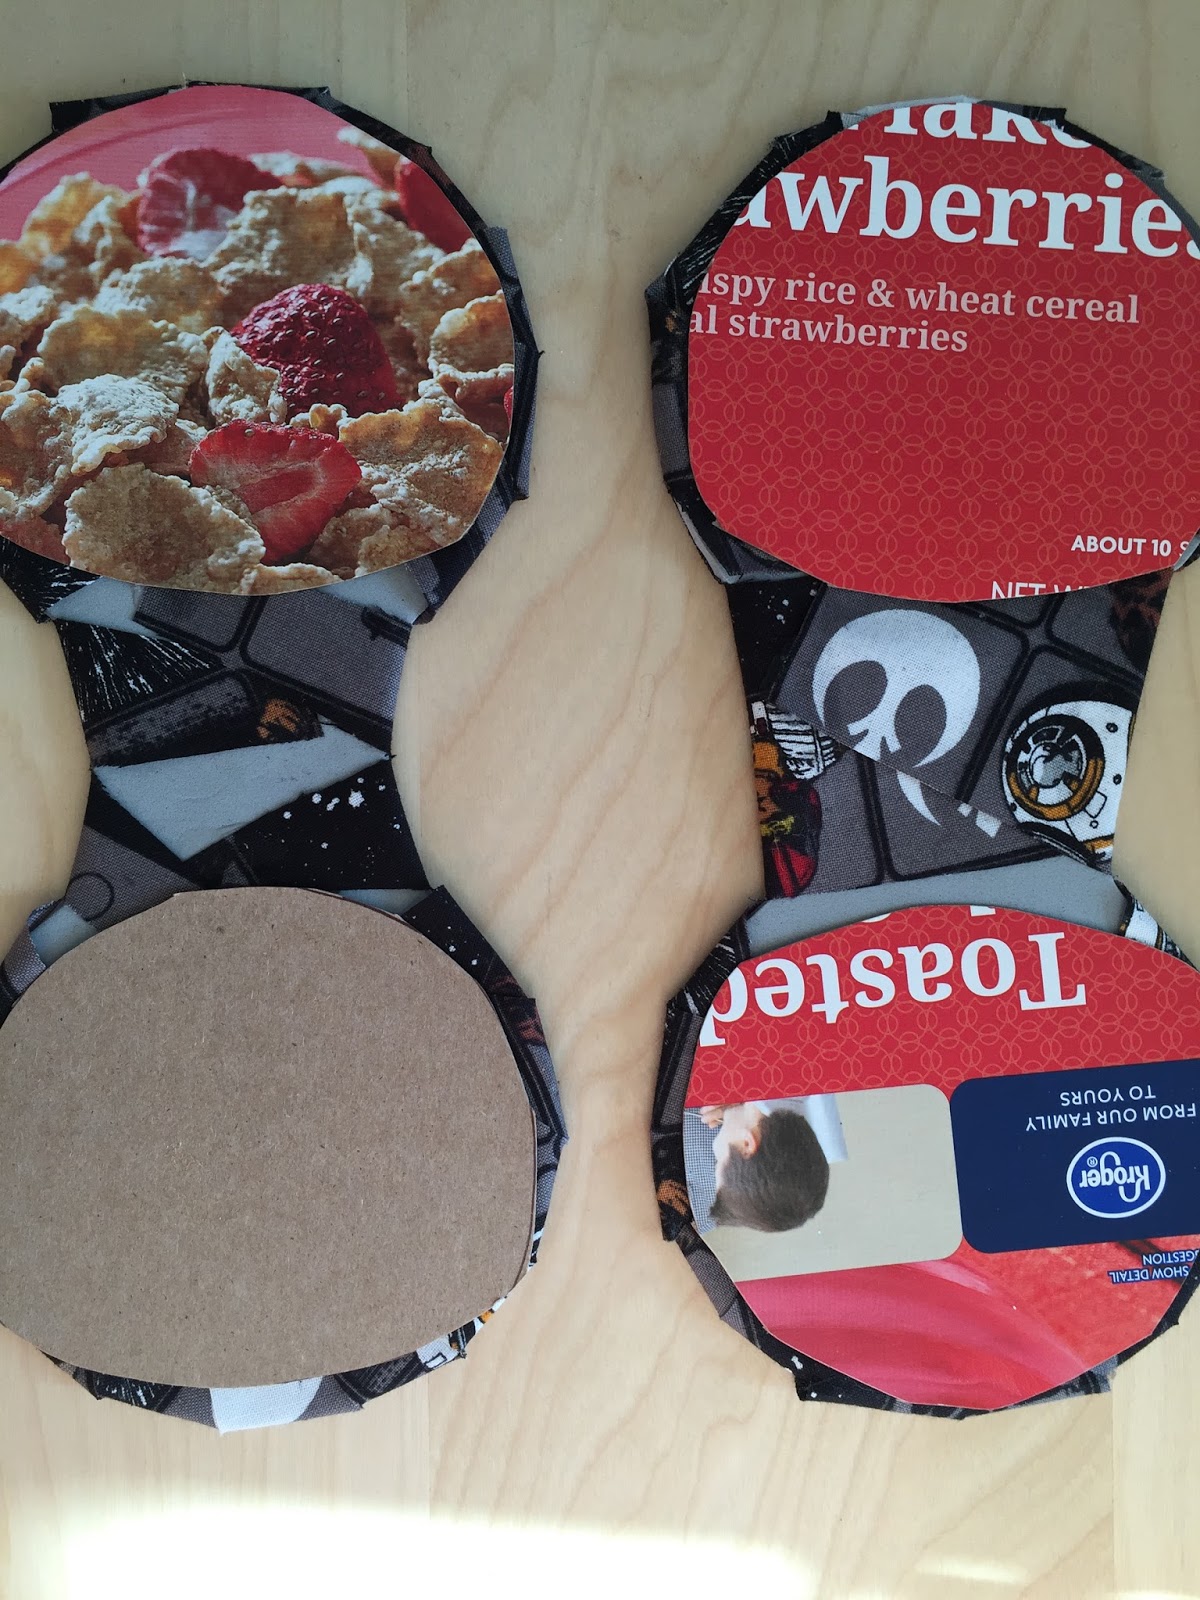
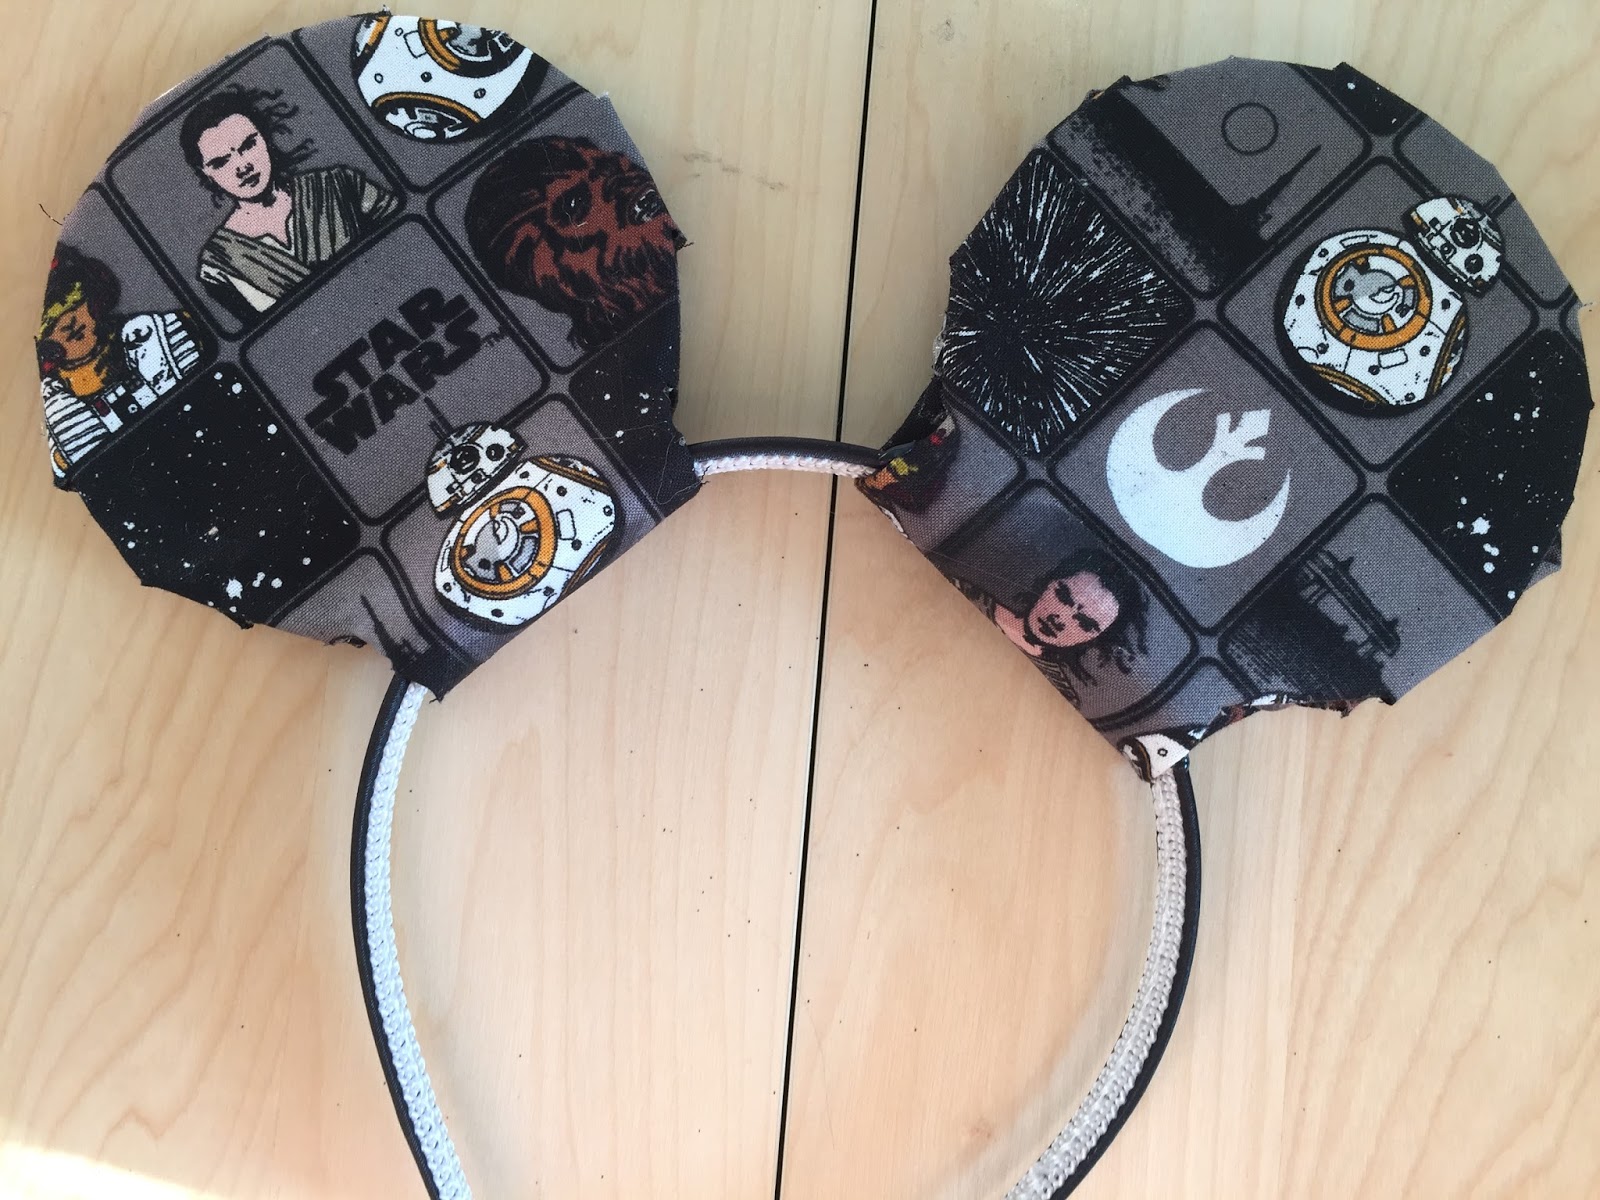
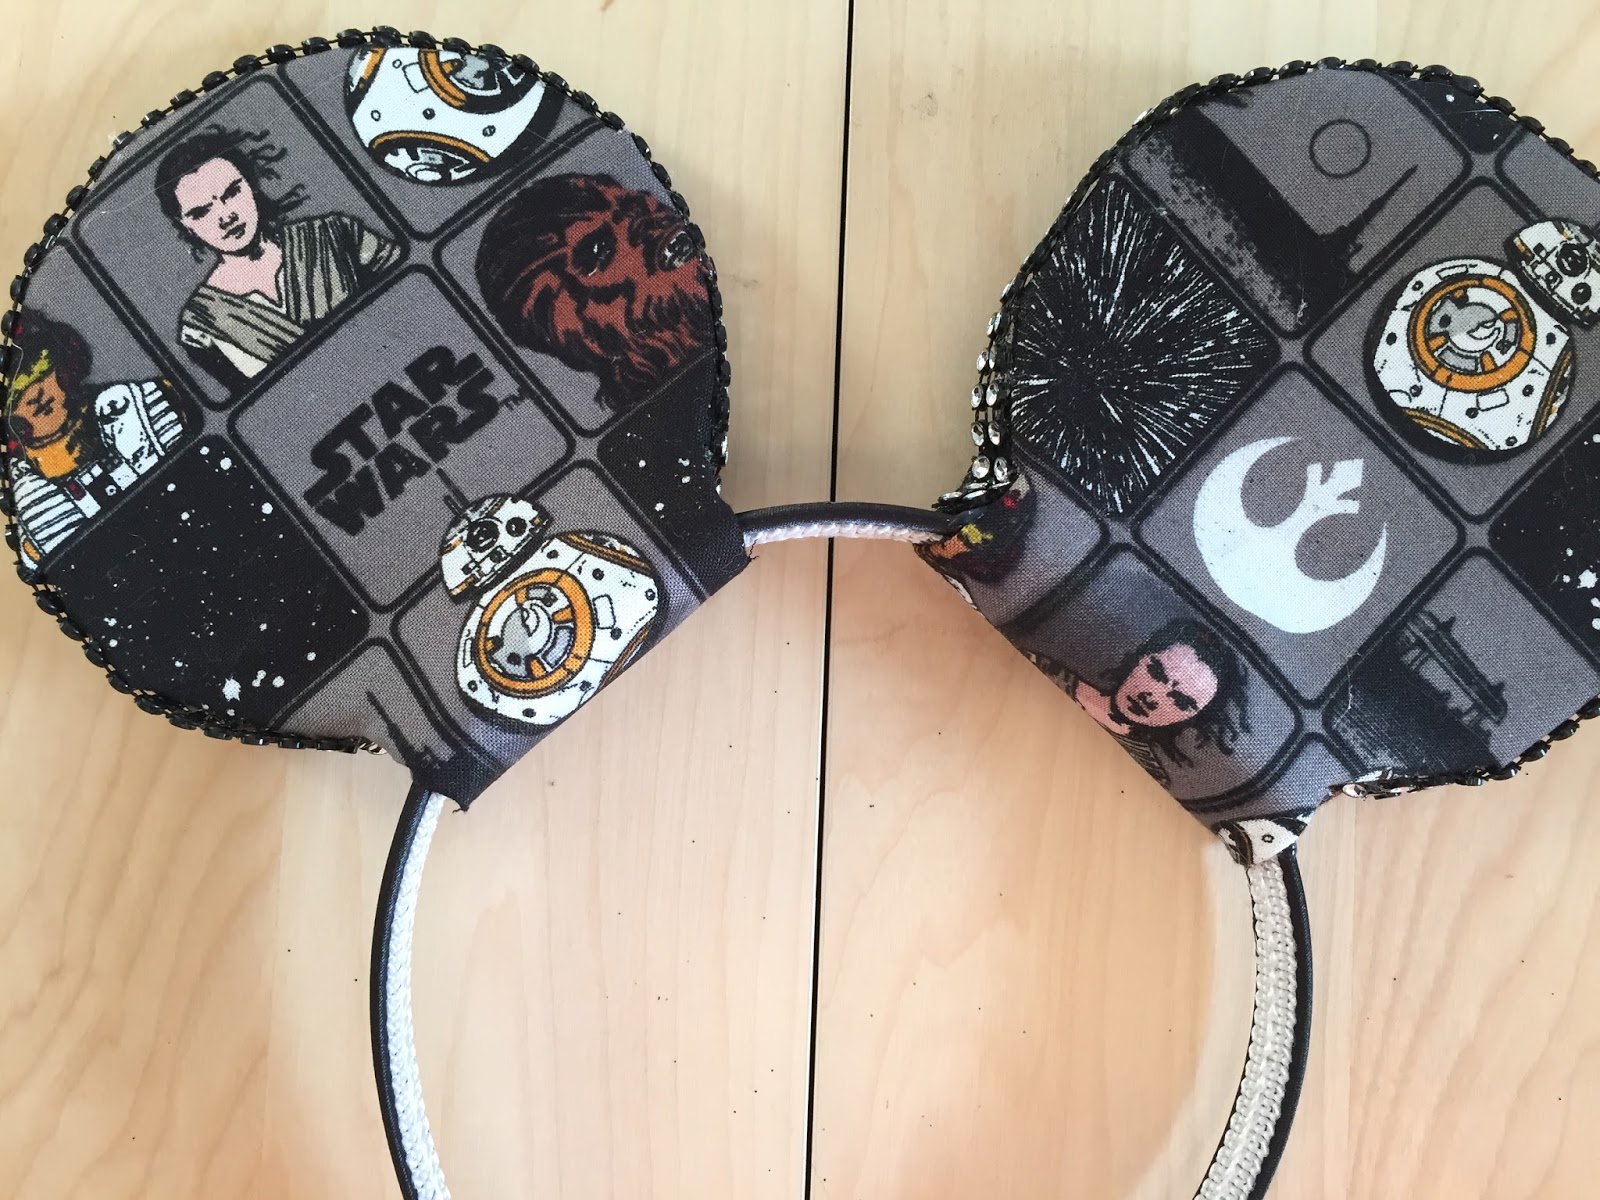
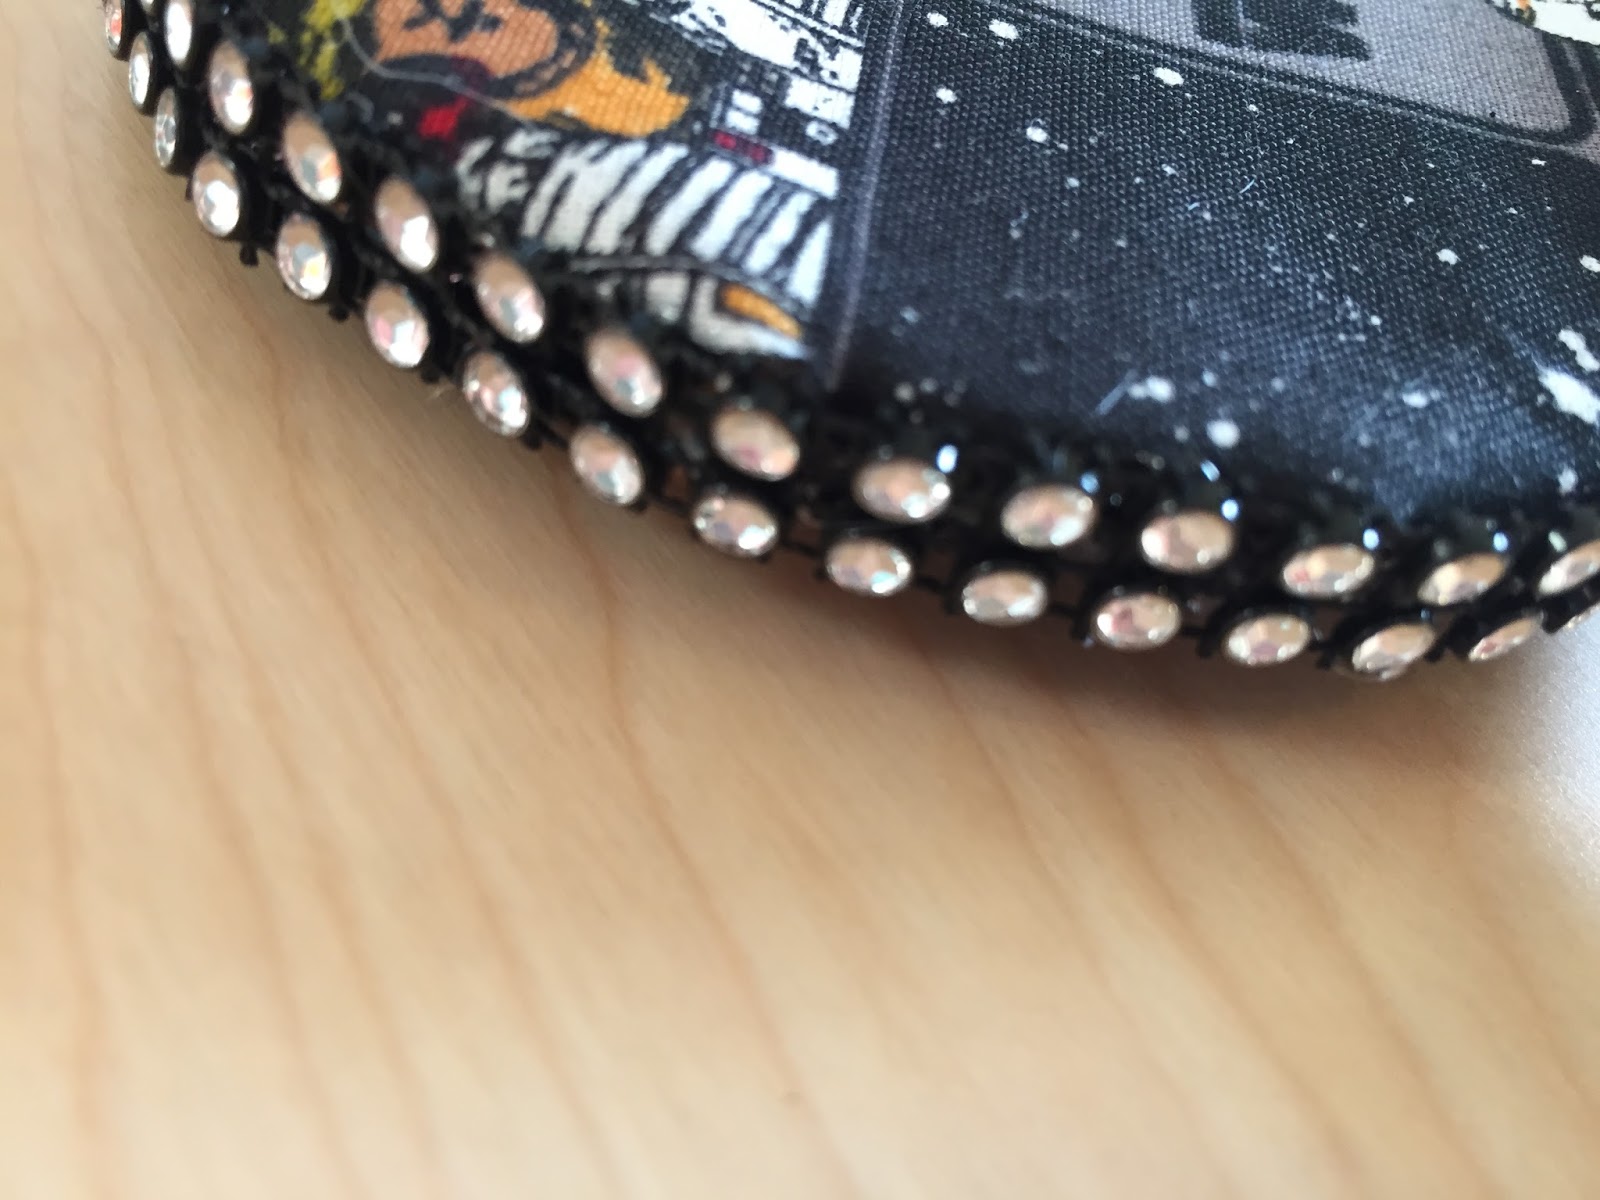
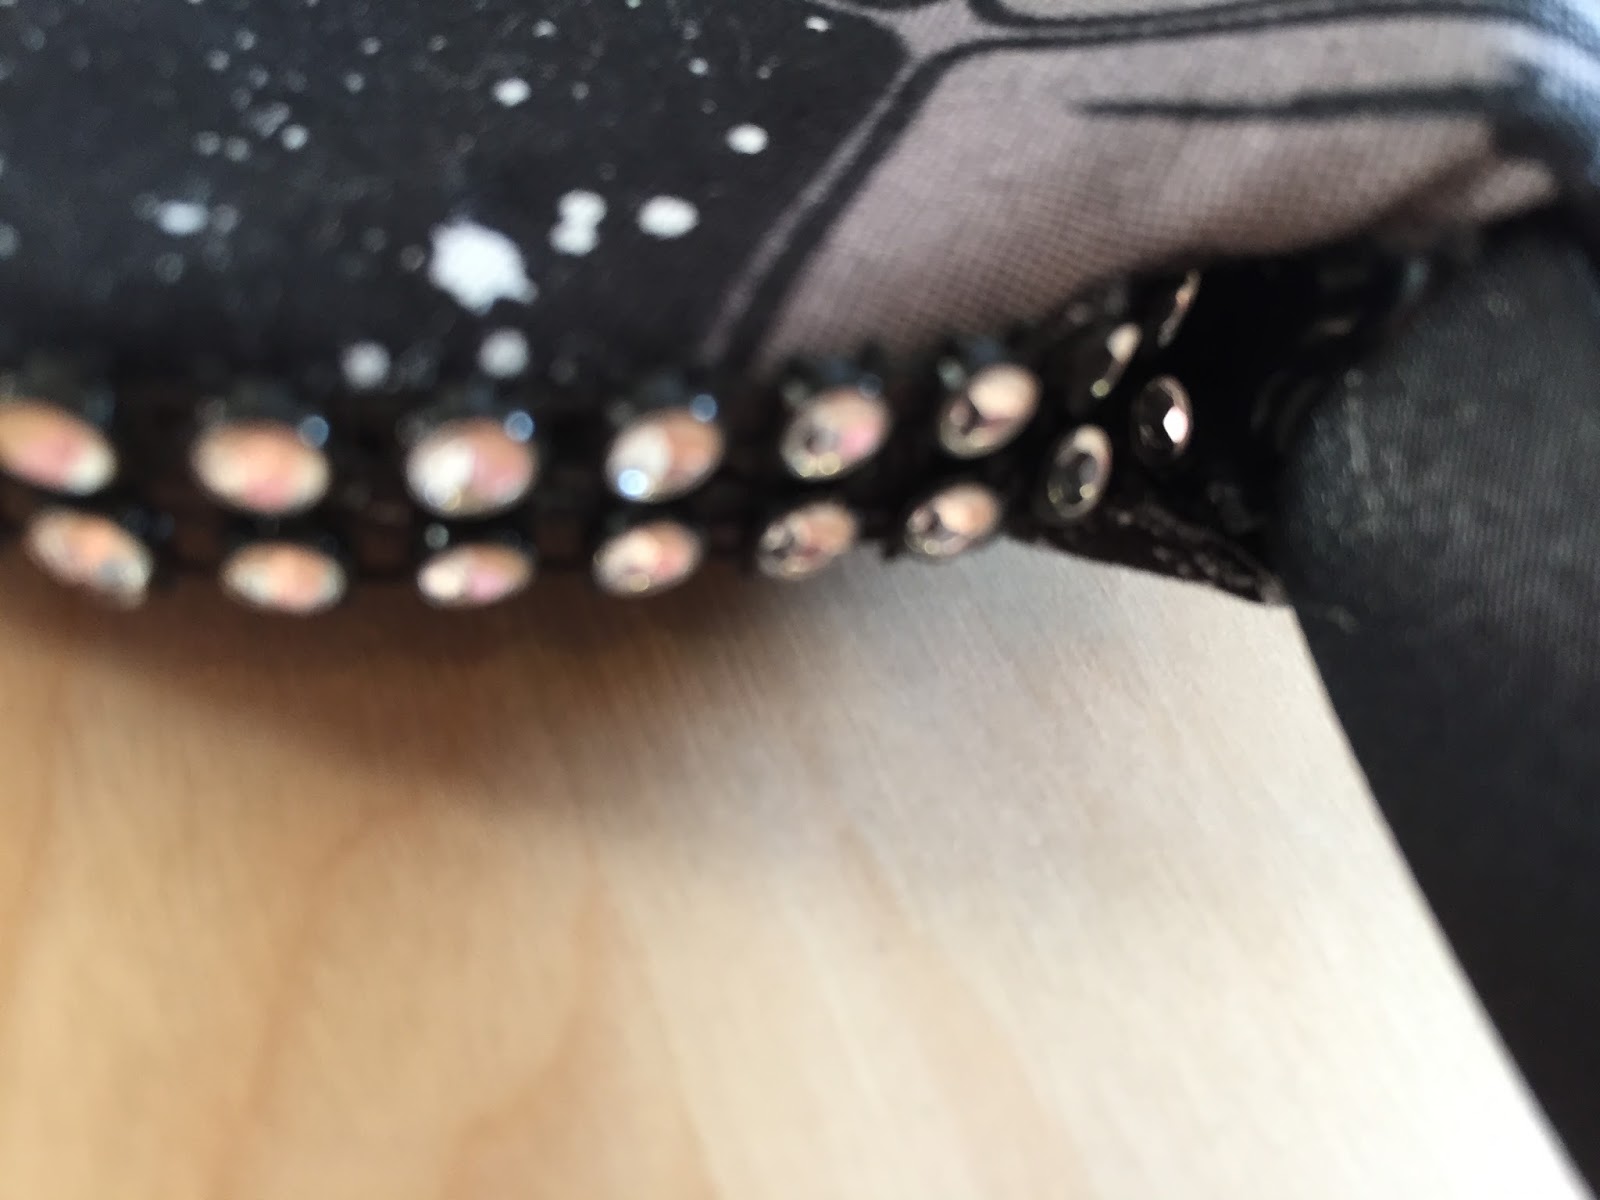
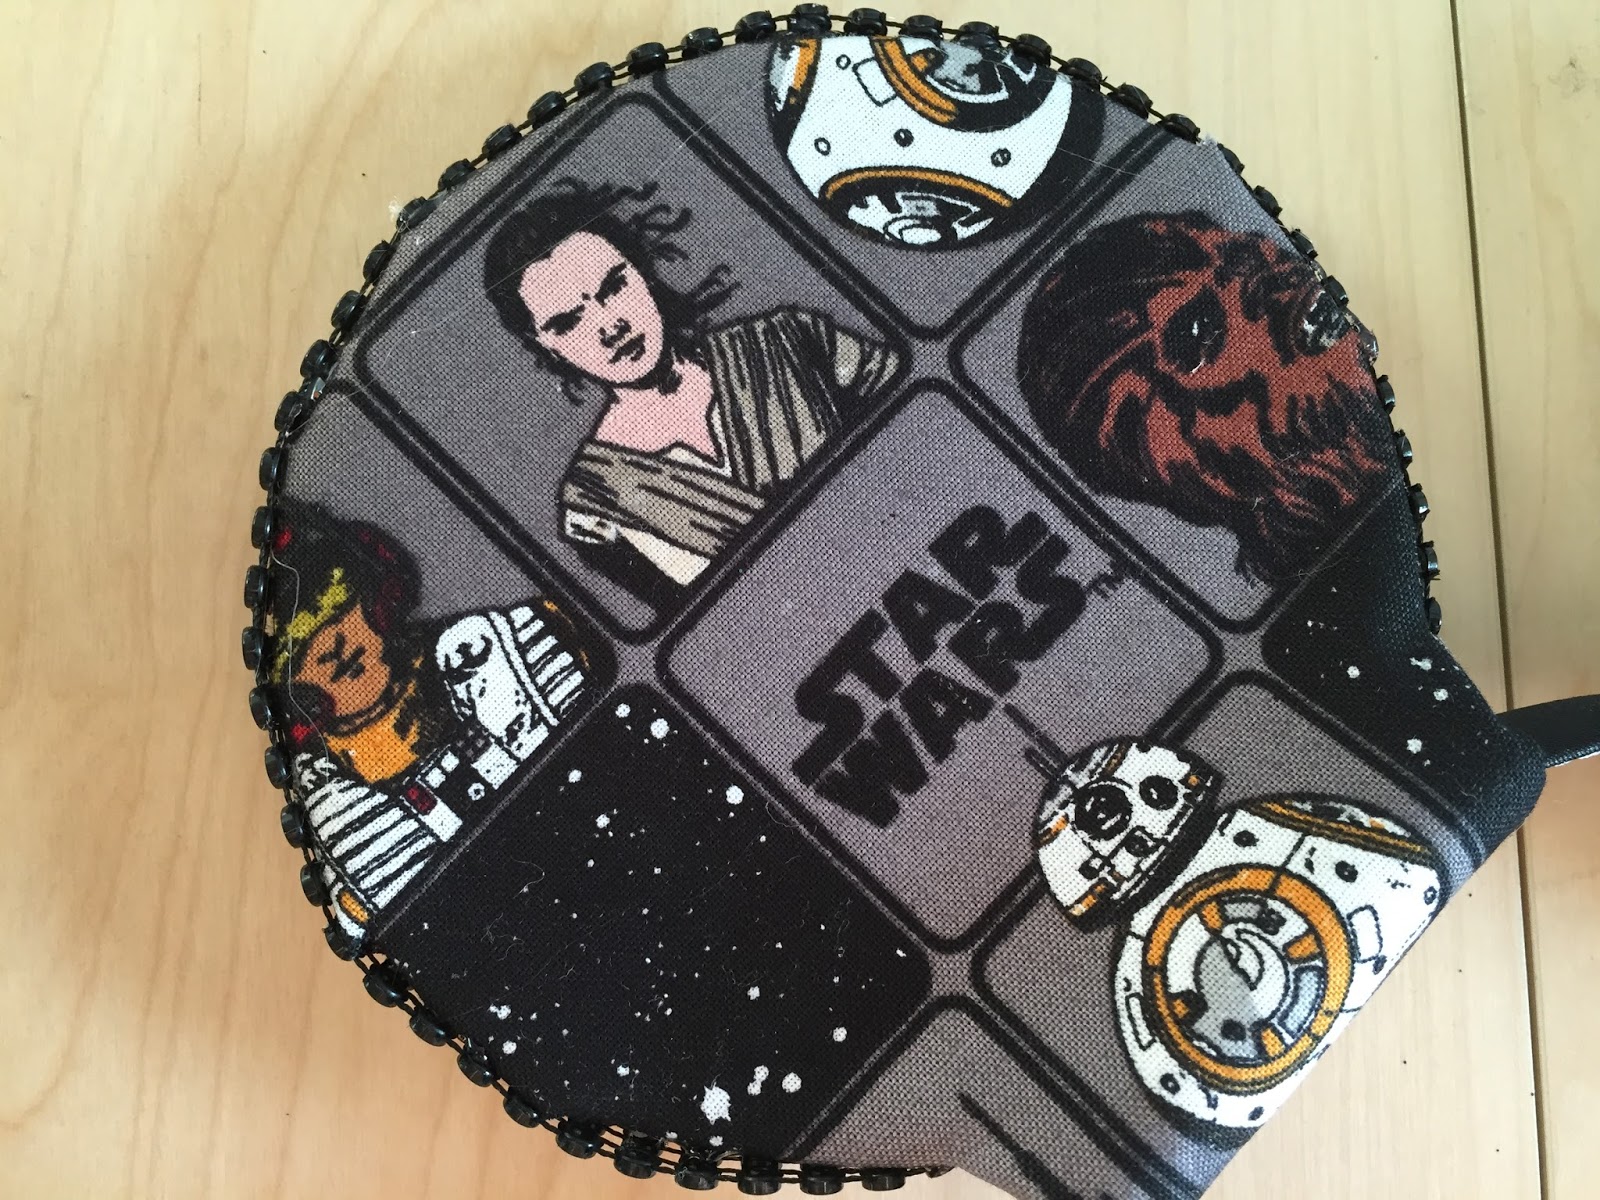
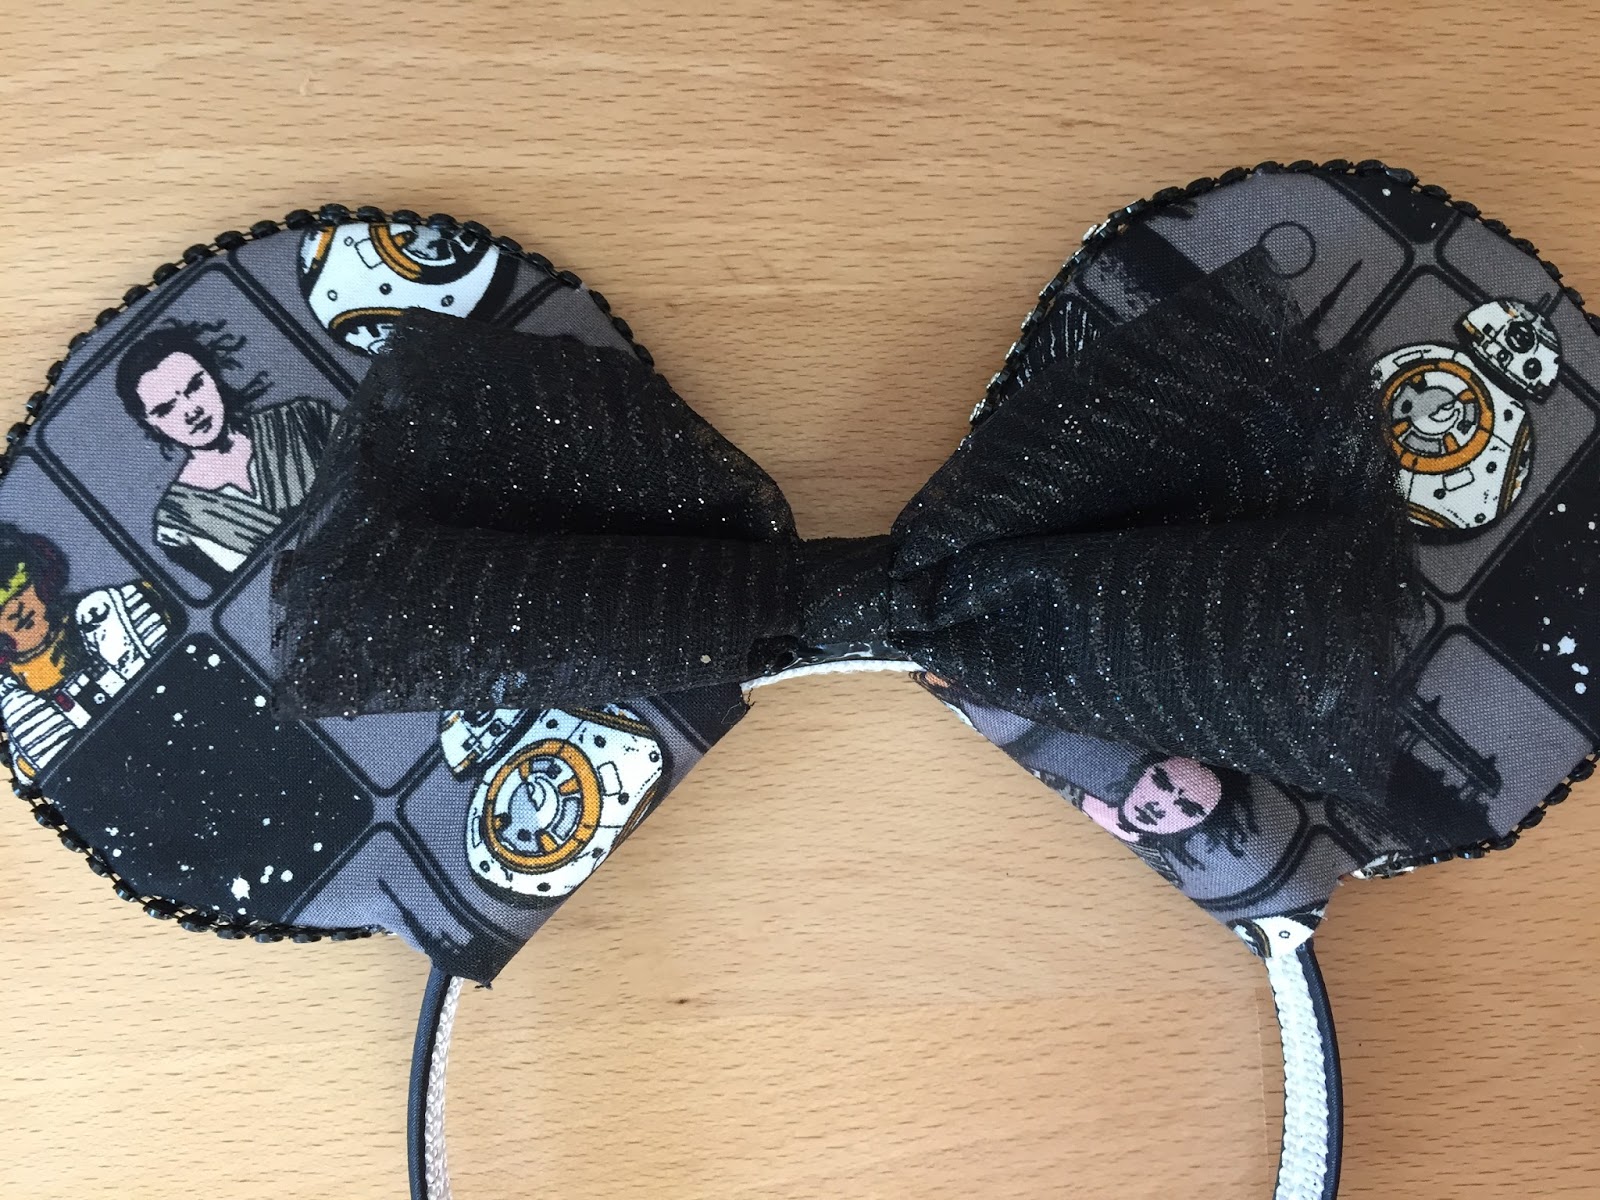
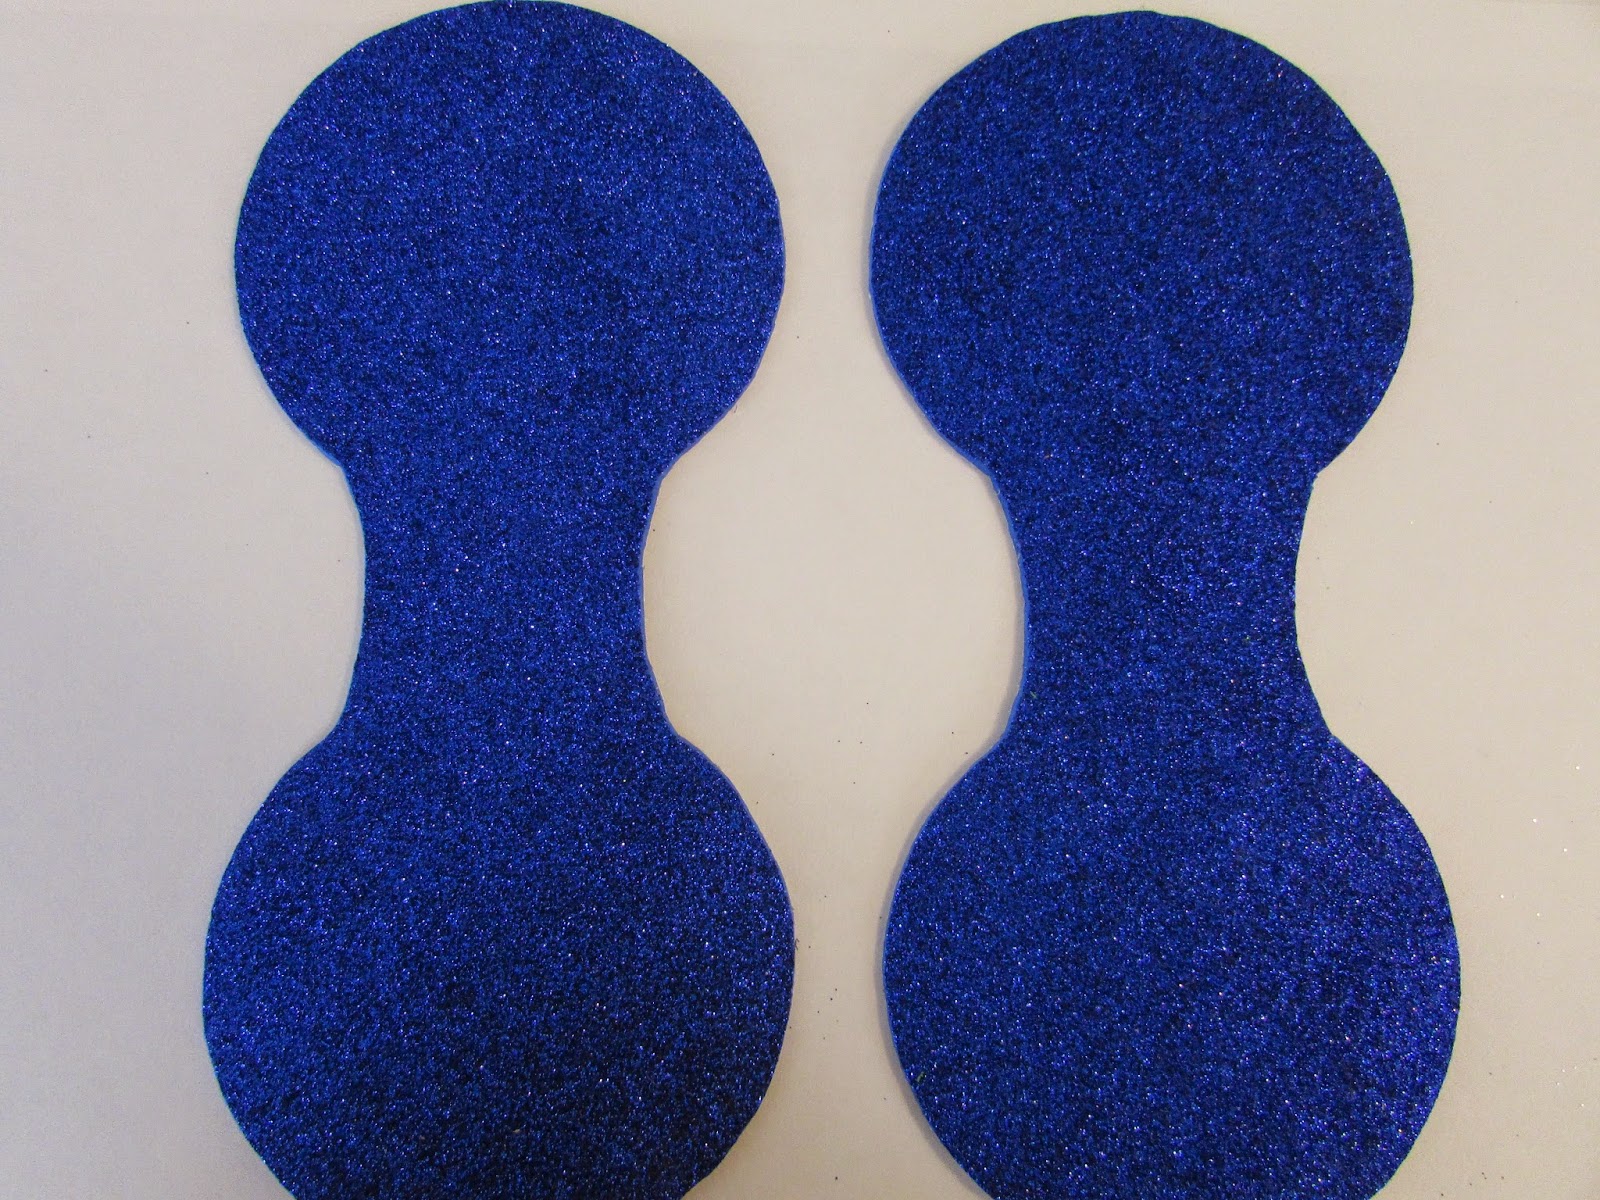
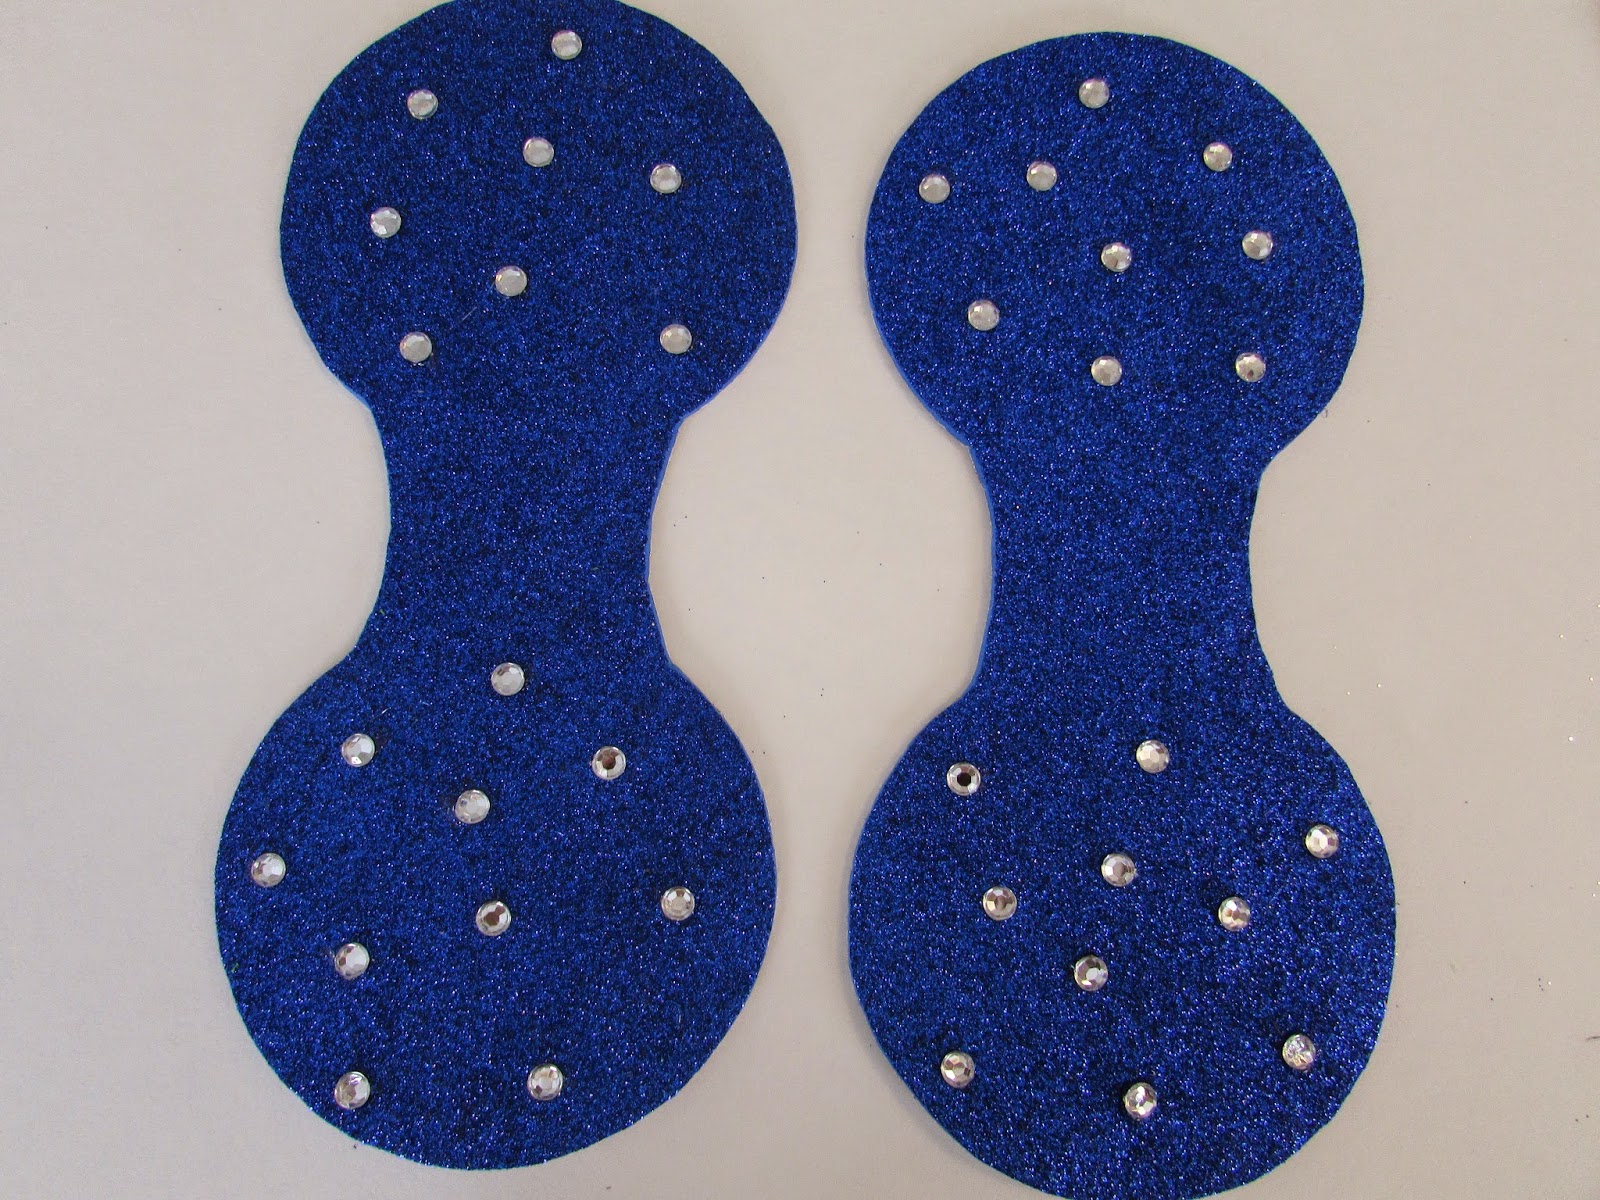
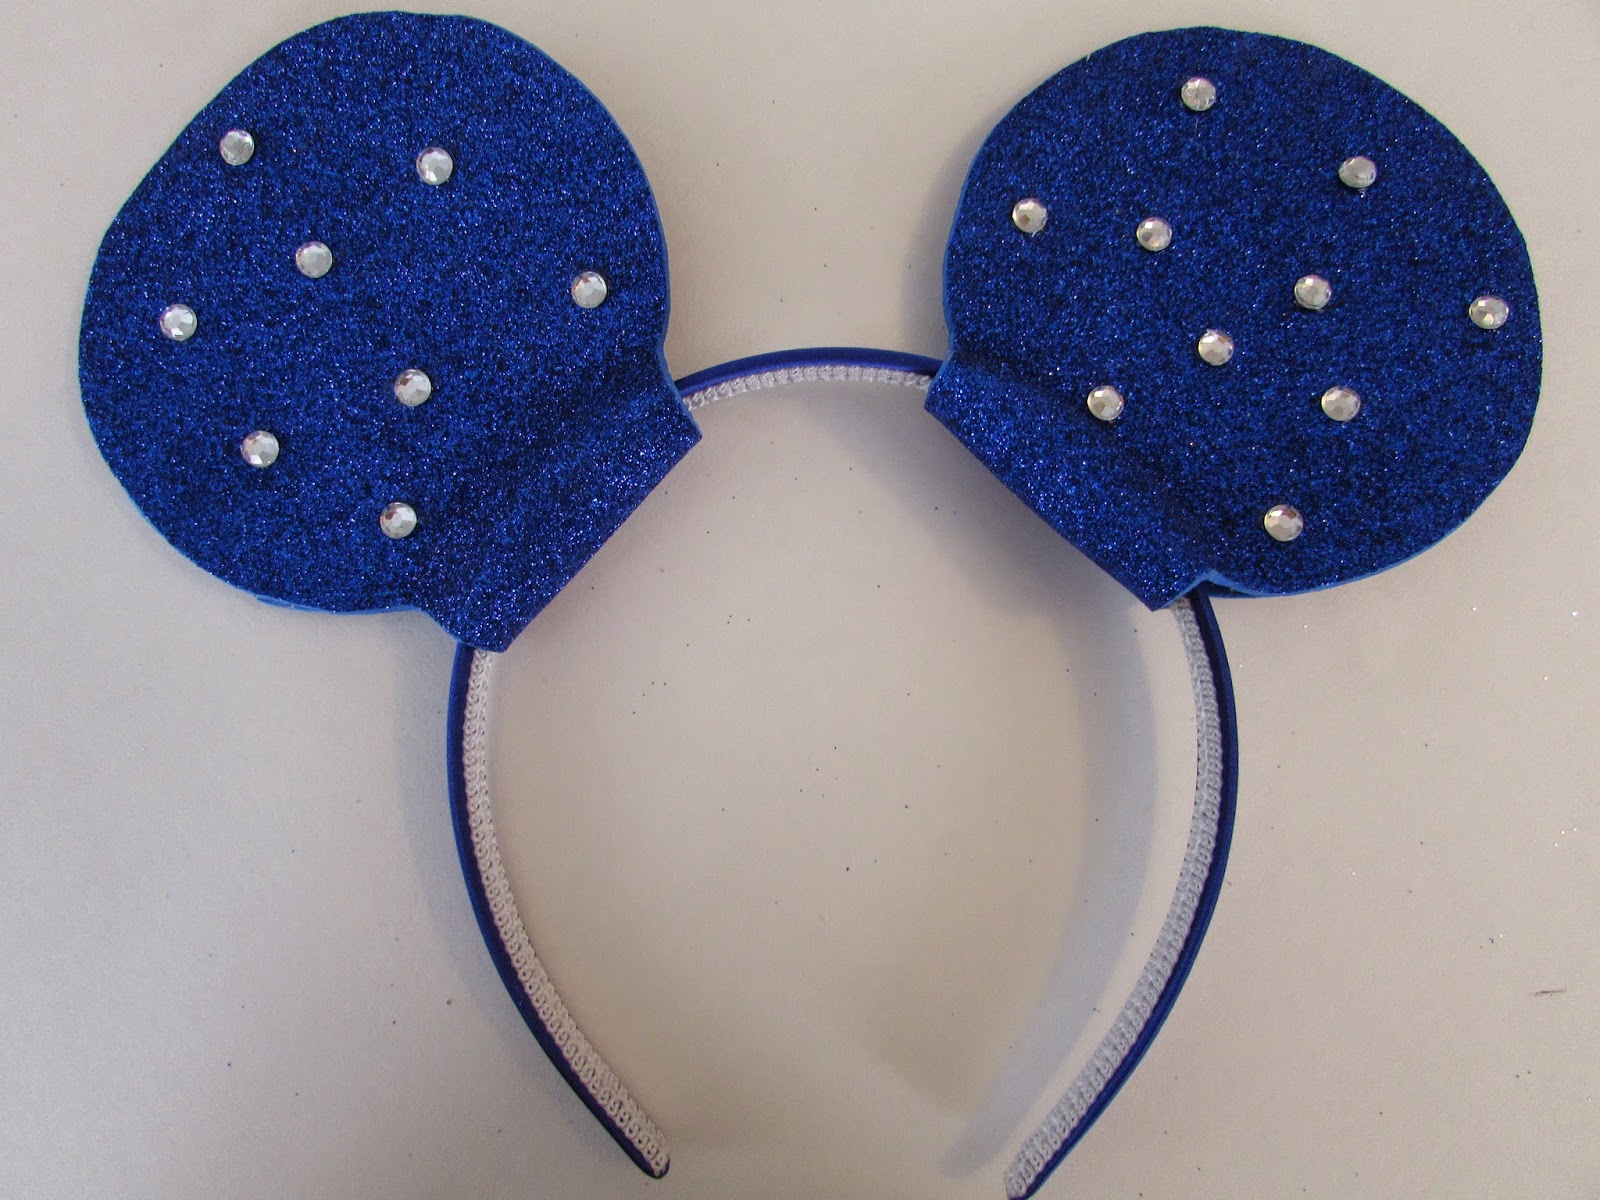
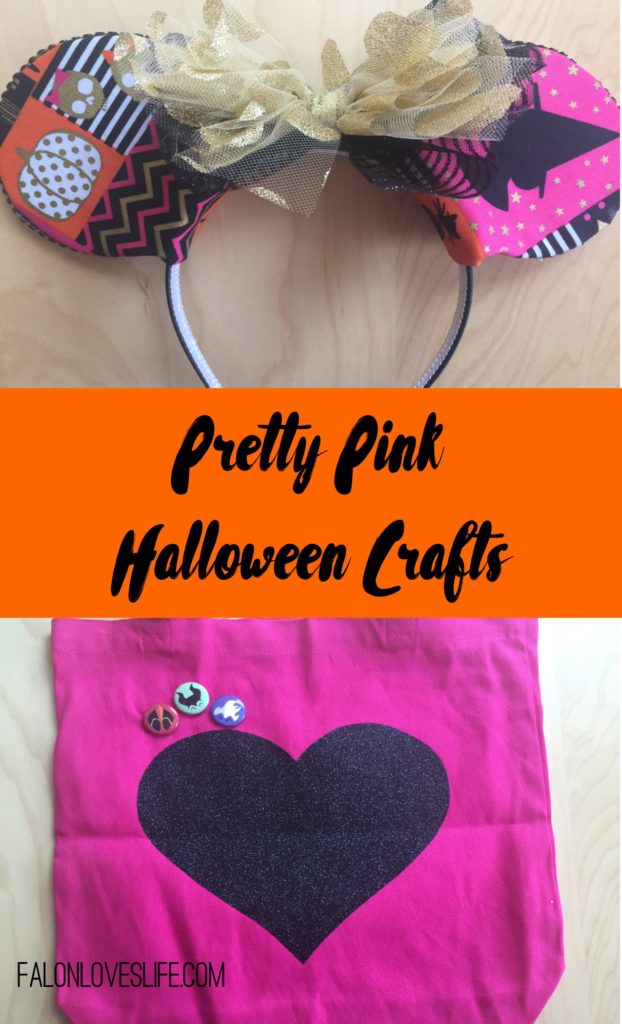
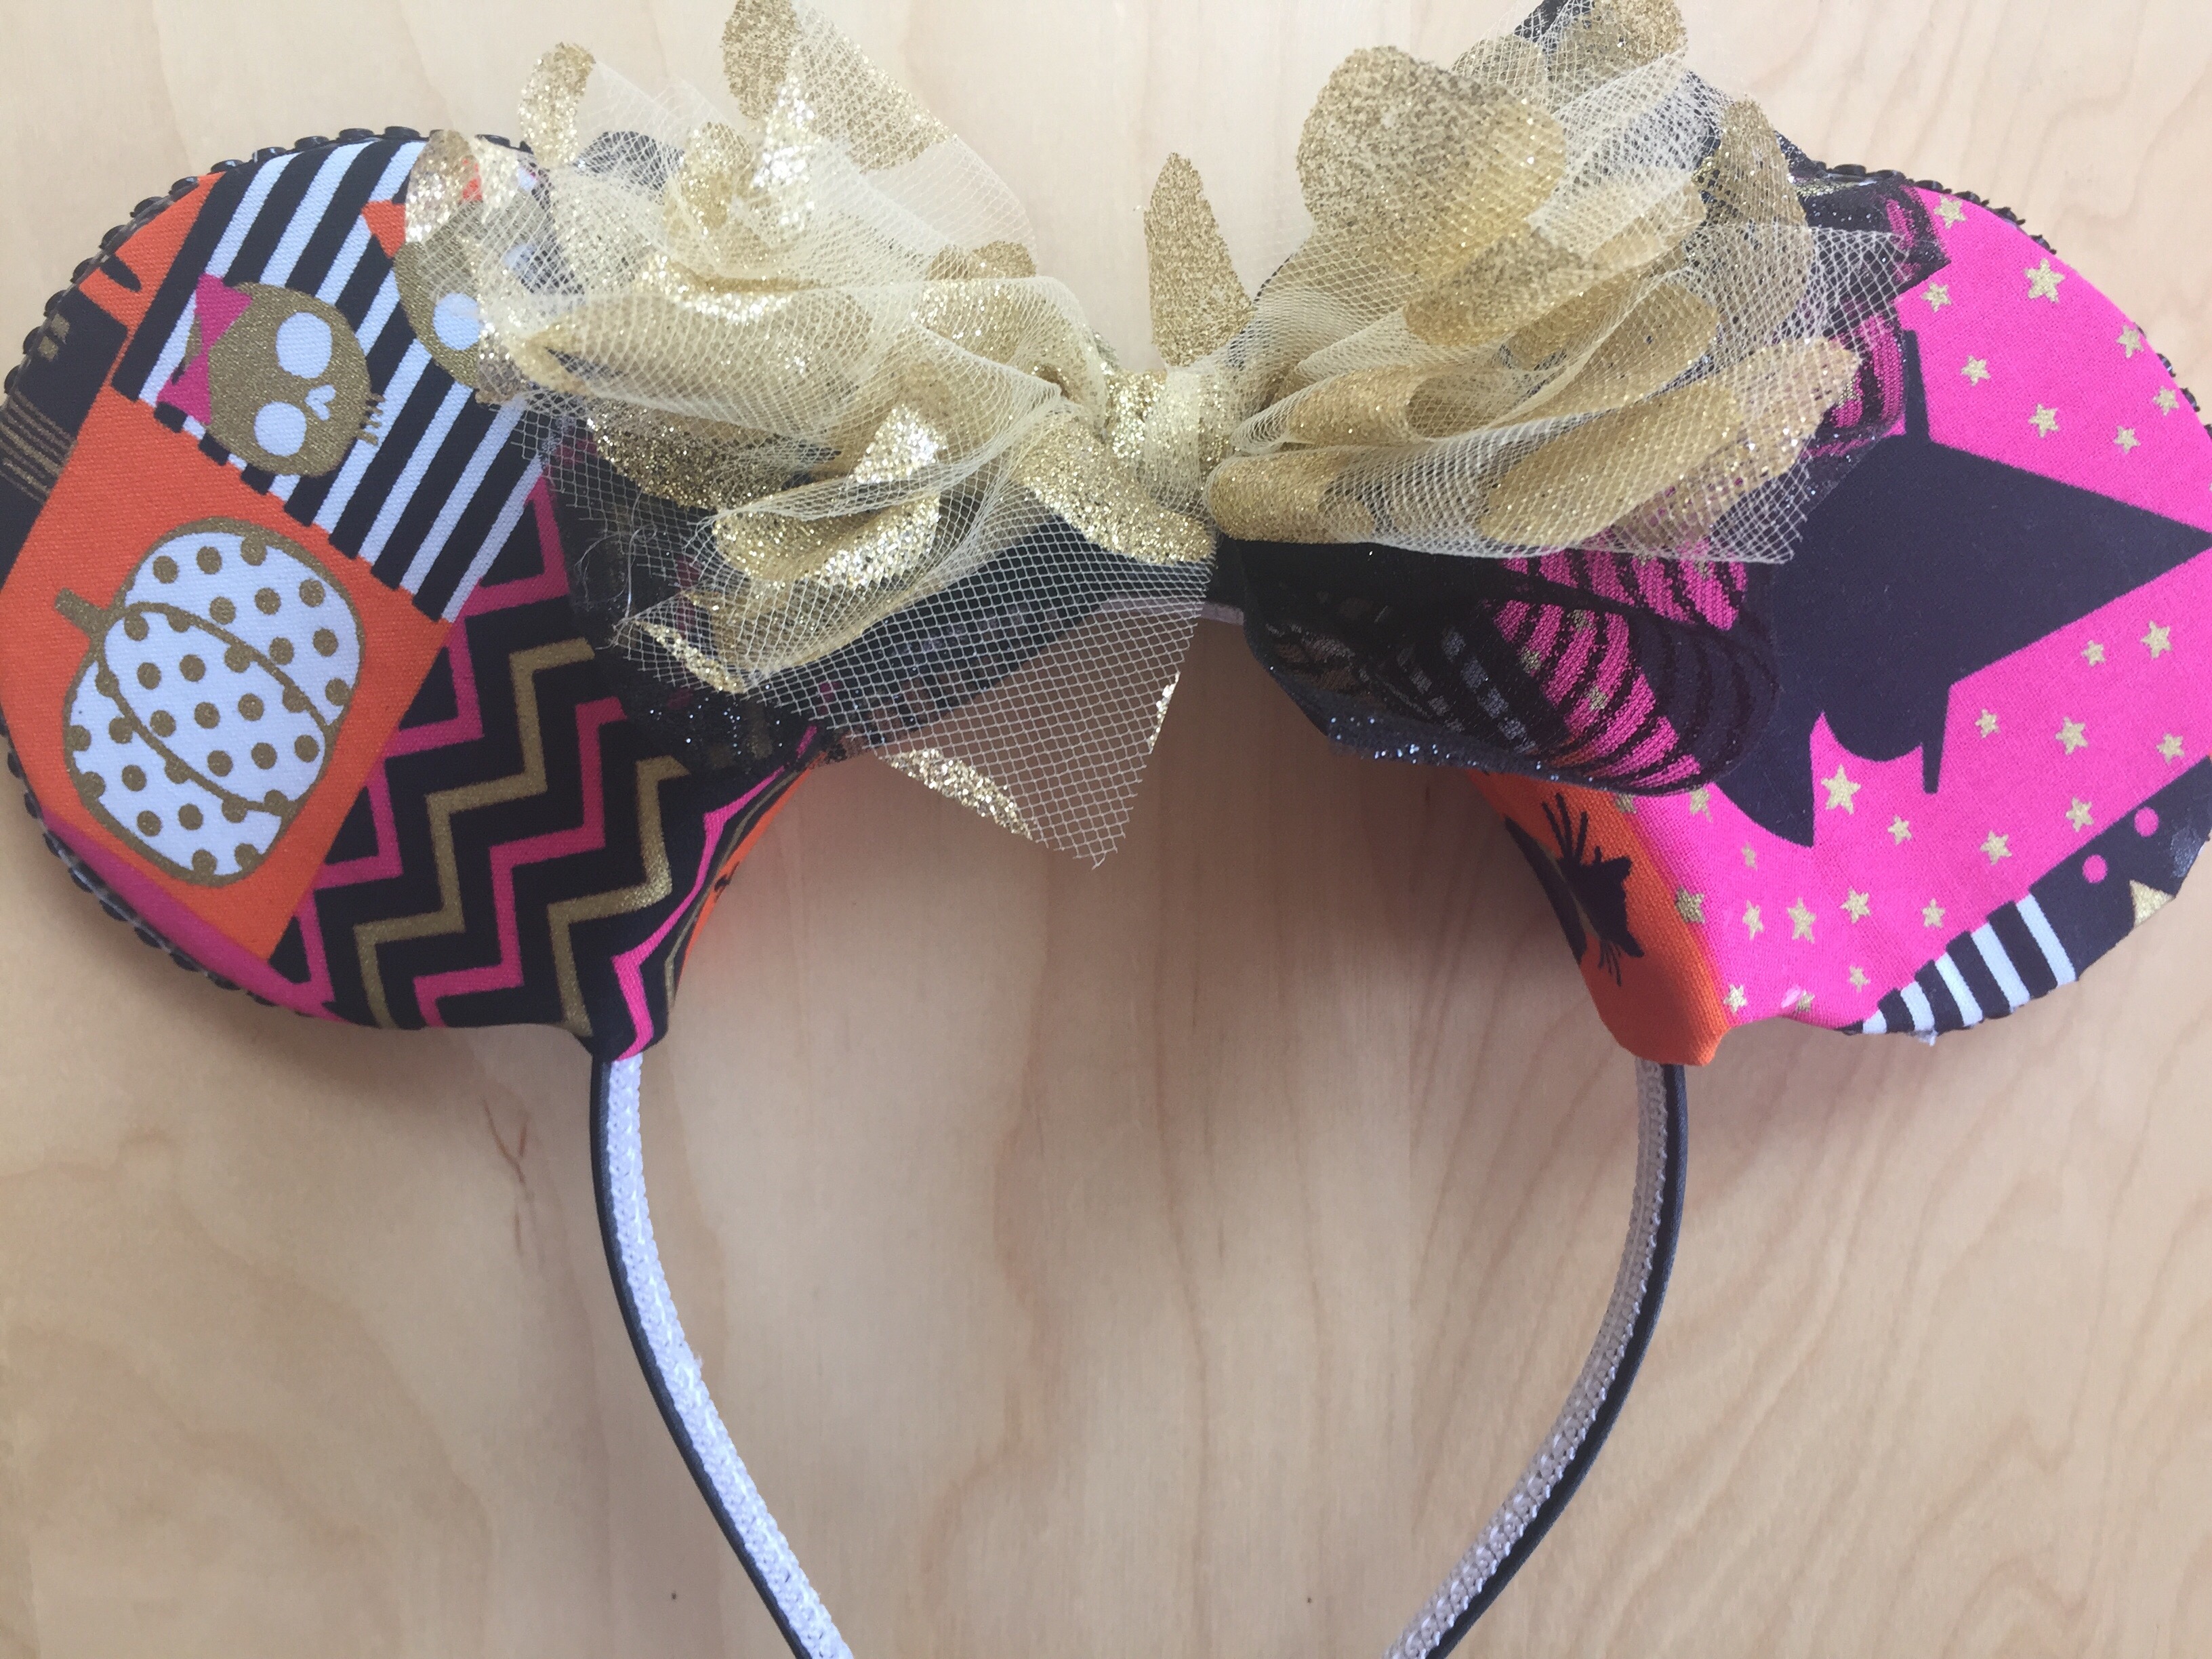
I obviously had to make some Halloween themed Minnie ears, and when I saw this fabric at Joann I pretty much squealed out loud with joy. It’s so cute! But also Halloween! I knew it was the perfect fabric to make my Halloween ears (despite the fact that I had previously purchased not one, but two other Halloween themed fabrics to make ears with…don’t judge me). I made these ears following the same tutorial that can be found here. I LOVE how these came out! It was kind of tricky to match up the fabric with the images that I wanted, and I burned the crap out of my fingers working on this bow, but it was so worth it!

Next I wanted to make a tote bag for carting around all of my Halloween goodies. This pink tote bag came in a pack that included an orange and a mint green bag as well. Originally I was going to do some sort of bat or something else Halloween-ish on the orange bag, but then I figured why not make something that is a little more versatile? Let’s be real, I am maybe going to use an orange bag with a bat on it once or twice, but a pink bag with a heart can be used anytime!

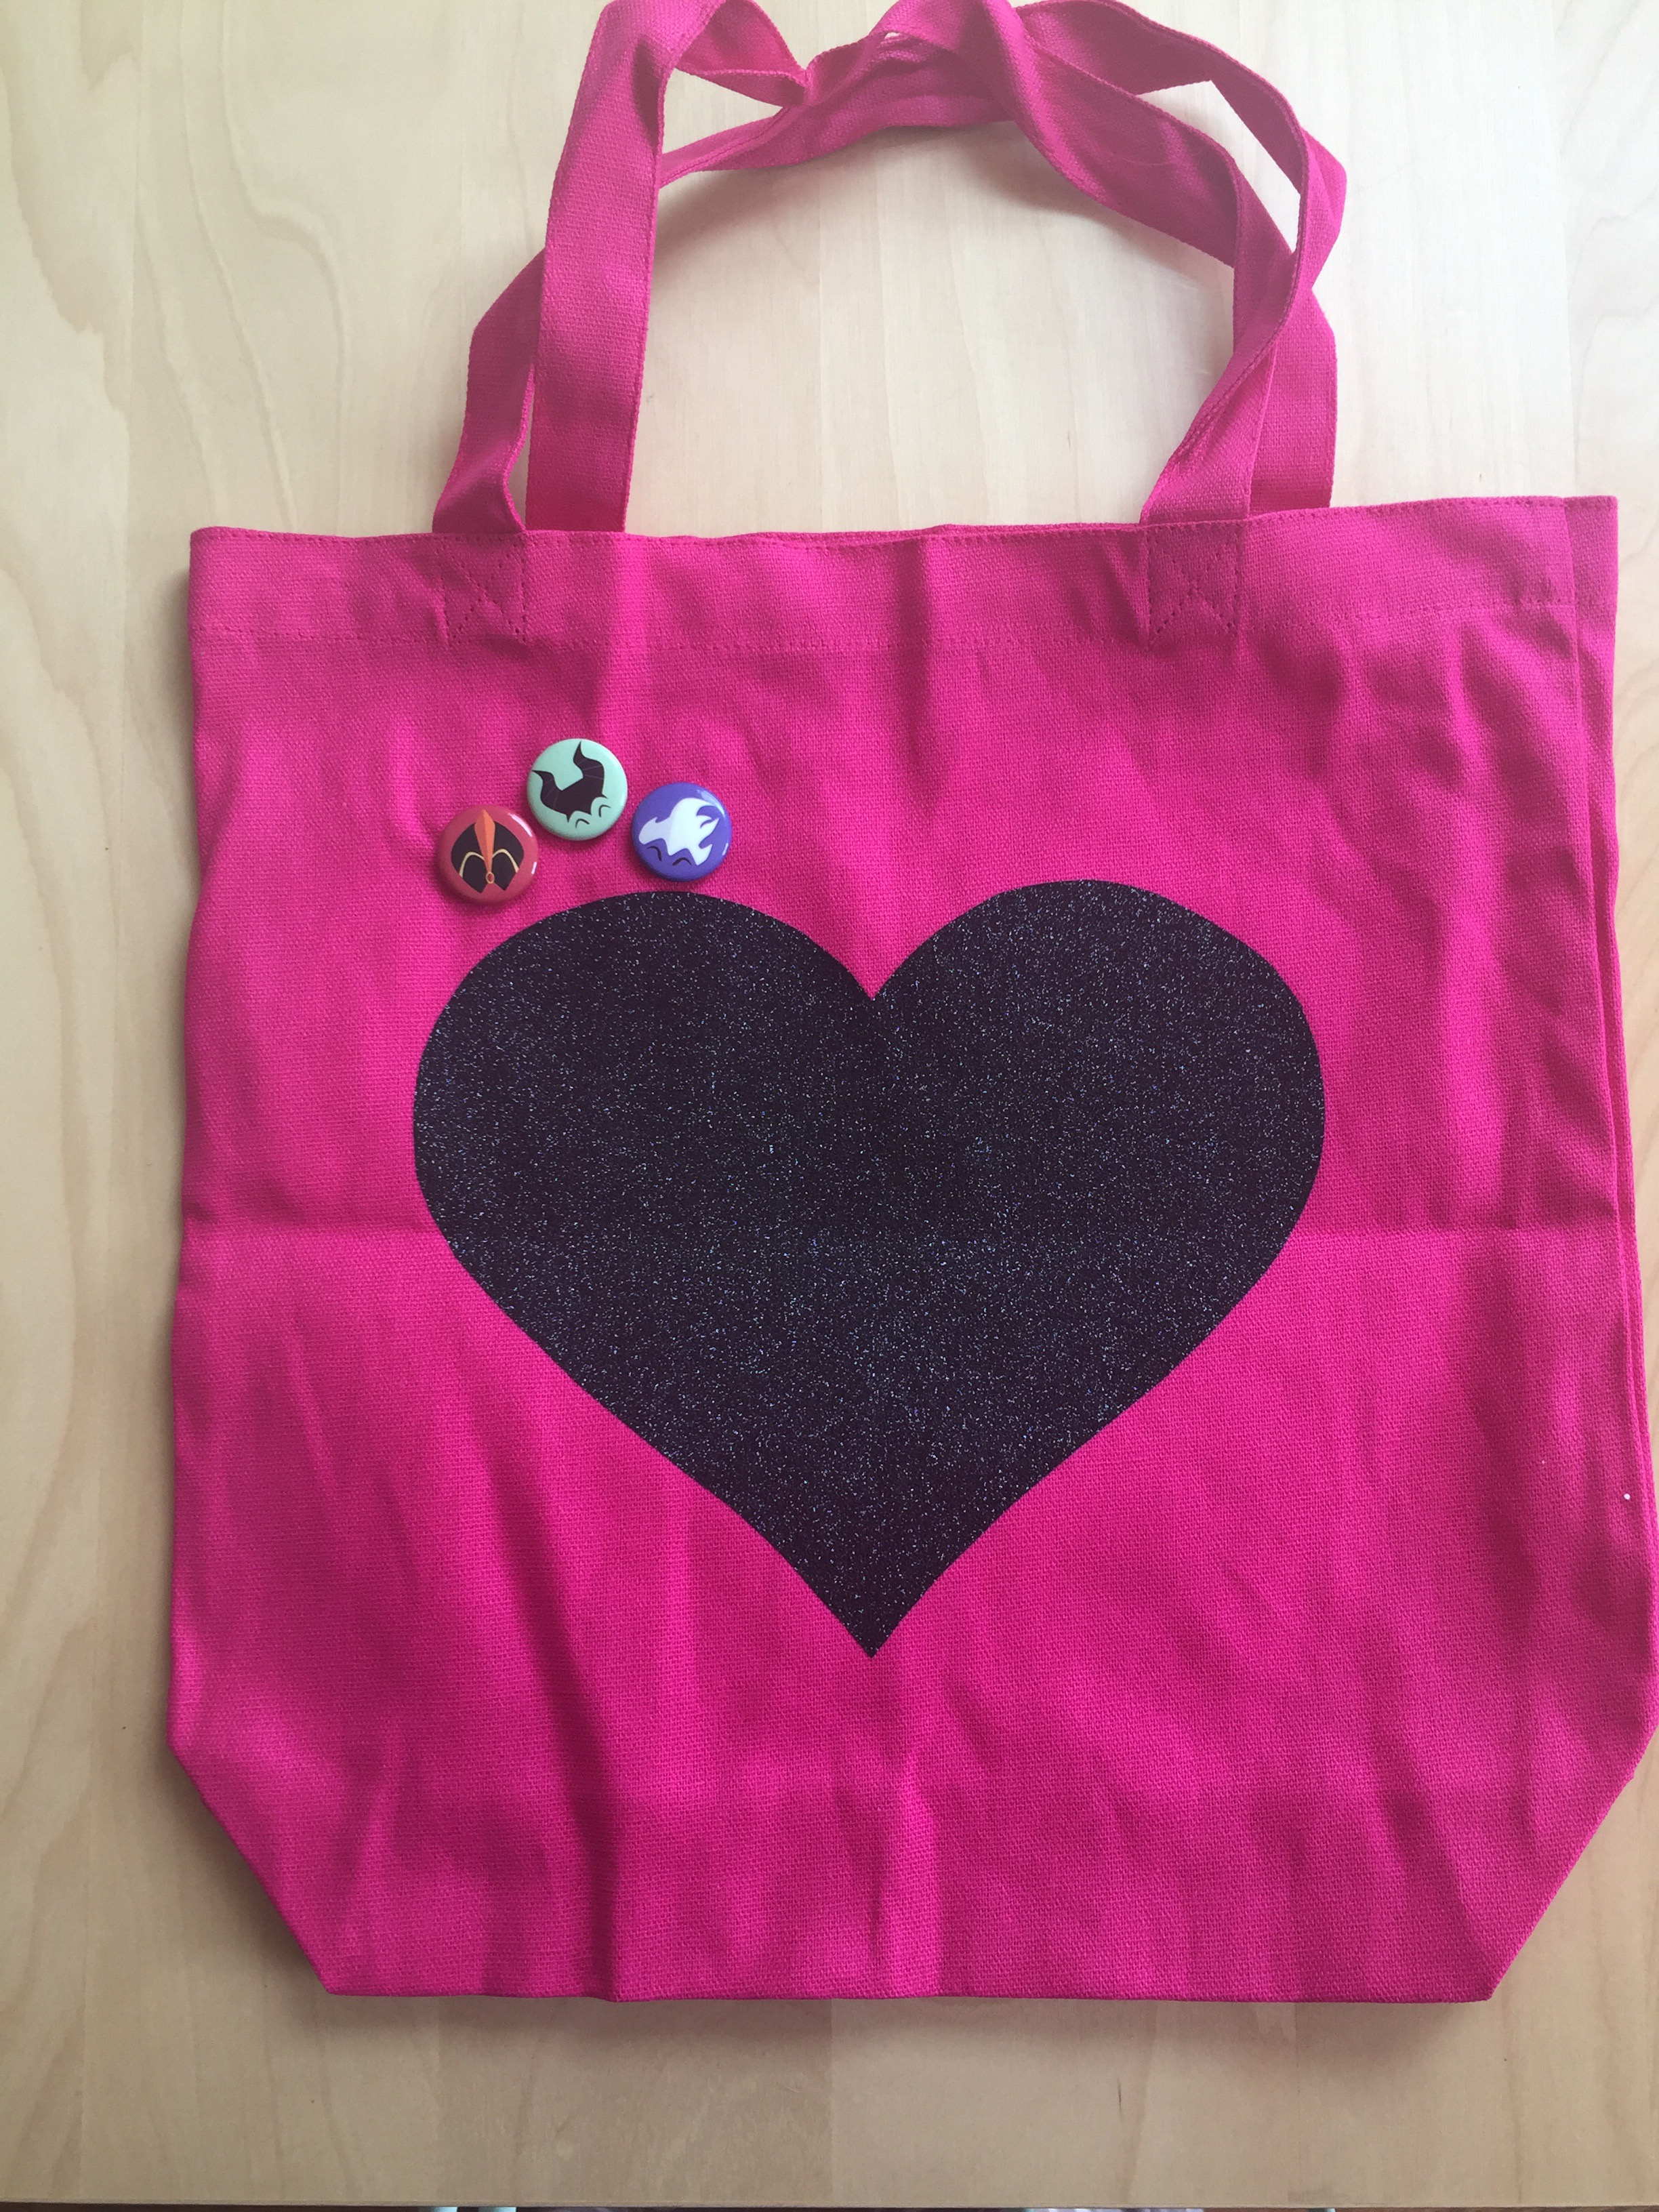
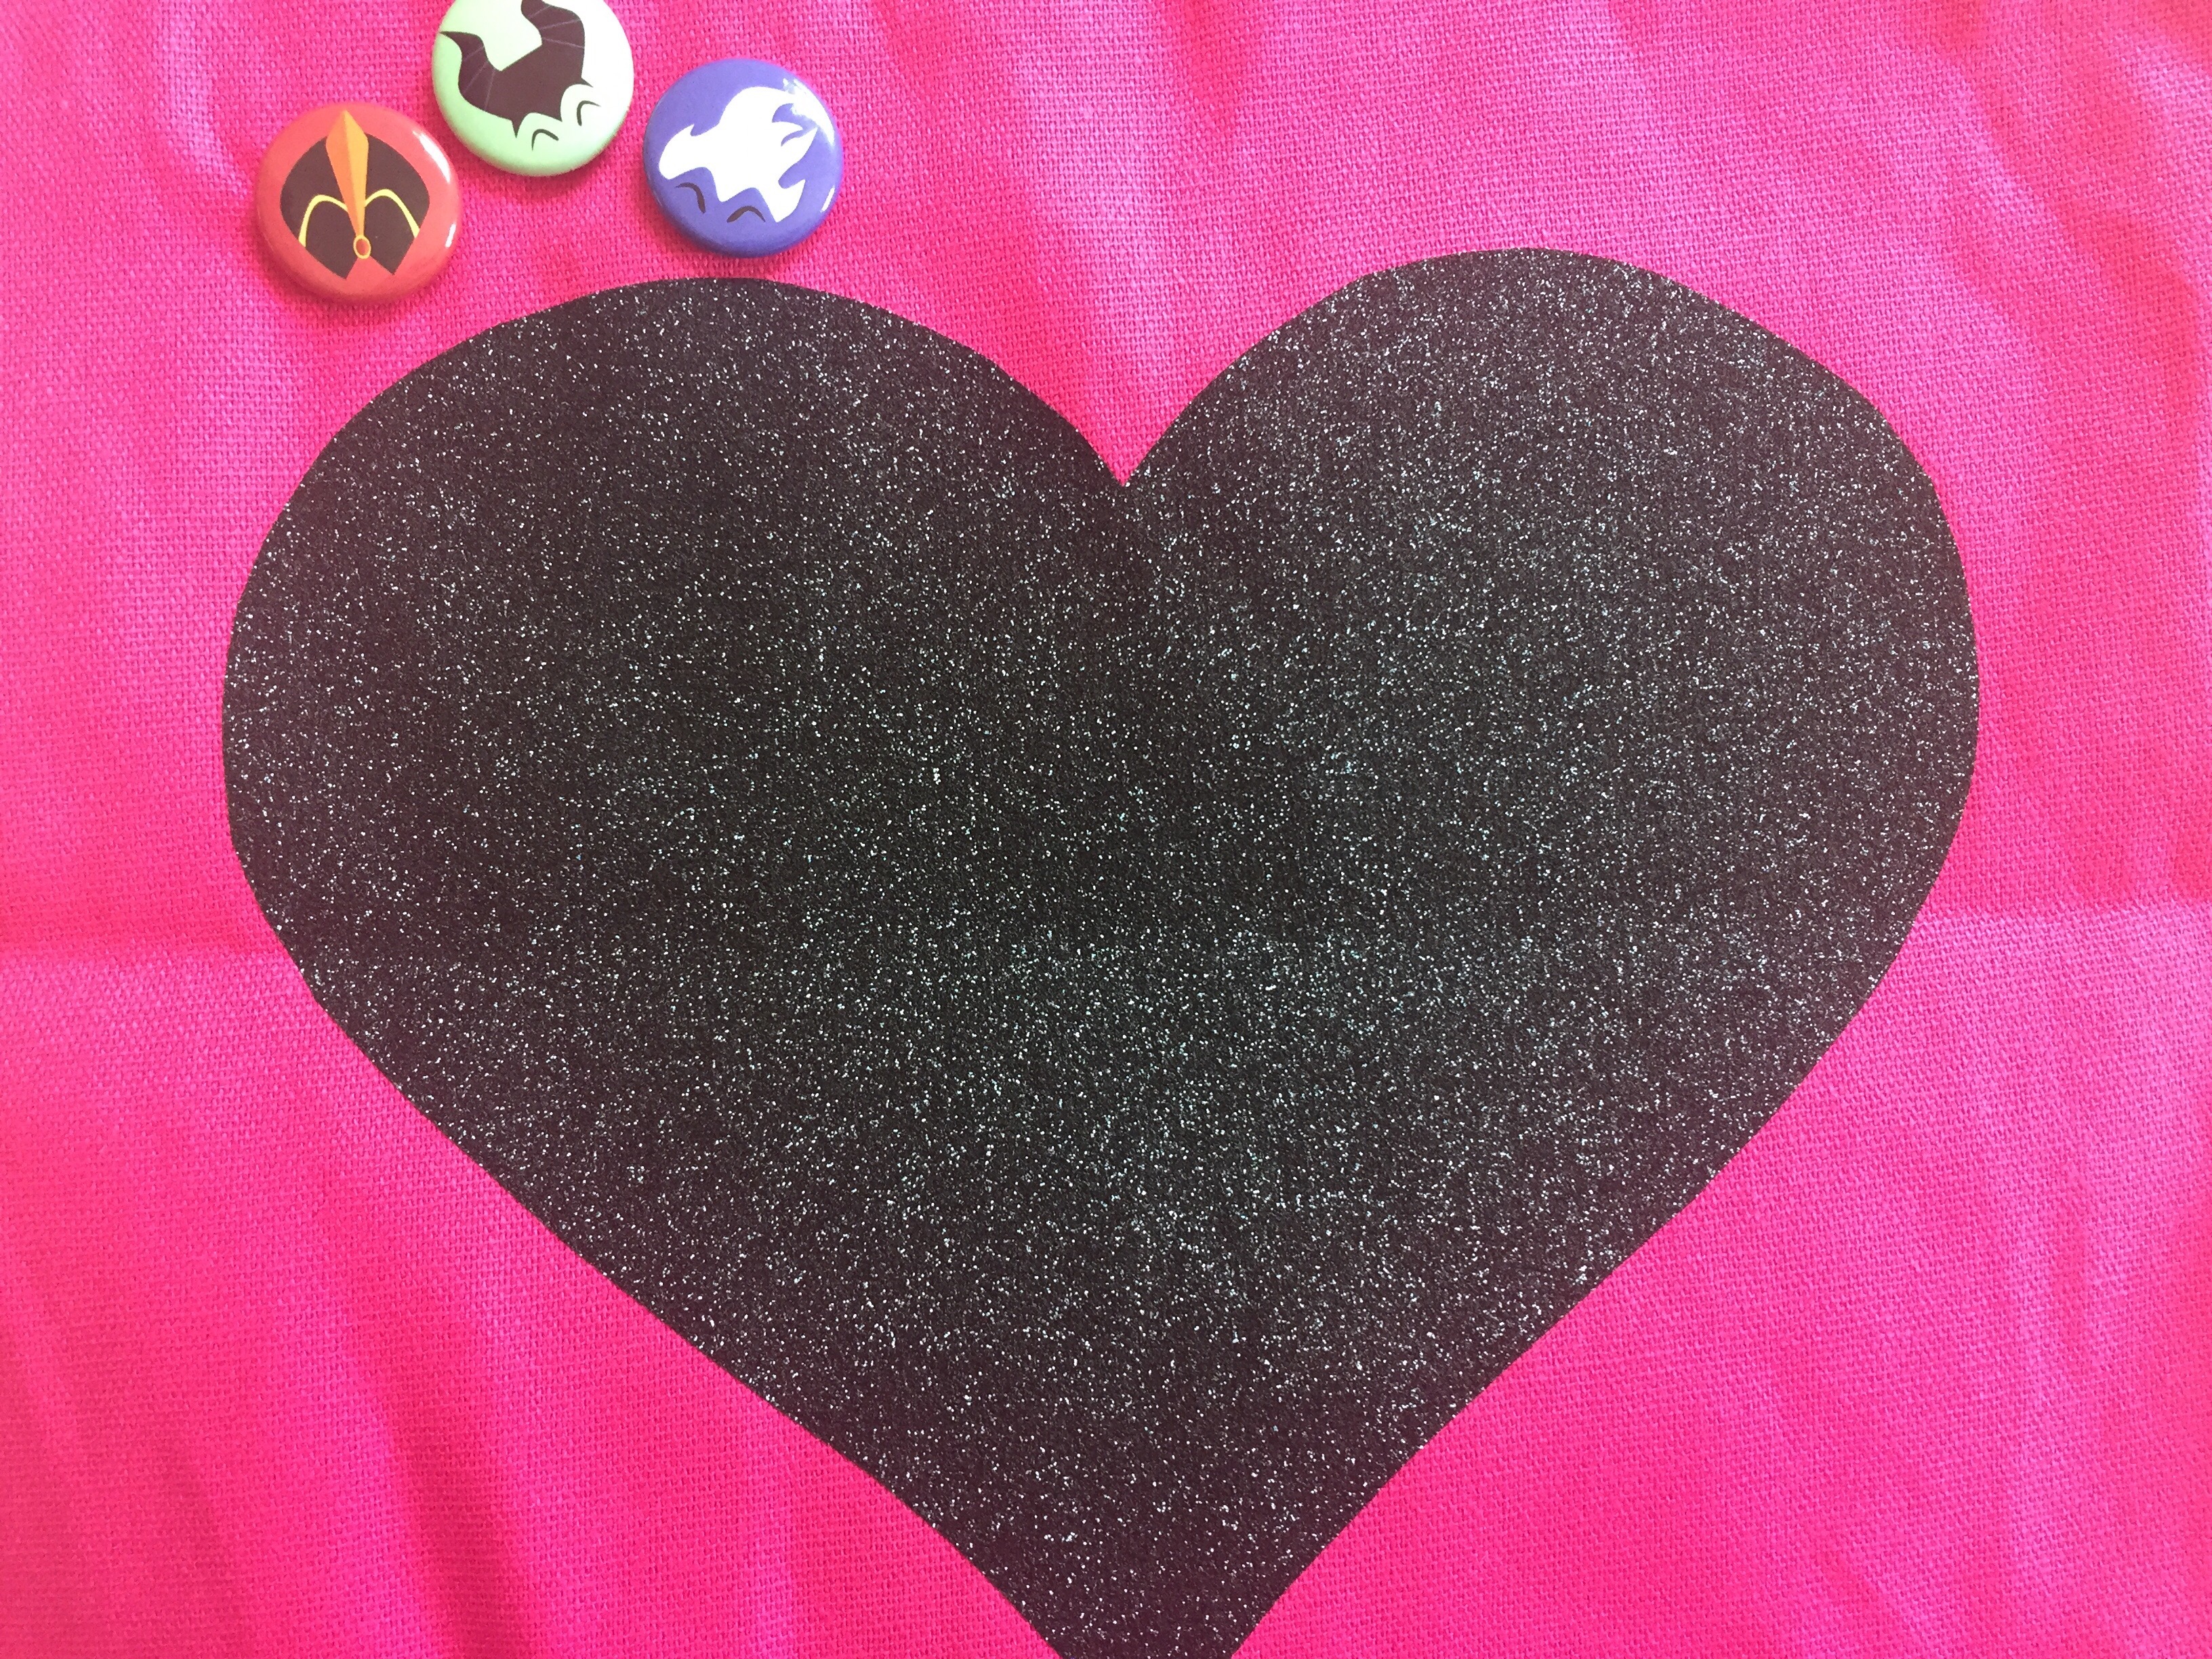
Making this bag was super simple. All I did was cut out a black heart from glitter heat transfer vinyl and use my iron to adhere it to the bag. Since I wanted to add at least a little Halloween to the bag, I attached these three Disney villain inspired buttons from Cheery Human Studios. I love that they add a bit of evil for the next two weeks, but that they are easily removable when Halloween is over.

I love how both of these projects came out! Pink, black, and orange is a great color combo and I love how the colors pop and are super vibrant.


Are you more into cute Halloween or scary Halloween? What do you think, should pink become an official Halloween color?


Thank you for sharing!Email this to someonePin on PinterestShare on FacebookTweet about this on TwitterShare on LinkedIn
DIY Rhinestone Minnie Ears

DIY: Rhinestone Minnie Ears

Hello friends! It has been a while since I shared a DIY pair of Minnie ears with you, and the tutorial I have today has produced what is now (really, truly) my favorite pair of ears. I have made two different sets of ears using this tutorial and the second ones came out a lot better than the first. So along with basic instructions for these DIY Rhinestone Minnie Ears, I’m going to let you know what I did differently with the second pair.


So the idea for these ears came about when I was trolling through Michaels one day, as I am wont to do. I spotted this entire sticker sheet of blingy rhinestone awesomeness and knew I needed to do something with it. And why not make that something a pair of super sparkly rainbow ears? In addition to the rainbow rhinestone sheet, I also grabbed some rainbow ribbon and a pink rhinestone border to act as the trim. Plus you will need your standard ear making supplies: foam cut out in the ear shape, small cardboard circles, a hot glue gun, and scissors (really good scissors).

Okay, so this is the back of the rhinestone sticker. It has a backing on it, covering the sticky part, and the rhinestones also have a covering on them to protect them. It’s thick and hard to work with so be patient. First, trace the ear shape onto the back of the sticker sheet.

Then carefully (and patiently) cut out the shape. Not going to lie, after the first few cuts, I thought that this project might be doomed, but I went slowly and used good scissors and it all worked out okay. The hardest part is keeping the top layer of covering over the rhinestones in place, which you want to do for as long as possible so they don’t get damaged along the way.

I don’t have visuals for the next couple of steps (bad blogger!), but I do have some tips. Once you have the rhinestone sticker cut out in your ear shape, you want to attach the foam to the rhinestone sticker. This is much easier if you cut your foam about a half an inch smaller (all around) than the rhinestones. Then just peel back the protective layer on the back of the rhinestones (since they are a sticker) and attach the foam. Then you will want to glue some small cardboard circles to the foam. The cardboard circles should be about a half an inch smaller than the foam. You can reference this post for instructions on the cardboard circles. The size issue is important. For the rainbow pair of ears, all my circles were the same size and it did not work well when putting the ears on the headband. For my second pair I made the foam and cardboard smaller and it worked much better.

The next step is to attach the ears to the headband. Hot glue works best for this part. I like to mark placement with a pencil on the headband so I have a guide before I glue. The easiest way to glue is to start with the middle (that part that ends up on the underside of the headband), make sure it has dried, and then glue the two circle sides together. I then like to go around the edges of the ears and add a thin line of hot glue that seals the ears together. I do this in small sections: glue around the edge, then hold the edges together until they are sealed.

Once your ears are all together and dried, you can make your bow. For this one, I made a loop of ribbon, cinched it in the middle and then fanned out the loops. You can make whatever style of bow you like best for your ears.

Then attach the trim around the outside of the ears. This not only ties everything together visually, it can help hide any flaws or imperfections on the ears themselves. Finally, attach the bow to the center of the headband using the hot glue.

While I definitely like the way the rainbow ears turned out, I am a much bigger fan of the silver pair that I made second. Having the inside foam and cardboard smaller made the ears much easier to maneuver and match up so the edge is smoother and rounder. On my second pair, I also used a thinner trim, which helped make everything more streamlined. I have to say, I really love how the silver ones came out, and now that I have a better idea of how to make these work, I am tempted to make them in every color. I really wish I would have thought of this for my 60th ears, but there are still plenty of colors of rhinestones out there to make many more pairs of these babies!


Thank you for sharing!Email this to someonePin on PinterestShare on FacebookTweet about this on TwitterShare on LinkedIn
DIY Tikie Themed Minnie Ears

DIY: Tiki Themed Minnie Ears

You guys, I think I have a problem. My name is Falon, and I am a DIY Minnie ear addict. I now have a whole box in my office dedicated to ear making supplies. When I made my first pair of fabric covered ears, I was happy with them, but they took so long that I didn’t think I would be making many more pairs. But now that I have the hang of it, I can churn them out pretty quickly. The only problem is, when you start making fabric ears, you realize just how many fabric options are out there, and you. cannot. stop. Serious problem. So keep an eye on my Instagram (link on the right) because I will have to start giving away some pairs soon or my husband is going to kill me.


(more…)

Thank you for sharing!Email this to someonePin on PinterestShare on FacebookTweet about this on TwitterShare on LinkedIn

DIY: Star Wars Ears

This post contains affiliate links.

I know I am getting a bit redundant with this comment, but these might be my new favorite ears! Of course since I drank the Star Wars Kool Aid, I had to make a pair of ears to go along with my new found love. And I decided to try something I will not be doing often: fabric covered ears. Seriously y’all, these were time consuming and not easy to make. But hopefully my trials will save you some time should you decide to make a pair of these bad boys for yourself!

Not all of my supplies are pictured for the simple reason that I had to make some of this up as I went. But here’s what I used: Star Wars fabric, sparkly black tulle, a black headband, fabric scissors, craft foam, ear template, black rhinestone trim, super glue, hot glue, spare cardboard (I used a cereal box), and fabric glue. At the bottom of this post you will find links to the products that I used!

First, cut out two ear template shapes from your craft foam.

Turn your fabric upside down and place the foam where you want. I wanted Rey and BB-8 on my ears so I matched up the fabric accordingly.  Put a dab of glue on the middle portion of the ears (where you will fold it around the headband) to secure it in place.

Now comes the hard (and time consuming part). Wrap the fabric around the ear and use the fabric glue to glue it in place.  Because the ear template is an odd shape, the easiest way to do this is to cut the fabric in small strips as you go and glue each one individually. I tried gluing larger pieces and they did not mold to the round shape well. It is going to be a complete pain in the butt to do this, but it looks so much better.

This is what the back of the ear will look like when you are finished gluing.

Use the super glue to attach one cardboard circle to each side of the ear.

I used a combination of the super glue and hot glue to attach the ears to the headband.  It was not easy to get these babies to stay in place, so be patient and use lots of glue on the inside! There are definitely some parts around the edges that are not super smooth, but that’s okay because the next step is to add the trim.

I used the hot glue to add a rhinestone trim around the border. Originally I was going to use ribbon, but the rhinestones were sturdier and held the fabric in place better.

Tuck the ends of the trim inside the ear and secure with more hot glue.

Then use the hot glue to attach your bow (this is the easiest part!). I made the same bow as from my Christmas ears, it is super easy and fast to make.

I LOVE how these came out, though it is going to be a long time before I try to cover another pair of ears with fabric! The good news is I have lots of fabric left over and will have to come up with something else cool to make with it!

Here are some products similar to those I used to make this project:

Thank you for sharing!Email this to someonePin on PinterestShare on FacebookTweet about this on TwitterShare on LinkedIn

DIY: Christmas Minnie Ears

This post contains affiliate links.

Ho ho ho! It’s officially one of my favorite times of the year: Christmas! The holidays at Disney are even more magical and it’s one of the best (and most popular) times of the year to visit the parks. And what would a trip to Disney be without some super awesome, custom DIY Minnie ears? I couldn’t let this opportunity go by, and so I headed to the craft store and loaded up on the holiday goods. And here is what I came up with for my Christmas themed Minnie ears!


(more…)

Thank you for sharing!Email this to someonePin on PinterestShare on FacebookTweet about this on TwitterShare on LinkedIn

DIY: Disneyland 60th Minnie Ears

This post contains affiliate links.

Obviously I knew I had to make myself some super special ears for the Disneyland 60th anniversary celebration kickoff on May 22nd.  I thought about them for a long time and eventually ended up designing them around the bow that was attached to our swag from the 60th reveal party.  Not going to lie, I LOVE how these came out.  Seriously.  I can’t wait to wear them next week!  If you want to make a set of your own, here’s how to do it!

1.  Gather supplies: blue adhesive glitter foam, ear template, single rhinestones, “bling on a roll”, E6000 glue, a blue headband, super blingy bow (again, this one was already in existence for me, but you could easily make your own).  With the exception of the headband, which I found at JoAnn, all of my supplies are from Michael’s.

2.  Trace the ear template onto the back of the foam and cut out.

3.  Glue rhinestones onto the ears.  You could make a pattern of some sort, but I went with the random sprinkling look.  These rhinestones were already sticky on the back, but I used E6000 glue as well to make sure they stay in place.

4.  Remove the backing from the foam and attach the ears to your headband.

5.  Place the “bling on a roll” around the edges of the ears.  Again, this is already sticky on the back, but I used additional glue to make sure they stayed in place.

6.  Attach the bow to the center of the ears.  You can use the E6000 for this, or hot glue if you prefer (hot glue dries a little faster so it is somewhat easier to use).

And now you have a super blingy, custom pair of ears!  Seriously cannot wait for next week.  Anyone else attending the kickoff on the 22nd?

Here are links to the supplies needed for this craft…

View blog post for supplies


Thank you for sharing!Email this to someonePin on PinterestShare on FacebookTweet about this on TwitterShare on LinkedIn